

Are you looking for a Christmas craft that is guaranteed to get your kids (and you!) hyped for Christmas Eve?
There’s nothing more fun about that special day before Christmas than laying out the milk and cookies for Santa Claus.
And now, this craft is sure to take that enjoyment to the next level.
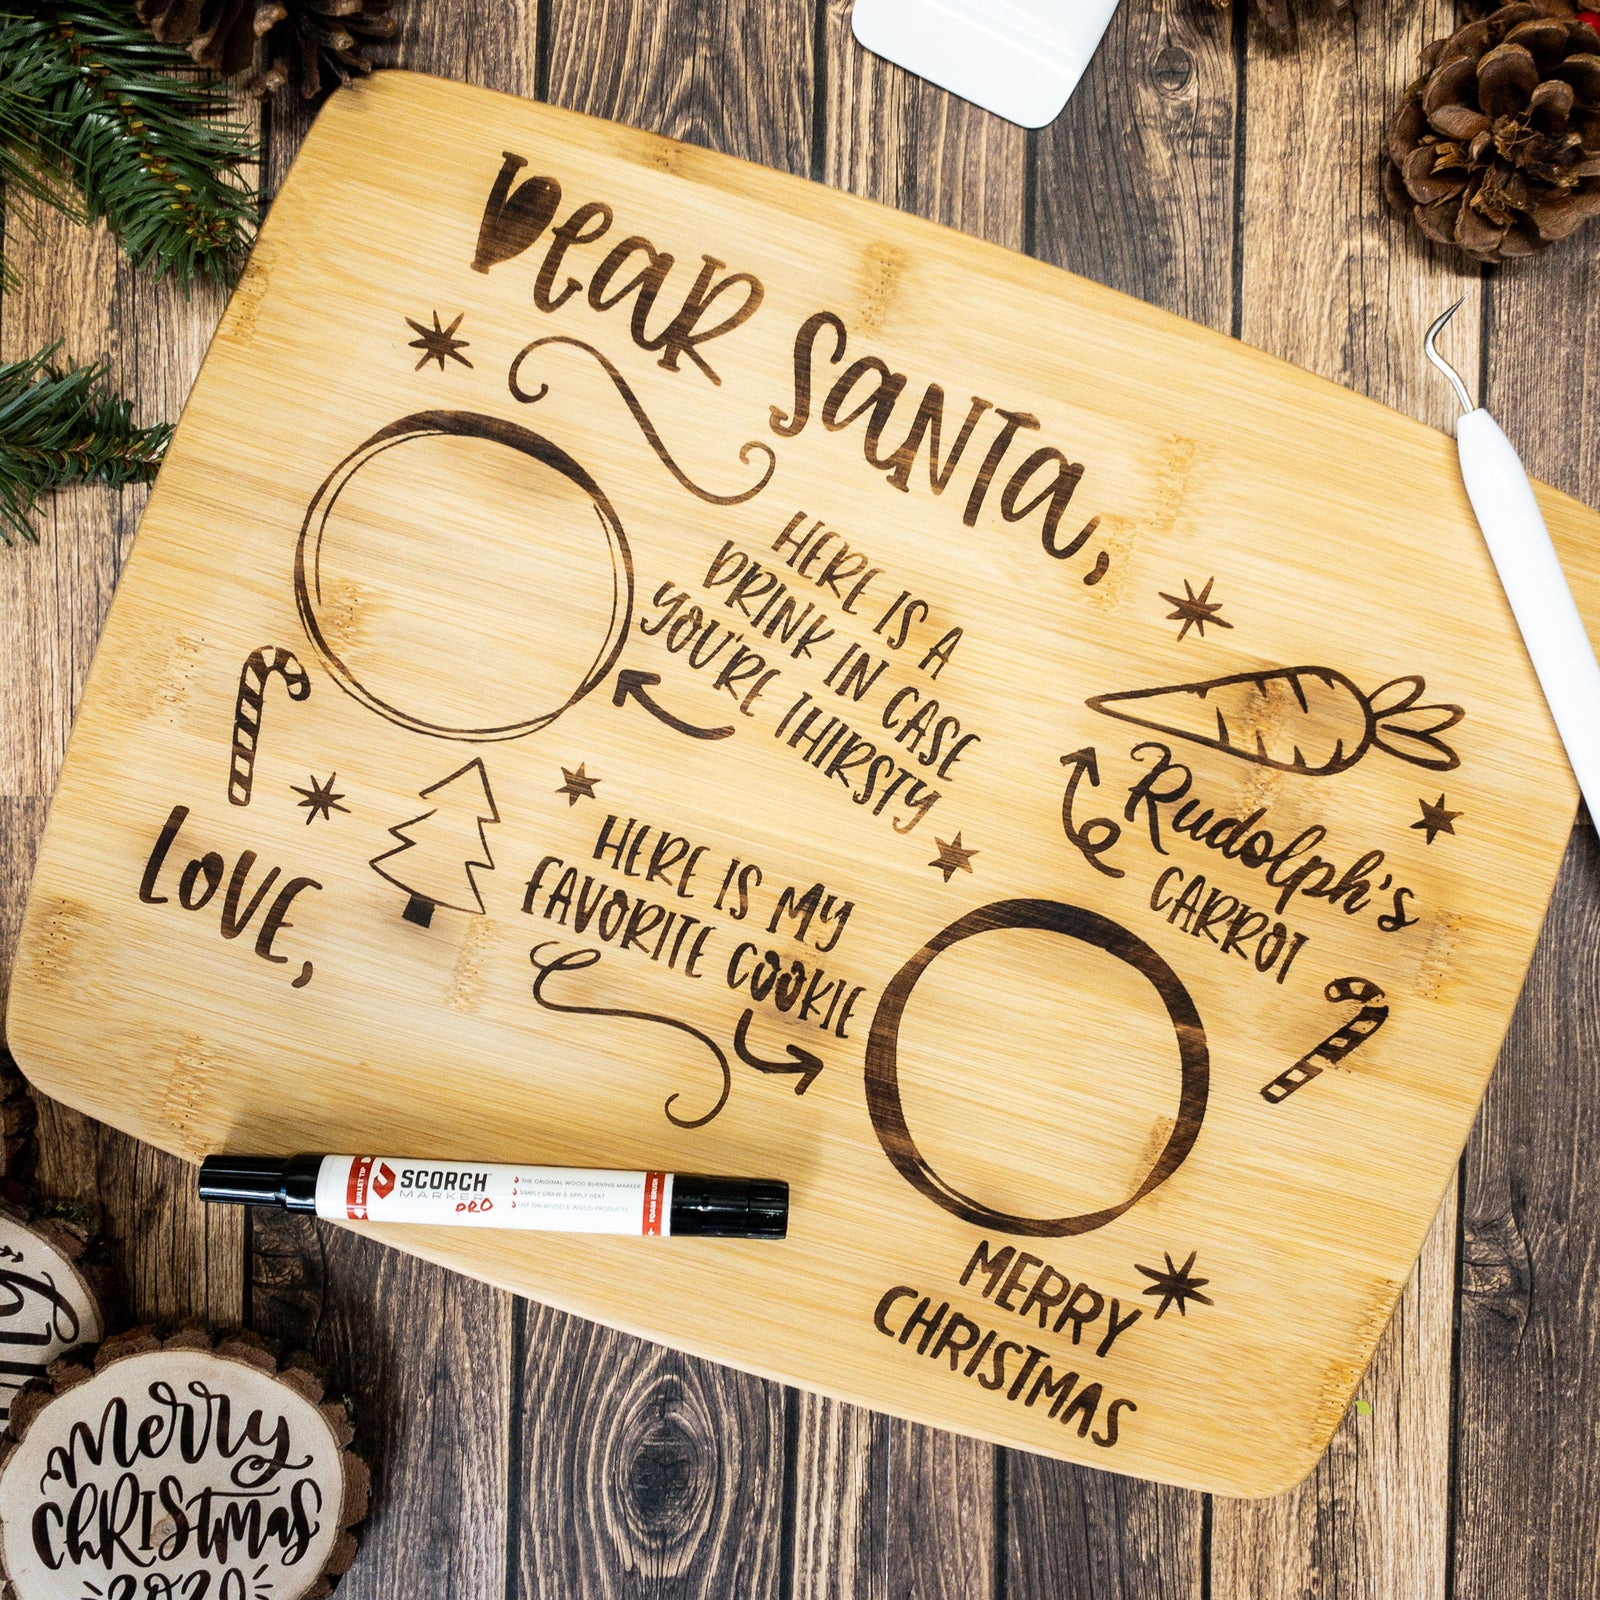
All you need is your Scorch Marker Pro, a cutting board, and a heat gun to bring the magic of Christmas straight to your living room.
Watch us create this Santa serving platter on TikTok to see all the fun in action.

The Scorch Marker Makes Christmas Even Craftier
The Scorch Marker is especially handy because it doesn’t require a bunch of gear to get crafty.
In fact, this wood burning marker is totally family-friendly and just brings so much more fun to Christmas creating.
And, there really aren’t that many steps between the beginning of your project and its final result!
Let’s talk about the seven simple steps required to get your cutting board ready to become a serving platter for Santa.
1. Sand Until Smooth
It might feel tempting to skip this step.
Don’t.
Sanding is required for a vinyl that sticks properly and a design that doesn’t bleed.
Go over your wood with a 220 grit piece of sandpaper to make sure it’s Scorch Marker ready.
2. Apply Your Vinyl Stencil
This step might look a little bit different for everyone, depending on the materials you have access to.
For our Santa Serving Platter, we used a vinyl pattern available through Cricut.
But, the versatility of the Scorch Marker allows you to use stencils created from plastic, silkscreen, and even paper.
You can even draw your design by hand! Whatever you choose doesn’t really matter, the wood burned effect will be the same.
3. Shake and Prime
Another very important step in the process is getting your marker ready for actual use.
Before putting the nib to wood, shake your Scorch Marker for at least 30 seconds.
This will activate the stainless steel agitator and get the liquid mixed well.
Then, push the marker tip into the marker three or four times on a paper towel or piece of scrap wood to get the liquid flowing into the nib.
4. Apply Your Scorch Marker
Now, you’re ready for the fun part!
Apply a thin layer of the Scorch Marker fluid only in the areas that you want to burn.
It really doesn’t take much at all.
To prevent the marker from bleeding into the grain of the wood, you can try dabbing the excess off onto a paper towel.
The best part is that one layer is all that’s required to get the job done!
This saves you time and money in the long run.
5. Preheat Your Heat Gun & Remove Stencil
When you’re finished designing, set your heat gun to start preheating.
Make sure to use a heat gun that’s at least 1000-watts and on the hottest setting to help the chemical reaction along.
Most guns take 3-5 minutes to heat up.
This is the perfect opportunity to remove the stencil from your piece of wood.
Most are not heat resistant and need to be taken off.
6. Watch The Magic Happen
Now, heat it up!
Use your heat gun in a sweeping motion to prevent any burnt spots, and watch as your design burns into the wood before your eyes.
7. Seal it for Good Measure
To prevent your beautiful creation from being scratched or damaged, and to help it last for as long as possible, seal it up.
We love using Odie’s Oil which is completely solvent-free and safe for use around foods.
To get the most from your Scorch Marker, make sure you’re using it as intended!
Check out our guide with tips and tricks on creating beautiful pieces of art here.


Responses
Leave a comment (all fields required)