

The Scorch Marker is a new crafting gadget worth trying!
Initially intended for wood, which it works great for, this chemical wood-burning tool has also proven successful on several other surfaces, like cardboard, cork, denim, and even paper mâché.
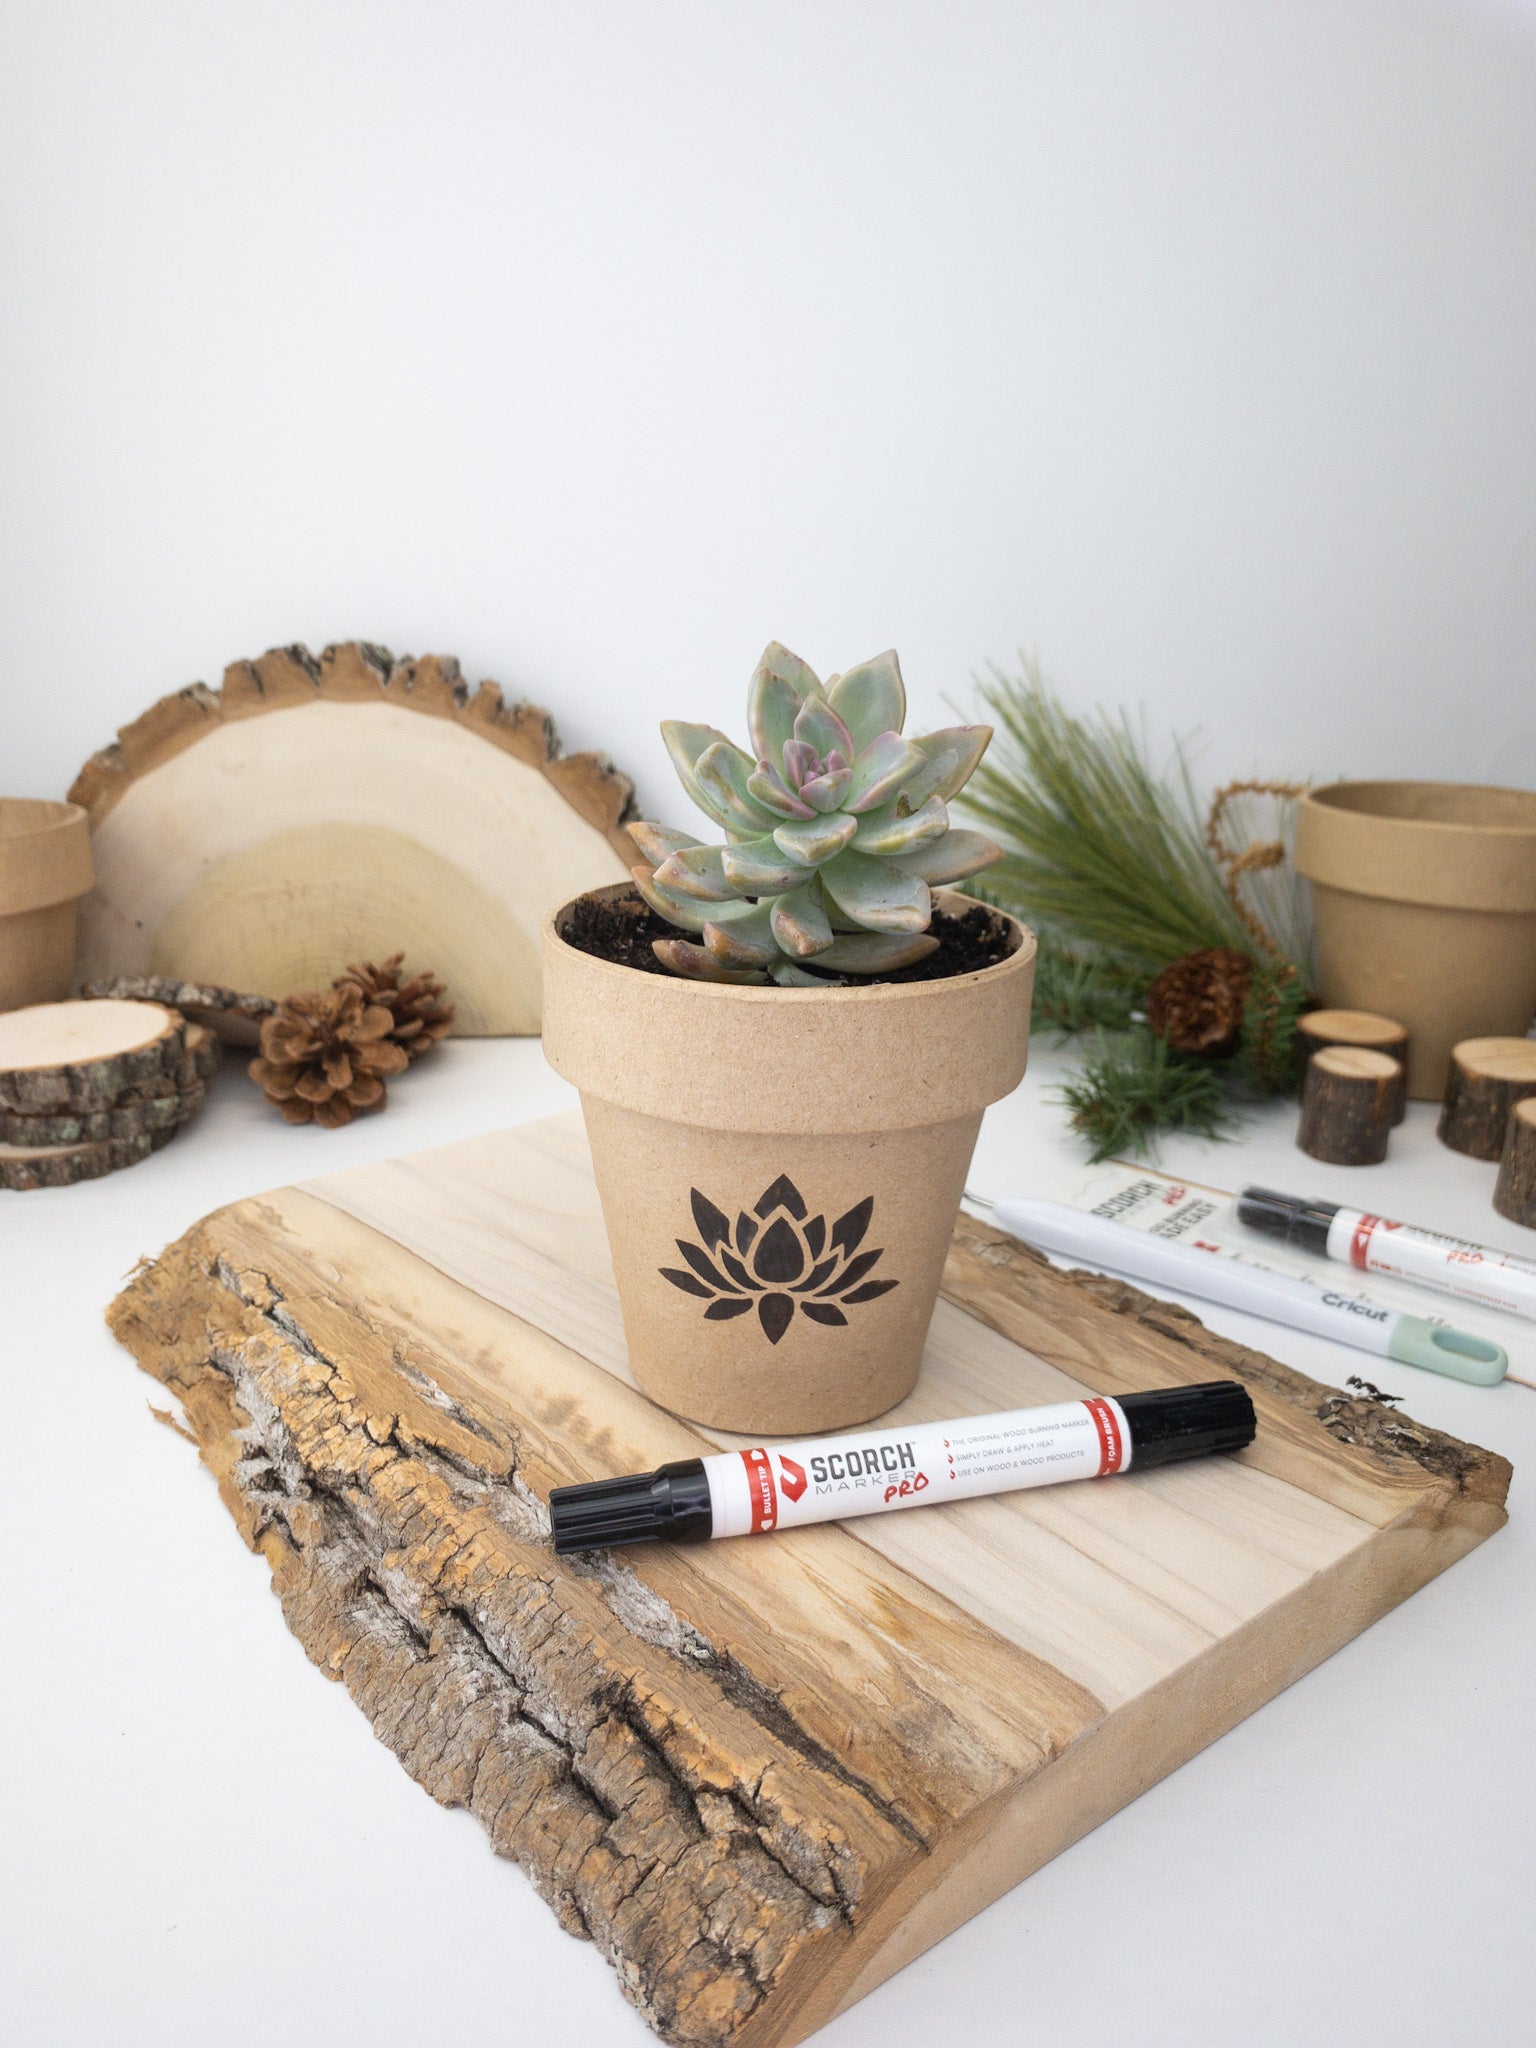
In this article, we’re guiding you through the process of customizing your paper mâché pots just in time for spring.
To watch a video of us customizing our own paper mâché pot, check out our Instagram page.
Create Burned Designs on Paper Mâché with Scorch Marker
Paper mâché planters are perfect for bringing life into small spaces, like bedrooms, college dorms, and side tables.
They are biodegradable, fit in with any color scheme, and can be completely customized.
And, the great thing about using paper mâché with the Scorch Marker is that there’s no sanding necessary.
To use this wood-burning marker on these cute, rustic little pots, just start drawing!
Drawing on paper mâché will feel a lot different than drawing on a smooth wooden surface, but the most important tips to keep in mind are to:
-
Shake and Prime Your Marker
No matter what surface you decide to use, it’s important to take the time to shake and prime your marker.
Holding it in the same position you would to write, shake your marker up and down vigorously to mix the liquid and prevent an uneven burn.
Then, use a paper towel or scrap wood to prime and fully saturate your marker nib.
-
Apply a Thin Layer of Scorch Marker Liquid
Just as with any wood surface, only a thin layer of Scorch Marker fluid is required for paper mâché.
Blurred, bleeding lines can still happen on this surface so remember that only one pass is necessary, and to never oversaturate your design.

Combine Vinyl Stencils with Scorch Marker for a Consistent and Professional Look
One of the greatest advantages of the Scorch Marker is that it can safely be used with stencils, including those made from vinyl, silk screen, and plastic.
Vinyl stencils are super helpful for use on paper mâché planter, especially when it comes to creating crisp lines.
Our Scorch Marker store is constantly being stocked with new stencil file packs that you can get for free with the code ‘ilovestencils’ at checkout.
Most are holiday-related, but they are perfect for experimenting and having fun with.
A Cricut, or similar cutting machine, is required for printing our stencils. You can read more about downloading and cutting stencil file here.
Regardless of the stencils you use, make sure to press them down firmly onto your paper mâché pot.
Because the surface is curved, this make take a little more of your attention than normal, but a secure stencil will provide a better design.
It’s Important to Use the Right Heat with the Scorch Marker
Once your design is applied and stencil removed, it’s time to apply your heat.
For success with the Scorch Marker, the right heat is required.
We recommend a heat gun that is at least 1500-watts in strength to ensure the chemical reaction takes place.
This one on Amazon is the one that we use for all of our projects.
Make sure to preheat your heat gun for a few minutes prior to applying it to your design, and always use it in a sweeping motion to prevent burns in other areas of your pot.
Another great tip to try is to flip your paper mâché pot over, so that it’s upside-down, while heating.
This can help prevent your pot from blowing away.
The goal is to always stay safe when working with high heat.
For more tips and project ideas, and to see videos of us experimenting with other surfaces, check us out on TikTok.
And, don’t forget to share your beautiful creations with us - we’d love to see them!


Leave a comment (all fields required)