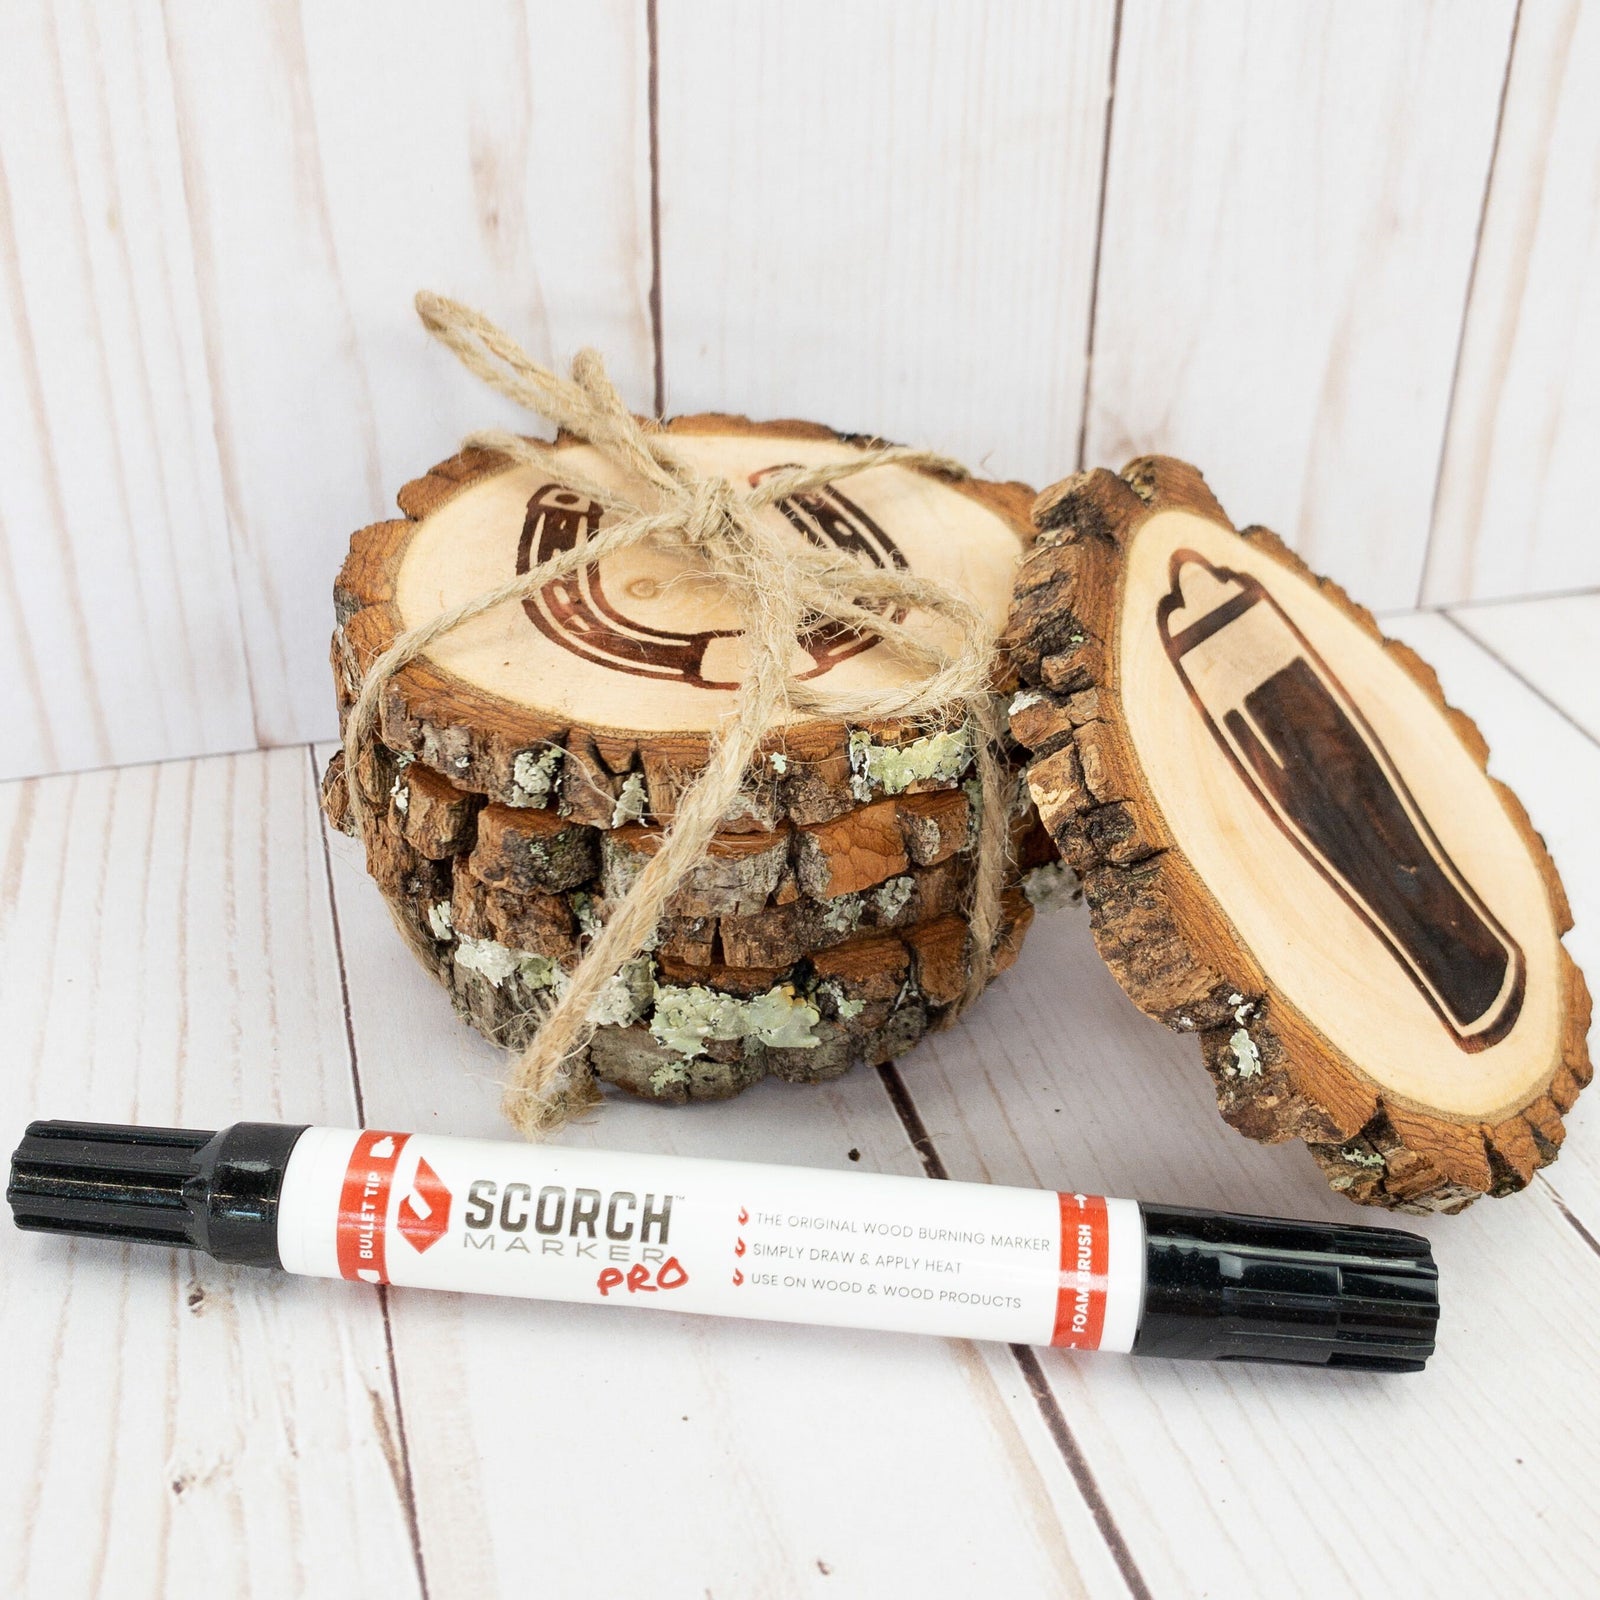


Crafting with the Scorch Marker is incredibly rewarding, providing a durable way to create lasting designs on wood. However, to ensure these designs withstand time and elements, they need proper protection.
Learn how you can start waterproofing your wood projects using Maker's Magic from Scorch Marker, ensuring they're as enduring as they are beautiful.
Why Seal Your Wooden Crafts?
Sealing your wooden projects is crucial, especially if they're intended for outdoor use or as functional items like kitchen utensils or coasters. A good sealant not only enhances the wood's resistance to moisture and wear but also helps maintain the integrity of your designs longer.

Tips for Prepping the Wood Before Burning
Preparing Your Wood for a Perfect Finish
Before you dive into burning and sealing, preparing your wood correctly is key to ensuring both your Scorch Marker design and the sealant adhere properly:
- Identify the Grain Direction: Knowing which way the grain flows helps you sand efficiently and apply your design smoothly.
- Sand Smoothly: Aim for a 220-grit finish for most projects, but consider going up to 500-grit for finer, more detailed work.
- Clean the Surface: Wipe down your wood to remove dust and debris before you begin crafting.
The Best Time to Seal Your Crafts
While applying a sealant is optional, it can elevate the quality and durability of your project. Sealants add a layer of protection against moisture and physical damage, making them ideal for items like:
- Garden and porch signs
- Kitchen utensils
- Decorative coasters

Applying Maker's Magic to Scorch Marker Crafts
Applying Maker's Magic Gloss or Matte to Scorch Marker Crafts
Sealing your Scorch Marker creations is simple and effective. Here’s how to achieve the best results:
- Choose Your Finish: Whether you prefer a matte or gloss finish, Maker's Magic offers a variety of options to suit any style.
- Application Techniques: Apply your Maker's Magic with a brush. You may need more than one coat.
- Favorite Finishes: We've heard time and time again that Maker's Magic saves projects and now you can choose between Maker's Magic Gloss or Matte!

With the right preparation and sealing techniques, your wood crafts can endure the test of time and elements, making each piece not just a project, but a lasting part of your home or garden décor.


Bruce
February 22, 2024
I have purchased this product and attempted multiple pieces with zero success. Should I be using a special paper? Or only on soft wood like pine? To get a decent burn on the wood, I end up burning beyond the trace. Help please!!