


Valentine’s Day is coming up quickly, and we’re feeling the love (and craftiness) of the season.
While store-bought decorations can be convenient, there's something special about crafting your own personalized pieces. And for crafters, what better way to celebrate than by incorporating wood burning into your creations?
Enjoy Endless Crafting Opportunities with Our Valentine’s Day Stencils
Our Valentine’s Day stencils are brimming with creativity and excitement. They include text options, like “Kissing Booth” or “Hugs”, as well as fun heart designs and Cupid’s arrow.
Now, let’s get to crafting!

You Will Need:

7 Steps to Creating Valentine’s Bead Garland
Once you’ve gathered all your materials, it’s time to get to work.
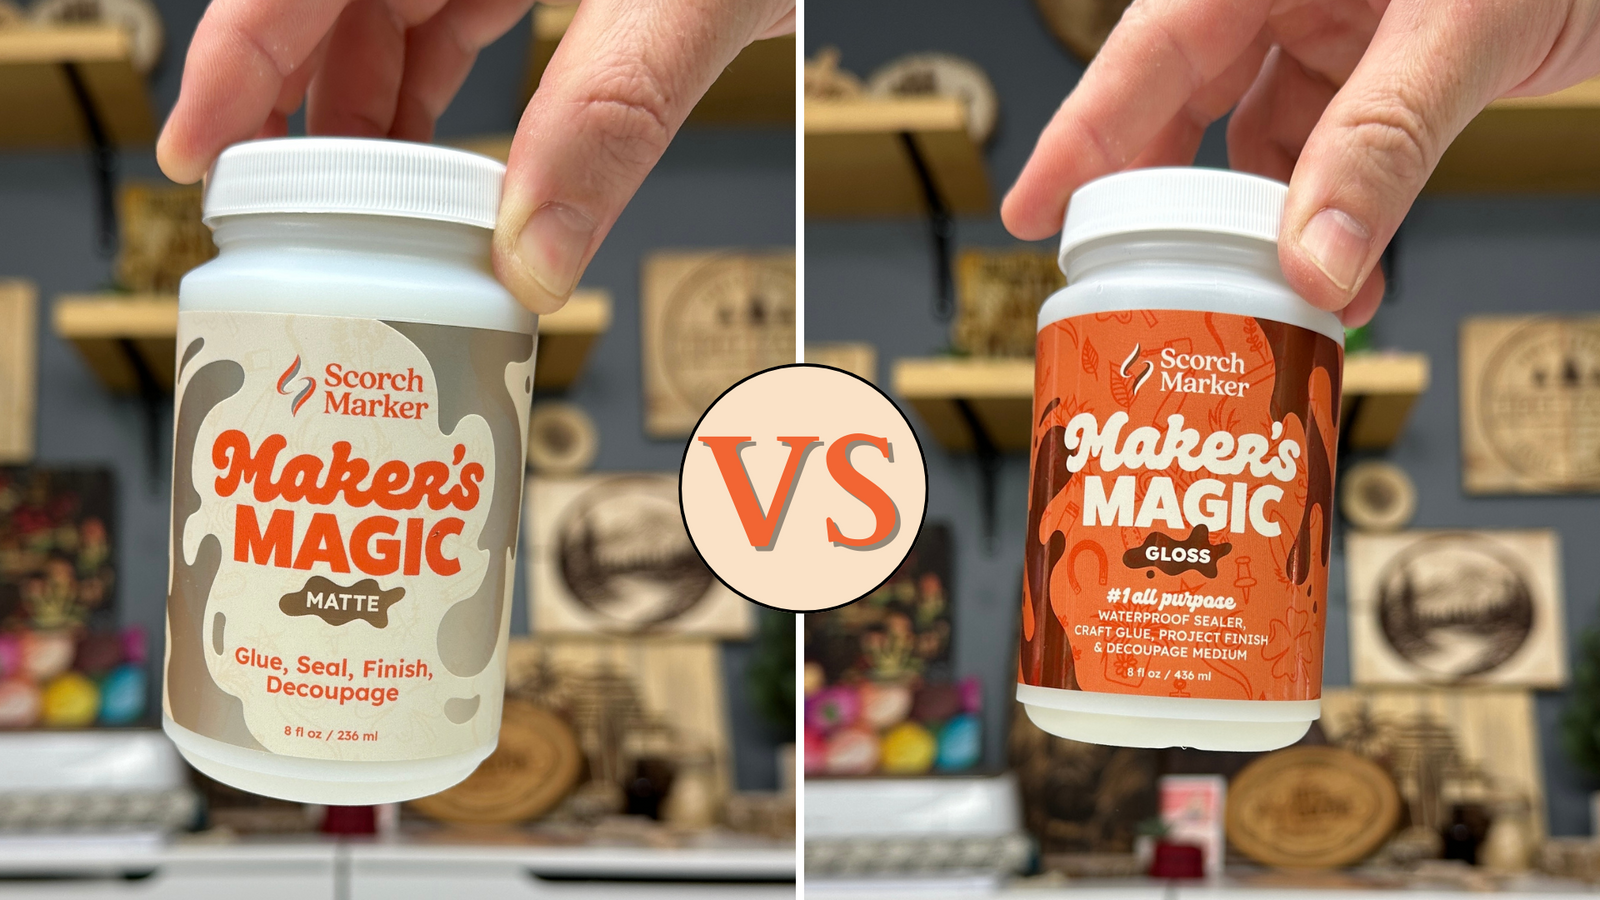
Thankfully, the Scorch Marker is one of the best wood-burning tools for beginners.
It can be used to create some incredible pieces, that are easier than ever to actually make. Here are the 7 steps to creating your Valentine’s garland.
1. Paint Your Beads
Start by painting your beads.
These will take the longest to dry, so it’s best to get this step out of the way in the beginning.
We went with some fun Valentine’s colors, like red, white, and pink.
But, you can choose whatever colors speak to you.
Once you’re finished burning, set the beads aside to dry so you can move on to the next step of the project.
2. Sand Your Wood Slice
With the beads drying, it’s time to move on to the wood slice.
A pack of 10 wood slices are available on our website for purchase.
Regardless of where the wood came from though, it’s important to sand!
This will prevent the liquid inside your Scorch Marker from running underneath the stencil and leading to bleeding edges.
We recommend that you sand all wood to at least 500-grit, so that it’s smooth and ready for crafting.
3. Apply the Stencil
Now it’s time to apply your stencil.
We cut all our stencils ourselves with the Cricut, but you can use whatever cutting tool you love the most.
Make sure to use a card scraper or similar tool to firmly adhere your stencil to the wood and prevent bleeding edges.
4. Draw Your Design with the Scorch Marker
Now for the fun part; designing with your Scorch Marker.
When it comes to crafting with the Scorch Marker, a little liquid goes a long way.
We like to use a paper towel for dabbing any excess liquid before applying it directly to the wood.
Using the foam brush or marker nib (depending on your preference), fill in the stencil so that it’s completely colored.
Then, give your design a minute or two to dry before removing the stencil.
5. Heat Your Design with a Heat Gun
While the design is drying, you can begin preheating your heat gun.
The heat gun is required for bringing the design up to temperature and burning it into the wood.
We recommend anything over 1000-watts in power.
Then, preheat your gun to the hottest setting available.
Then, after a minute or two, begin applying the heat to your craft.
Hold the heat gun approximately 6-inches away and make sure to apply the heat in a sweeping motion to avoid hot spots.
Within a minute or two, you should begin to see your design changing colors before your eyes.
6. String Your Beads onto the Twine
Your design is burned, your beads are dry, and your Valentine’s project is ready for assembly.
Now is the time to string your beads onto the twine and, if you’re interested, tying a little tassel at the end.
The Scorch Marker is a non-toxic, safe, family-friendly tool that we think everyone should enjoy.


Leave a comment (all fields required)