opti

Everything You Need to Know About Crafting with the Scorch Marker

  • 4 min read

Scorch Marker

The name alone is enough to raise a few eyebrows and generate some curiosity.

What is it? 

What does it do?

In this article, we’re walking you through everything you need to know about the Scorch Marker, a chemical wood burning tool that’s taking social media by storm.

If you’ve ever had the desire to wood burn, but found it to be too difficult and technical, then you’re going to want to read this.

Scorch Marker Opens a New World of Crafting Possibilities

The Scorch Marker is revolutionary.

It takes the beauty and intricacies of wood burning and simplifies them down into a marker.

What this means is that when you use the Scorch Marker, only the areas you draw will be burned.

This is so important can because pyrography can be quite challenging for the beginner, resulting in frustration and lost money.

With Scorch Marker, you have the option to draw, paint, or stencil-in designs on wood, and then watch them burn into the surface like magic. 

It’s totally non-toxic too, which allows you to customize wooden utensils, cutting boards, and spoons, and is 100% safe to use with children.

Scorch Marker is fully manufactured in the USA as well, which is something that we’re pretty proud to say. 


For a full video demonstration, watch the Scorch Marker inventor, Evan, talk some more about it on YouTube.

Scorch Marker Makes Wood Burning with Vinyl Stencils Possible

Probably one of the coolest aspects of the Scorch Marker is the fact that it can be combined with stencils of all different kinds.

Vinyl, silkscreen, and mylar are just a few options to choose from.

And, because heat isn’t added until after the drawing process is over, you don’t have to worry about damaging or melting your stencils. 

How to Use Your Scorch Marker the Right Way

Drawing with the Scorch Marker isn’t difficult at all.

In fact, if you’ve ever used a paint pen or something similar, you will already have a general idea of how this wood-burning tool works.

The three main steps required for every Scorch Marker project are to:

  • Prime Your Marker

Take 30 seconds or less to shake and prime your marker before use.

To shake it, simply hold the marker like you are going to write with it, and then shake it up and down vigorously.

The stainless steel agitator, included in each Scorch Marker tube, mixes the liquid thoroughly.

Skipping this step could result in a blotchy burn, so it’s important to do it each time you draw.

Then, you’ll want to prime your marker nib for use.

This is done by pressing down on the bullet tip and allowing liquid to flow into it.

The spring-loaded valve will saturate your marker nib fully.

Dab any excess Scorch Marker fluid off on a paper towel. 

  • Apply a Small Amount of Liquid to Your Wood

With your Scorch Marker prepped and ready to go, it’s time to start getting creative.

Before you draw, know that when it comes to the Scorch Marker, a little liquid goes a very long way.

One of the top culprits for blurred edges is too much liquid on the design.

Go over your drawing once, and if you feel like it’s enough after you burn it, you can always go back over it for a second coat. 

There are several options for applying the Scorch Marker fluid to your surface.

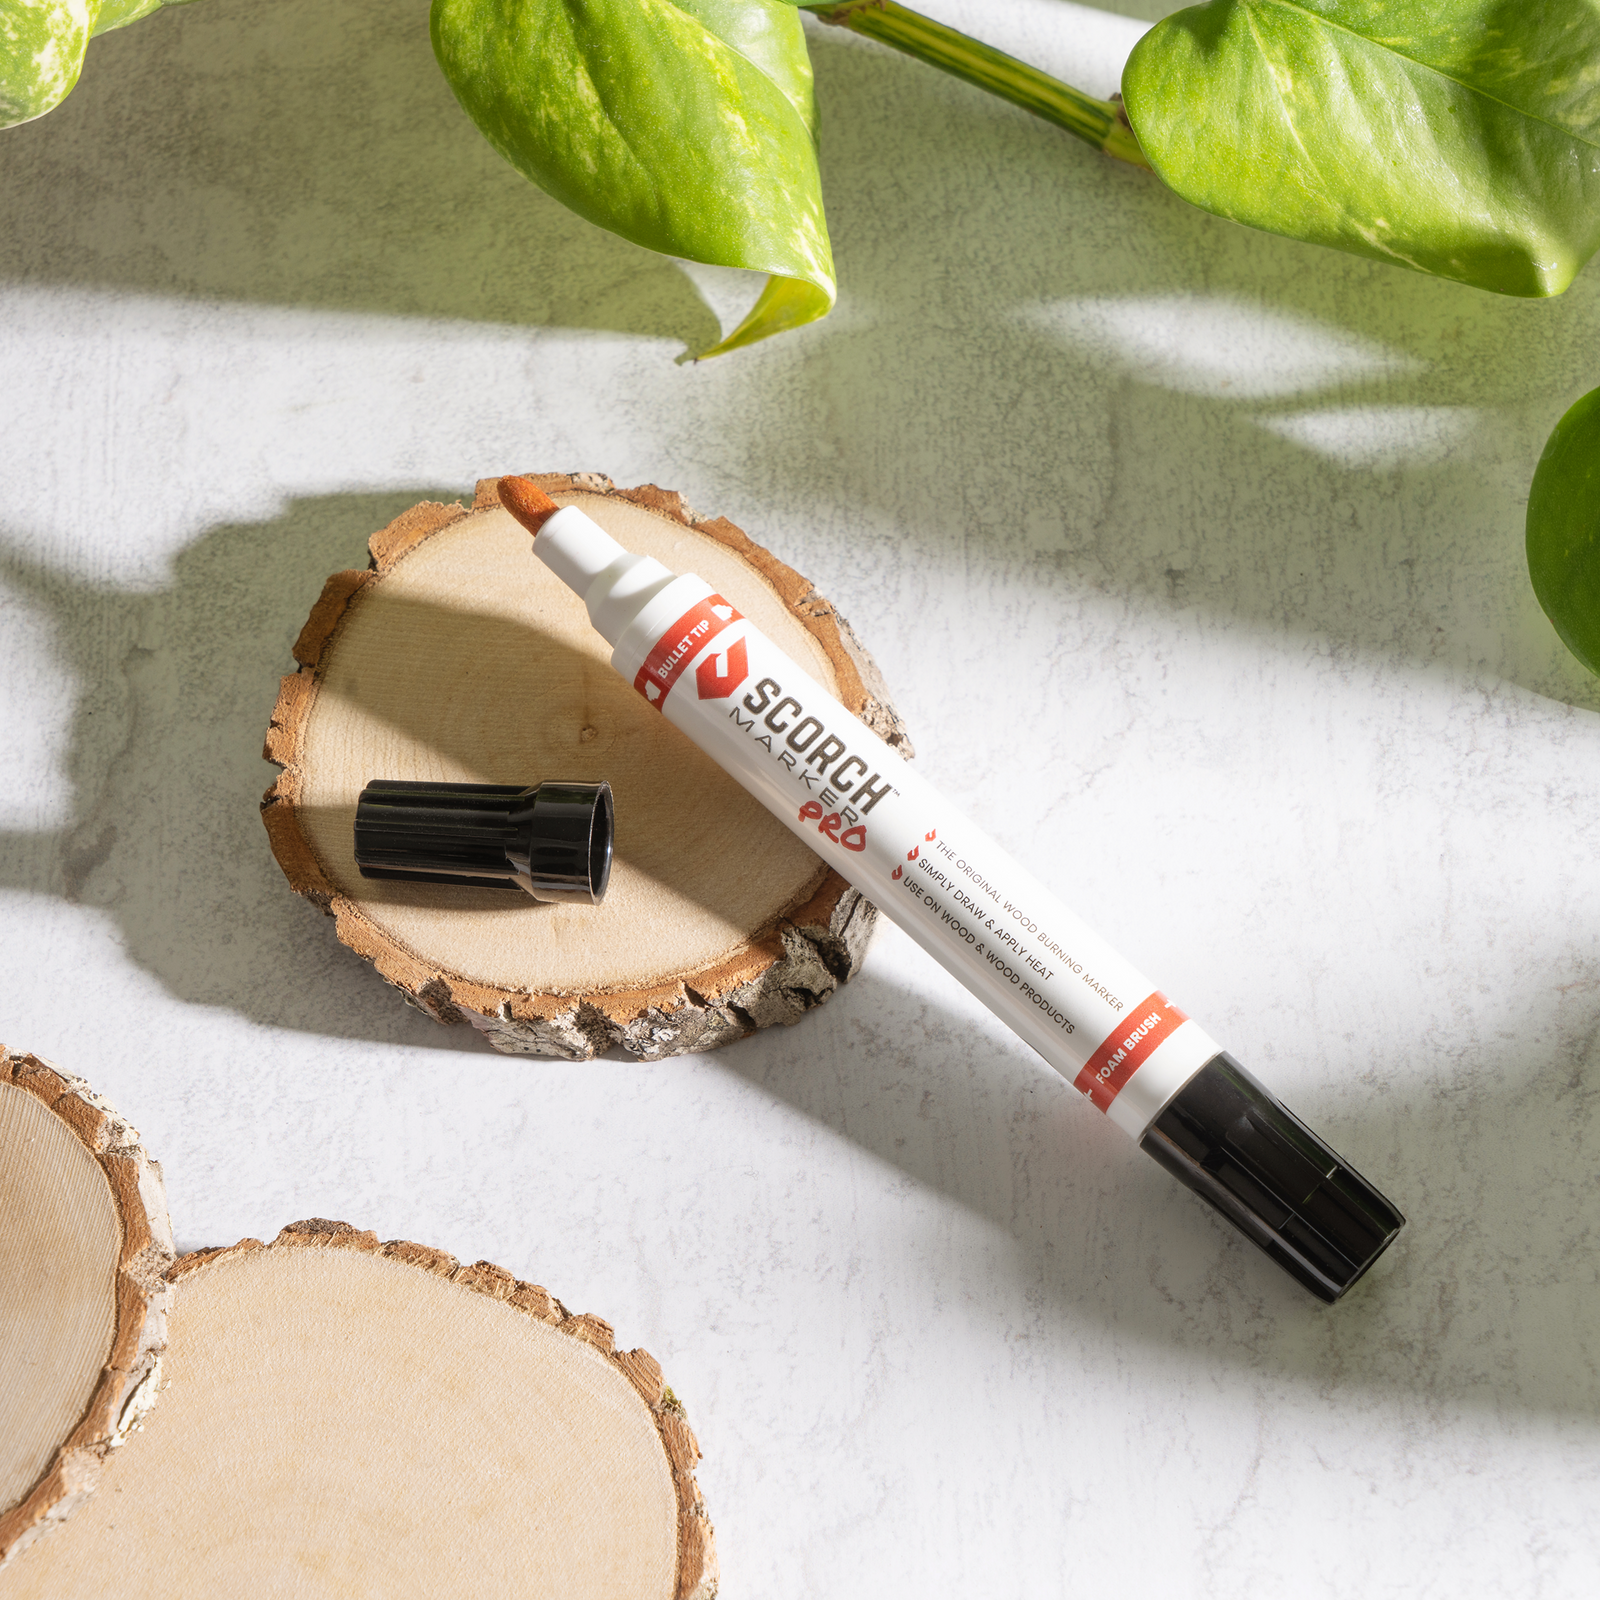
The bullet tip is perfect for swooping lines, and drawing pictures.

The foam brush is a handy tool for calligraphy-style strokes and filling in large stencils.

For even thinner lines, many people dip their own paintbrushes into the back of the marker.

The possibilities are endless with Scorch Marker. 

  • Activate Your Heat Source

It is so fun to watch the Scorch Marker magic happen!

Once you’ve finished your design, it’s time to apply the heat.

The heat source that we recommend is a heat gun.

This is mostly because these tools are much easier to control.

However, large open flames, like a butane torch, will also work well. 

For heat guns, we recommend one that is at least 1500-1800 watts.

This one on Amazon is the one that we use in all our videos.

Hair dryers, crafting guns, and other small heat sources do not get hot enough, and they will not work.

The more heat you apply, the darker your design will get. 

Whatever heat source you choose, apply it to your creation in a sweeping motion.

Don’t hold the heat for too long in one place, and watch the magic happen before your eyes!

Tips for Getting the Most From Your Scorch Marker

We have created hundreds (if not, thousands) of projects with the Scorch Marker.

We’ve made lots of mistakes - and learned a lot.

Keep these important tips in mind when crafting with this tool.

  • Less is More

It might feel like you have to use more Scorch Marker fluid to get the job done, but this is not true.

Use less.

Only pass over your design once.

Use the smallest amount of liquid necessary, and work very hard not to oversaturate your wood.

Doing so will cause it to be sucked up by the grain, resulting in blurry lines. 

  • Sand Your Surface

You should always sand your surface before working on it.

This ensures an even workspace.

For most projects, 220-grit sandpaper is perfect for a clean final result.

However, some woods (like pine) and projects do better when sanded to an even finer grit.

If you find that your edges are still bleeding, despite doing everything right, try sanding your surface with 500-grit sandpaper. 

  • Preheat Your Heat Gun

The most dangerous step in the entire Scorch Marker process involves the heat gun.

Its high heat enough is enough to cause fires and serious burns, which is why you want to have it in your hands for the smallest amount of time necessary.

The best way to do this is to preheat your heat gun.

A preheated heat gun lowers the burn time required for the chemical reaction to take place, while also reducing your risk for injury or mistakes.

Just a minute or two of preheat time makes a big difference!

  • Connect with Us on Social Media

We’d love to see what you made!

Share your creations with us onFacebook orInstagram, and follow us onTikTok for new videos and ideas every day.

We’ll see you there!

7 Responses

Brenda

Brenda

October 25, 2022

I want to stain the wood should it be done before scorching or after

Kim

Kim

July 12, 2022

Did anyone have their questions answered? Thanks

Connie

Connie

June 23, 2022

I will be moving across the country this summer through the dessert. Should we be concerned about the Scorch pens spontaneously combusting during transit?

Thank you
Connie

Vera

Vera

March 31, 2022

Will these work on unglazed tiles????
The tiles are raw material and have not been glazed yet.

Alice

Alice

January 27, 2022

When I am done, should I take the tip off? Clean the tip? Leave it as is with tip on still wet from last burn? Thank you

Colleen Johnson

Colleen Johnson

November 11, 2021

I can’t get my design to burn. It just turns white.

Becky

Becky

April 05, 2021

When used correctly and conservatively, how much use can one get from a single pen? I’m aware that ‘painting in’ will shorten longevity. Thanks.

Leave a comment (all fields required)

Comments will be approved before showing up.

SEARCH