It takes an investment to get started and requires quite a bit of research and practice to truly get the hang of.
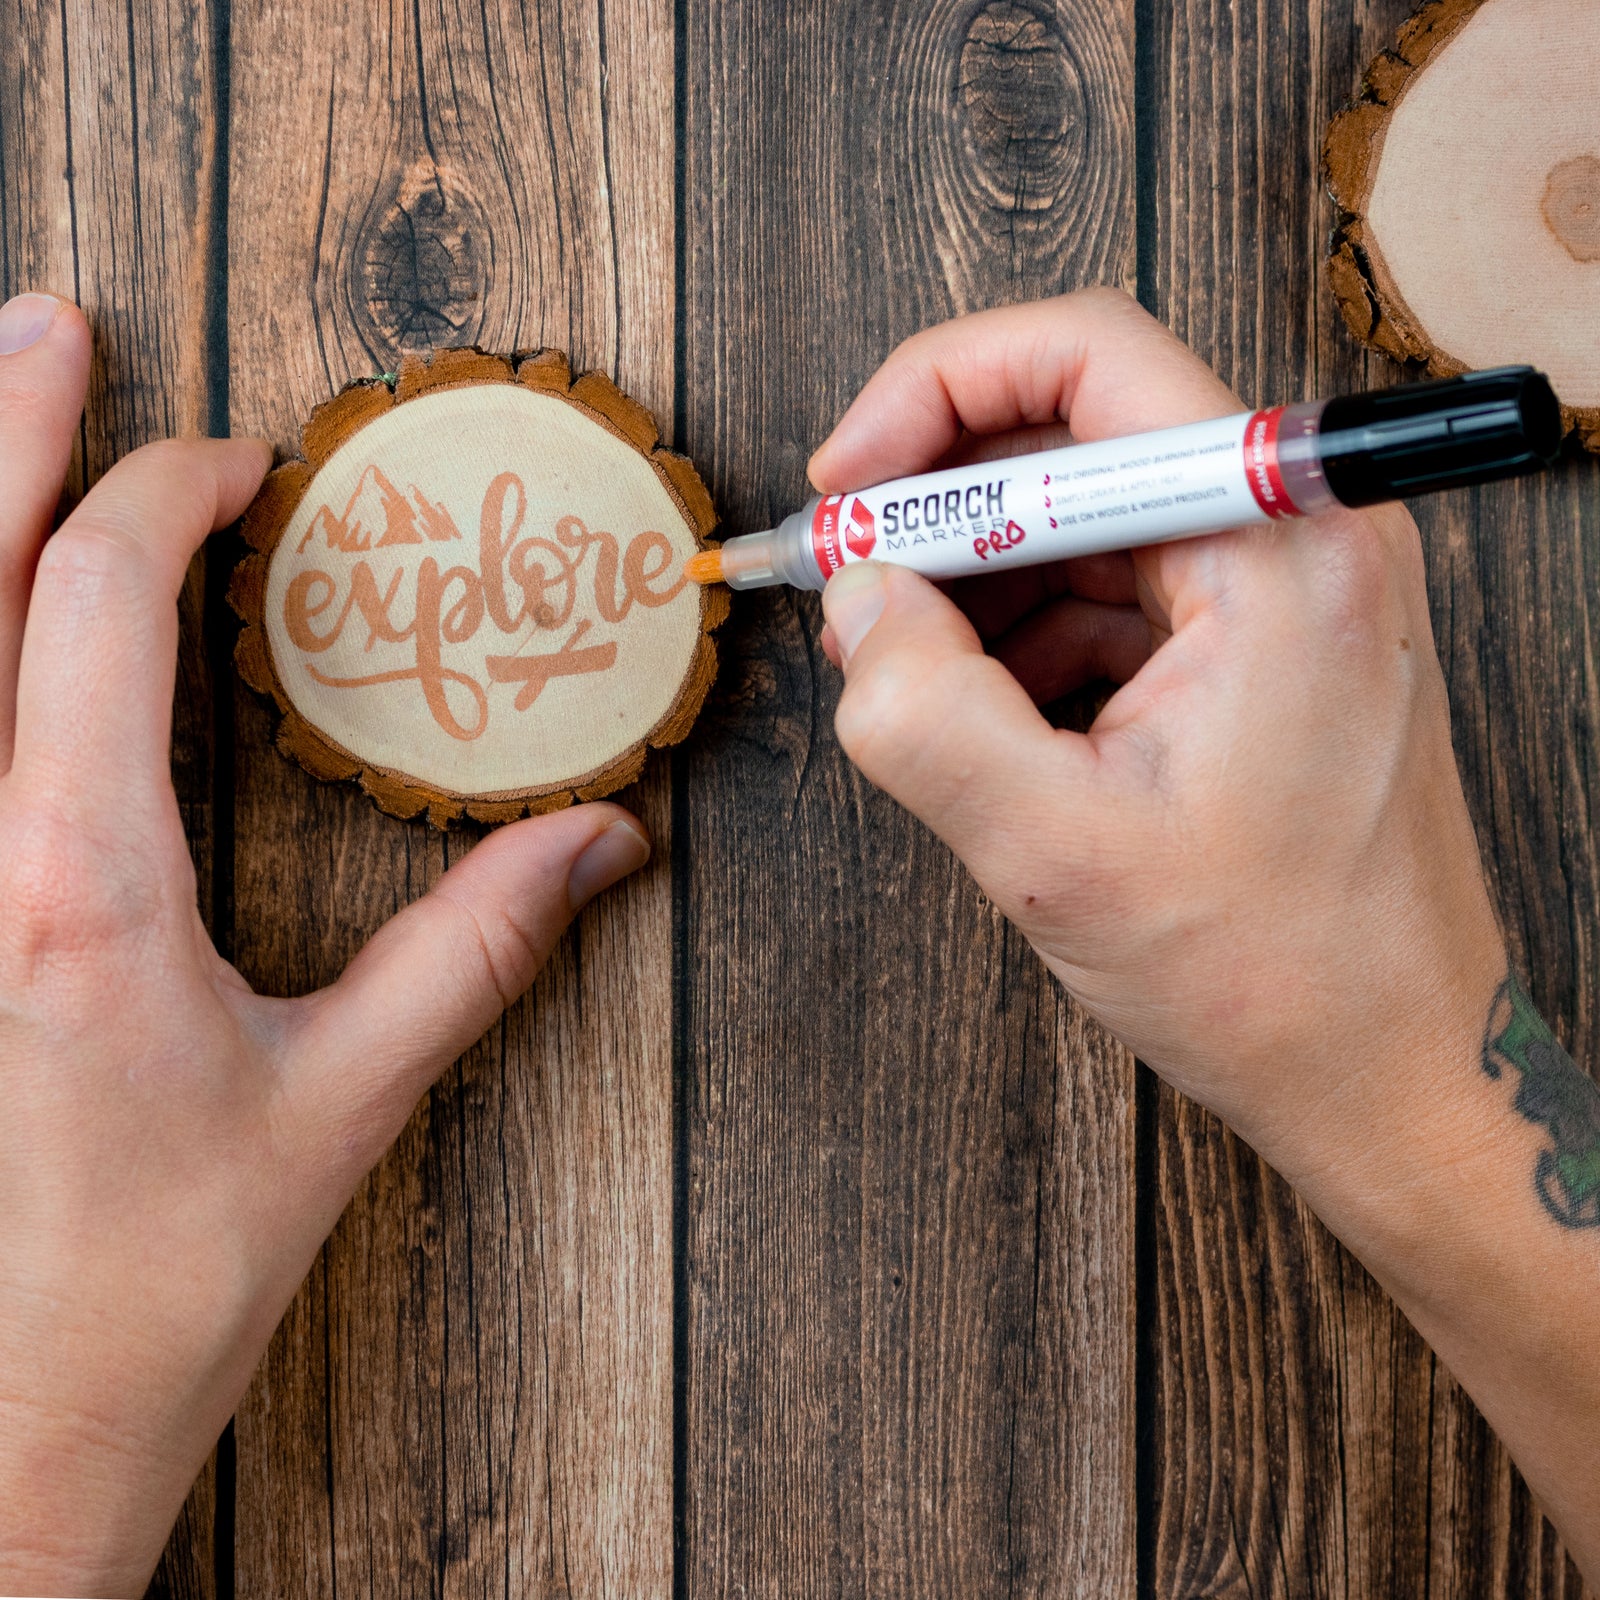
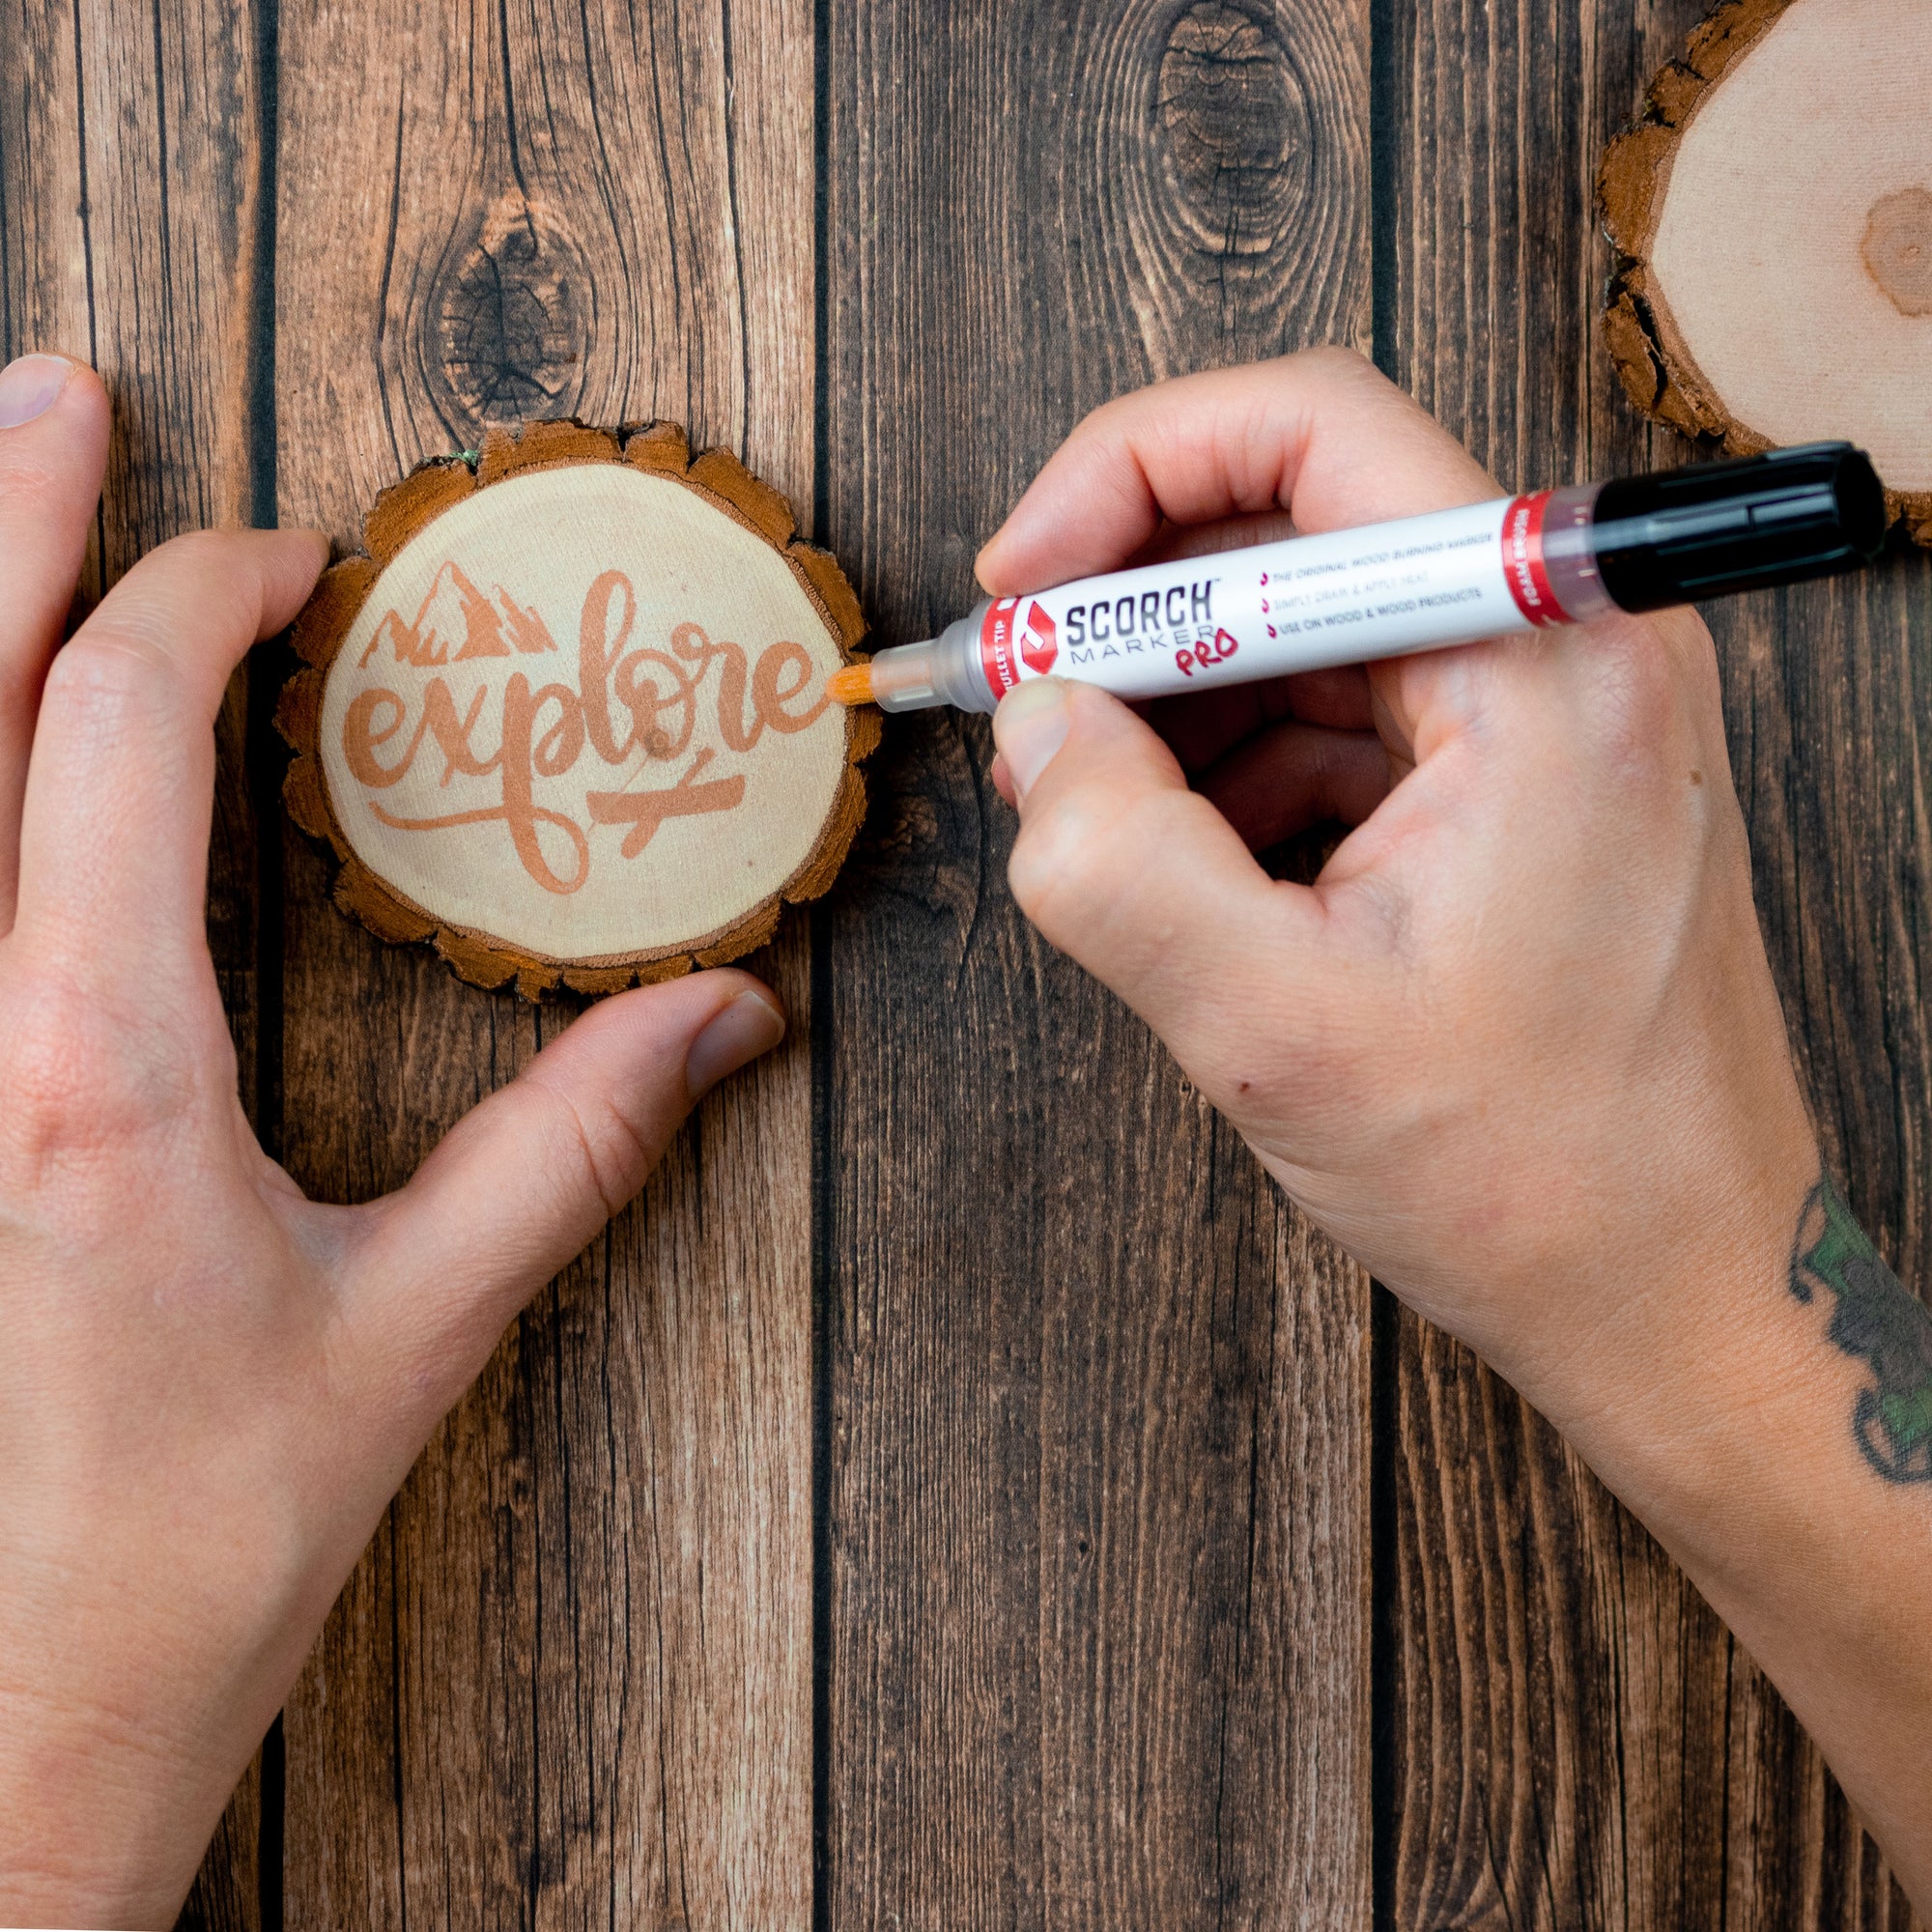
The Scorch Marker is the first tool to challenge that learning curve, by offering the rustic feel of wood-burnt art and putting it into a marker.
Instead of navigating the world of complicated wood burning techniques, the Scorch Marker allows you to spend more time focusing on creating and having fun.
This article will be examining some of the top tips to get the most out of your Scorch Marker.

Tips for Using Your Scorch Marker
The Scorch Marker uses a non-toxic chemical formula and a heat gun to offer you and your entire family the ability to create beautiful wood-burnt designs in just minutes.
While the product is simple enough to pick up and use straight out of the package, this article will be discussing some of the top tips to make your experience with the Scorch Marker even better.
1. Sand Your Surface Before Burning
Because the Scorch Marker works just like a regular marker with a fiber nib, a smooth surface is imperative.
This will allow for easier writing and will help prevent the liquid from bleeding into the grain of your wood.
A smooth, sanded surface is the best way to begin your project.
2. Transfer Patterns Before Using Your Scorch Marker
Using transfer paper for wood or just a pencil, take the time to provide an outline for yourself before working with the Scorch Marker.
Because heat isn’t applied until after you’re finished drawing, stencils can also be used to create clean lines.
This reduces the need for sanding away mistakes made with the Scorch Marker.
3. Use a Powerful Heat Gun
In order for the chemical reaction to take place and appear on the surface that you’re working on, a heat gun that is at least 1000 watts is necessary.
Some artists have even created amazing works of art using the Scorch Marker and a torch flame.
High heat will help your work stand out the most.
4. Dab it on a Paper Towel
Whether you’re working on a slice of wood or a piece of cardboard, dabbing the tip of the Scorch Marker on a paper towel can ensure that the lines of your finished design are crisp and exactly as intended.
Because the fluid inside the marker flows so effortlessly, dabbing the excess off and onto a paper towel helps significantly.
5. Apply Heat in Stages
When heat is applied to the chemical within the Scorch Marker, it doesn’t burn right away.
Instead, a reaction must take place, and the wood-burn effect begins appearing gradually.
This offers you the freedom to apply the heat in stages, resulting in somewhat of a gradient effect.
There is no need to rush when working with the Scorch Marker because the fluid can be burned when wet or completely dried.

6. Experiment with Different Surfaces
7. Try the Foam Brush for Filling in Space
8. Don’t Hold the Heat Gun Too Close
For the best contrast, it is recommended that the Scorch Marker be used on wood that is light in color and grain.
This allows wood-burnt creations to show up and stand out.
But, this also makes the wood more susceptible to browning due to heat.
To avoid discoloration in areas of the wood where you did not mark, hold the heat gun at least six inches away from your wood.
The Scorch Marker is such a fun and exciting alternative to wood-burning, that allows the whole family get in on the action.


Jennifer
January 17, 2023
Should the ink be a purpleish-pink color?