

So, you’ve heard about the Scorch Marker.
Maybe you’ve seen some of our videos on social media, or maybe a friend told you about the world’s first wood-burning marker.
Either way, you’re now interested in giving this tool a try.
That’s what this blog post is here for.
In this article, we’re giving you all the tips and tips on preparing your wood for the Scorch Marker to help you achieve the best results every single time.
It’s Easy to Achieve Crisp, Clean Lines with the Scorch Marker
Creating beautiful, flawless works of art with the Scorch Marker is easy, and takes only four simple steps.
There is a bit of prep work required though, to help you achieve lines that are crisp and clean.
Today we’re going to talk about them.

1. Start with Raw, Untreated Wood
To begin your craft, we recommend that you always start with raw and untreated wood.
Wood that’s been treated, stained, painted, or sealed can produce a finished result that’s subpar and may also release dangerous chemicals during the heating process.
When it comes to wood-burning, raw wood is the best wood.
Remember, you can always jazz things up and make your piece look fancy once you’ve finished burning.
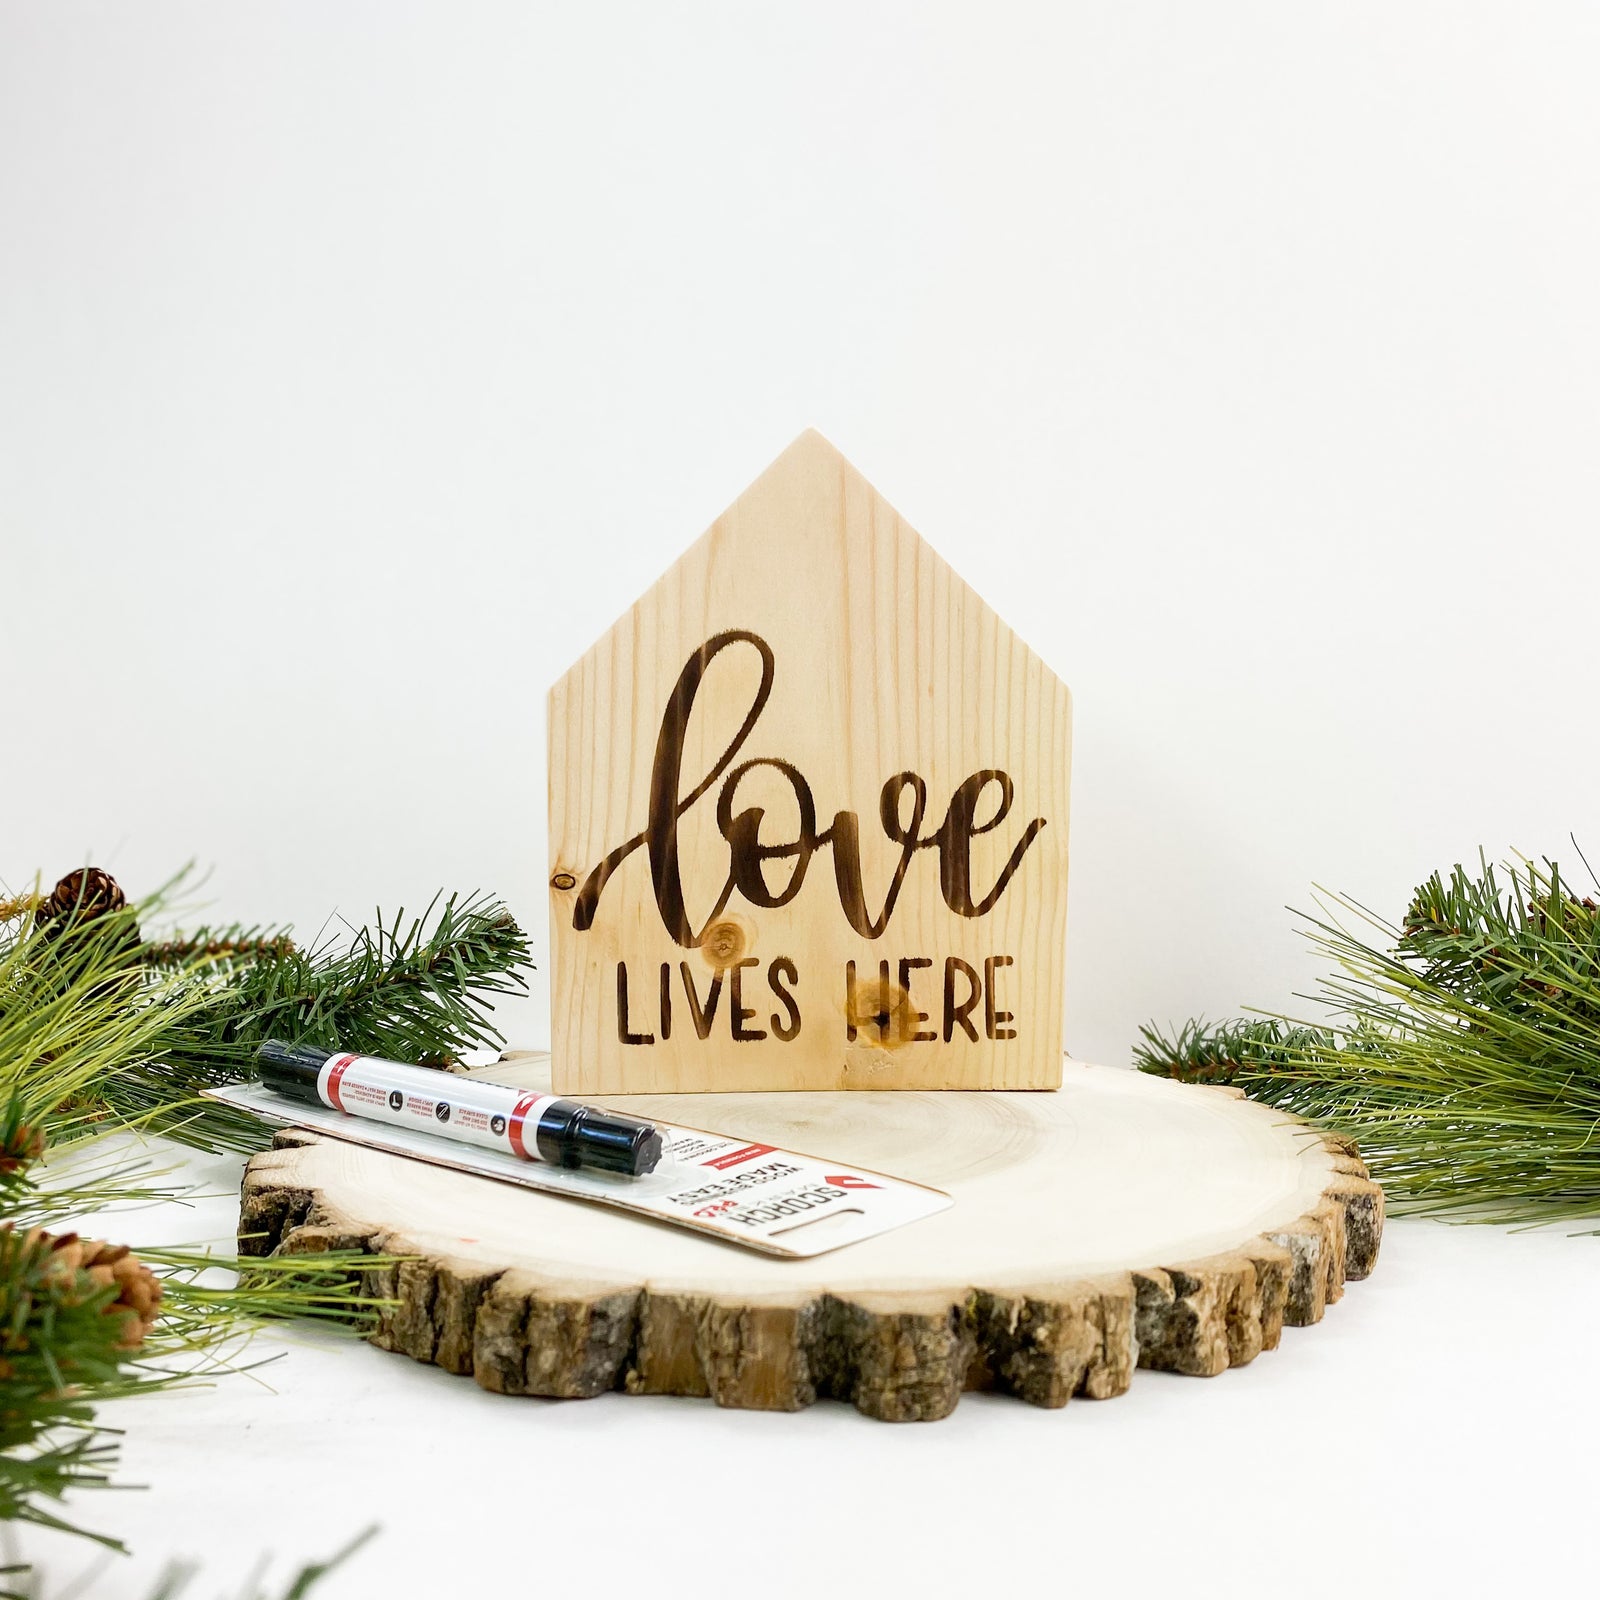
For this special Valentine’s craft, we went with some raw house-shaped wood that we found at Target.

2. Sand Your Wood with 500 (or 1000) Grit Sandpaper
This is one step you don’t want to skip.
Sanding is one of the most important ways to prep your wood for the Scorch Marker.
Not only does it help create a surface that the vinyl will easily stick to, but sanding also prevents the Scorch Marker liquid from running all over the wood.
For most woods, sanding incrementally up to 500 grit (sanding with 150, then 220, then 500) works just fine.
For softer woods, like bamboo and pine, you may have to go all the way up to 1000-grit to achieve a surface that’s smooth.

3. Apply Your Stencil and Scorch Marker
With your wood prepared, it’s time to start crafting.
If you’re using a stencil, now is the time to apply it.
If not, that’s okay too!
A stencil is not necessary at all for Scorch Marker crafting, but it does help those of us with unsteady hands or difficulty with art.
Vinyl stencils are our most-used stencil, simply because they’re easy and can be made at home.
However, stencils made of silk screen, plastic, metal, and even paper can be combined with the Scorch Marker.
Once your stencil is in place, it’s time to start drawing!
Apply a light layer of the Scorch Marker, dabbing the pen on a paper towel between each application.
A little bit of liquid goes a very long way.
Applying too much, however, runs the risk of bleeding lines and edges.
Remember, you can always apply more liquid or fill-in blank areas after burning, but you can never take away the Scorch Marker liquid once it’s been soaked into the wood.

4. Burn It
Now for the fun part. It’s time to watch your project come to life!
Using a heat gun that’s at least 1500 watts (or a high-powered torch flame), begin applying heat to your design.
Within a few minutes, you will begin to see the color change happening before your eyes.
Make sure to keep your heat source moving in a sweeping motion and at least 6-inches from your craft to prevent hot spots.
Burn to your desired darkness, and then take the time to admire your work of art!
Burning with the Scorch Marker does take practice, so don’t feel discouraged if your first project didn’t come out as you expected.
Instead, check us out on TikTok where we share daily tips, tricks, and project ideas.
And, don’t forget to tag us in all your finished crafts!


mindy hersley
February 26, 2022
I so glad I ran across this on Pinterest I’m a crafter and I’m going to half to buy this as soon as can.