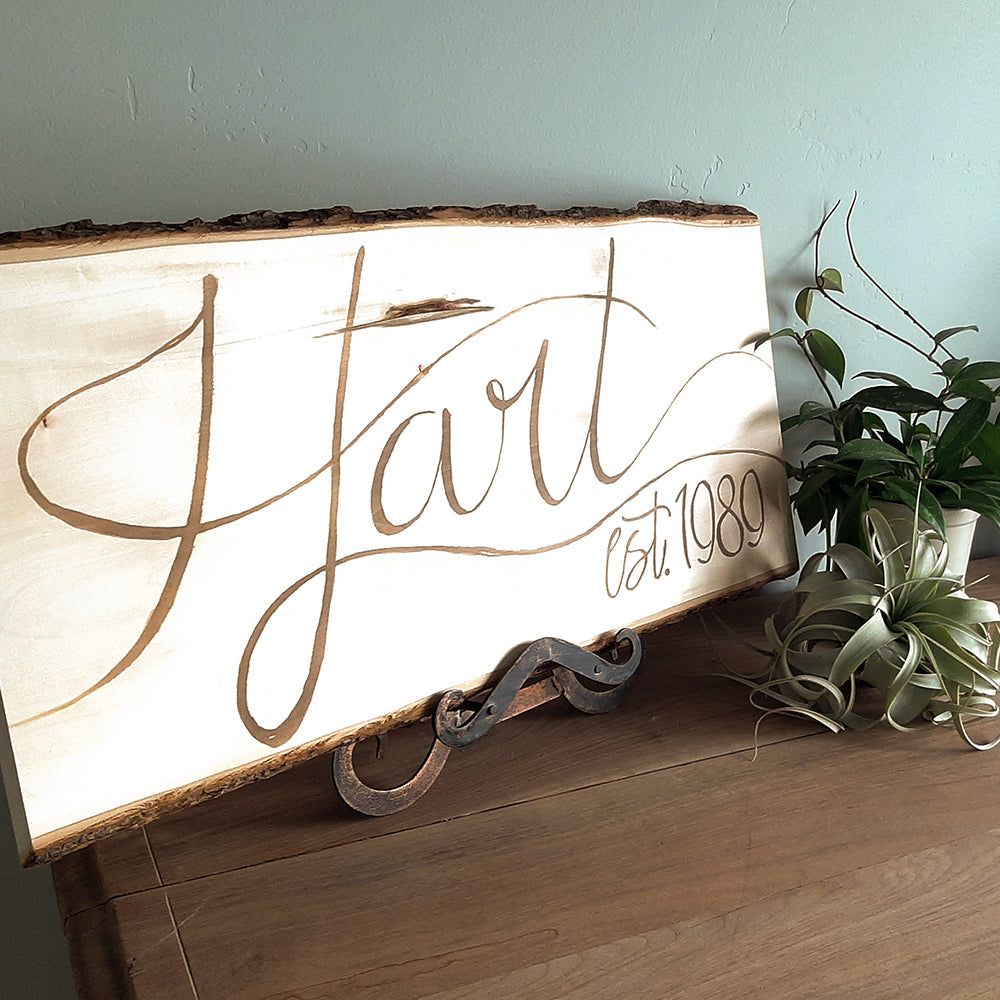

Pyrography, the act of using hot tools to burn permanent marks in pieces of wood, is an ancient art form that has been practiced by man for centuries.
The first drawings were used to tell stories and communicate with other humans, and today’s pyrographers are creating incredible works of art that can sell for thousands of dollars.
While a quick Google search on wood-burning makes the activity seem daunting and overwhelming, it doesn’t have to be!
This article is covering the most essential wood-burning basics you should know before creating your first masterpiece.
How to Get Started
Trying out any new hobby feels a little bit scary, especially when it comes to handling hot tools. You don’t want to mess things up, and you definitely don’t want to get hurt, which is why you must do your research beforehand.
One of the most important wood-burning basics is to start by gathering all of your supplies and becoming familiar with your tools.
When we understand how something works, we can accomplish so much more with it.
A wood-burning marker, like the Scorch Marker is the perfect wood burning tool for beginners.
Using only a marker, you can create complex, intricate wood-burnt designs with ease. When creating with the Scorch Marker, you can work as slow as you’d like because time is not a factor.
The tool is a wonderful way to introduce children to pyrography.
Regardless of the tool you use to create with, there are some questions worth answering before getting started.
-
Can you Wood Burn over Paint?
For the safest wood-burning experience and the best result, start your project on a clean, sanded surface. When practicing pyrography with a wood burning marker, a smooth, clean surface is even more critical. Because of the preparation necessary, it’s impossible to burn over a painted surface and quite toxic to burn paint.
Proper preparation happens in one main step: sanding. This can be a little messy, so it’s best done outside or in an easy-to-clean area. Depending on how rough your wood is starting out, the sanding step could take some time, but putting in some elbow grease can help ensure a beautiful finished product.
Lumber from a craft or home improvement store is already going to be sanded down for you, eliminating this step. However, if you’d like to go the extra mile to have a piece of wood that takes your designs well, running over the entire piece with a card scraper will make a huge difference. For those looking for some color, it can be added to a pyrography piece once it is completed.

How to Seal Burnt Wood
One of the biggest questions asked by beginners to pyrography is how to seal burnt wood. This is because creating your design isn’t the only step in the process. In fact, what happens next is even more important to make sure that your creation can be enjoyed for years to come.
Without a finish, your work can deteriorate, crack, and become damaged. There are a few different finishes that are typically chosen for wooden projects.
Remember to never mix finishes, as the chemicals could react badly to one another. Some of the most common options to seal your pyrography project include:
Lacquer
Lacquer is a favorite sealant among many pyrographers, making it one of the easiest to find. The substance provides a durable finish and dries relatively quickly. Lacquer is incredibly cost-effective, which is another reason it’s chosen so frequently. Lacquer can deteriorate over time, but it can be repaired easily and without a sanding job. The finish can be brushed or sprayed on your project, depending on your preference.
Polyurethane
Because it is plastic in a liquid form, polyurethane provides an extremely strong protective layer over your artwork. It comes with either an oil or water base and does add a slight yellow hue to everything it covers. Polyurethane still remains a relatively popular option for sealing burnt wood and requires about three coats to do the trick.
Paste Wax
Paste wax is another popular choice because it gives you lots of control over the way the finished product looks. Paste wax gives pyrography projects a nice shine, offering a fresh, clean look. This finish is applied with a cloth, and usually only takes a couple of coats. Applying too much paste wax can result in a cloudy appearance. This sealant option is affordable, but does take some time to apply, as it requires buffing.
Whatever you decide to use, make sure to have fun :)


Lyndell Zurligen
February 22, 2024
After using a propane torch to burn 2 Benches, that I made. Do I sand it lightly 0r wire brush it 1st before putting Stain & Varathane on ?! Experimenting…in Jr. High woodshop I made 2 horse heads out of 2×6 0r 2×8. Burned it with a torch ,Stained it w/Minwax and Varathane. 😍🫡