Using the right techniques, a wood burning artist can create countless designs, from basic calligraphy to detailed portraits.
It is not an art form that can be mastered without practice, however, which is why experimenting with your technique is so important.
In this article, we are going to be examining some of the most simple ways that you can begin adjusting your wood-burning techniques for better results and a more satisfying outcome.

1. Choose the Best Wood Burner for Pyrography
Emmert Wolf says that a person “is only as good as their tools”, and this definitely rings true when it comes to pyrography.
There are many different types of wood burning tools available, and some can get expensive, which is why a little research and investigation goes a long way.
When deciding on the best wood burner for pyrography, the three most common types to choose from include:
-
Solid Point Burner
The solid point “craft-style” burners are extremely popular amongst beginners to pyrography, especially because they are easier to grip and heat to a pre-adjusted temperature.
Solid point pens also tend to be more affordable and easiest to transport, as all parts are included in the pen itself.
Some of these craft-style burning pens even come with a heat shield to protect your hand from getting too hot.
Solid point pens do require quite a bit of patience though, as they can take quite a while to heat up, cool down, and burn the wood altogether.
-
Wire-nib Wood Burner
Because they offer much more control and tend to be a bit pricier, wire-nib wood burning tools are commonly chosen by seasoned pyrographers.
These tools are much smaller, making it easier to hold them for longer periods of time, and also provide lots of control over the temperature.
Wire-nib wood-burning pens come with their own learning curve though, and are difficult to transport, so these are not typically recommended for the beginner.
-
Wood Burning Marker
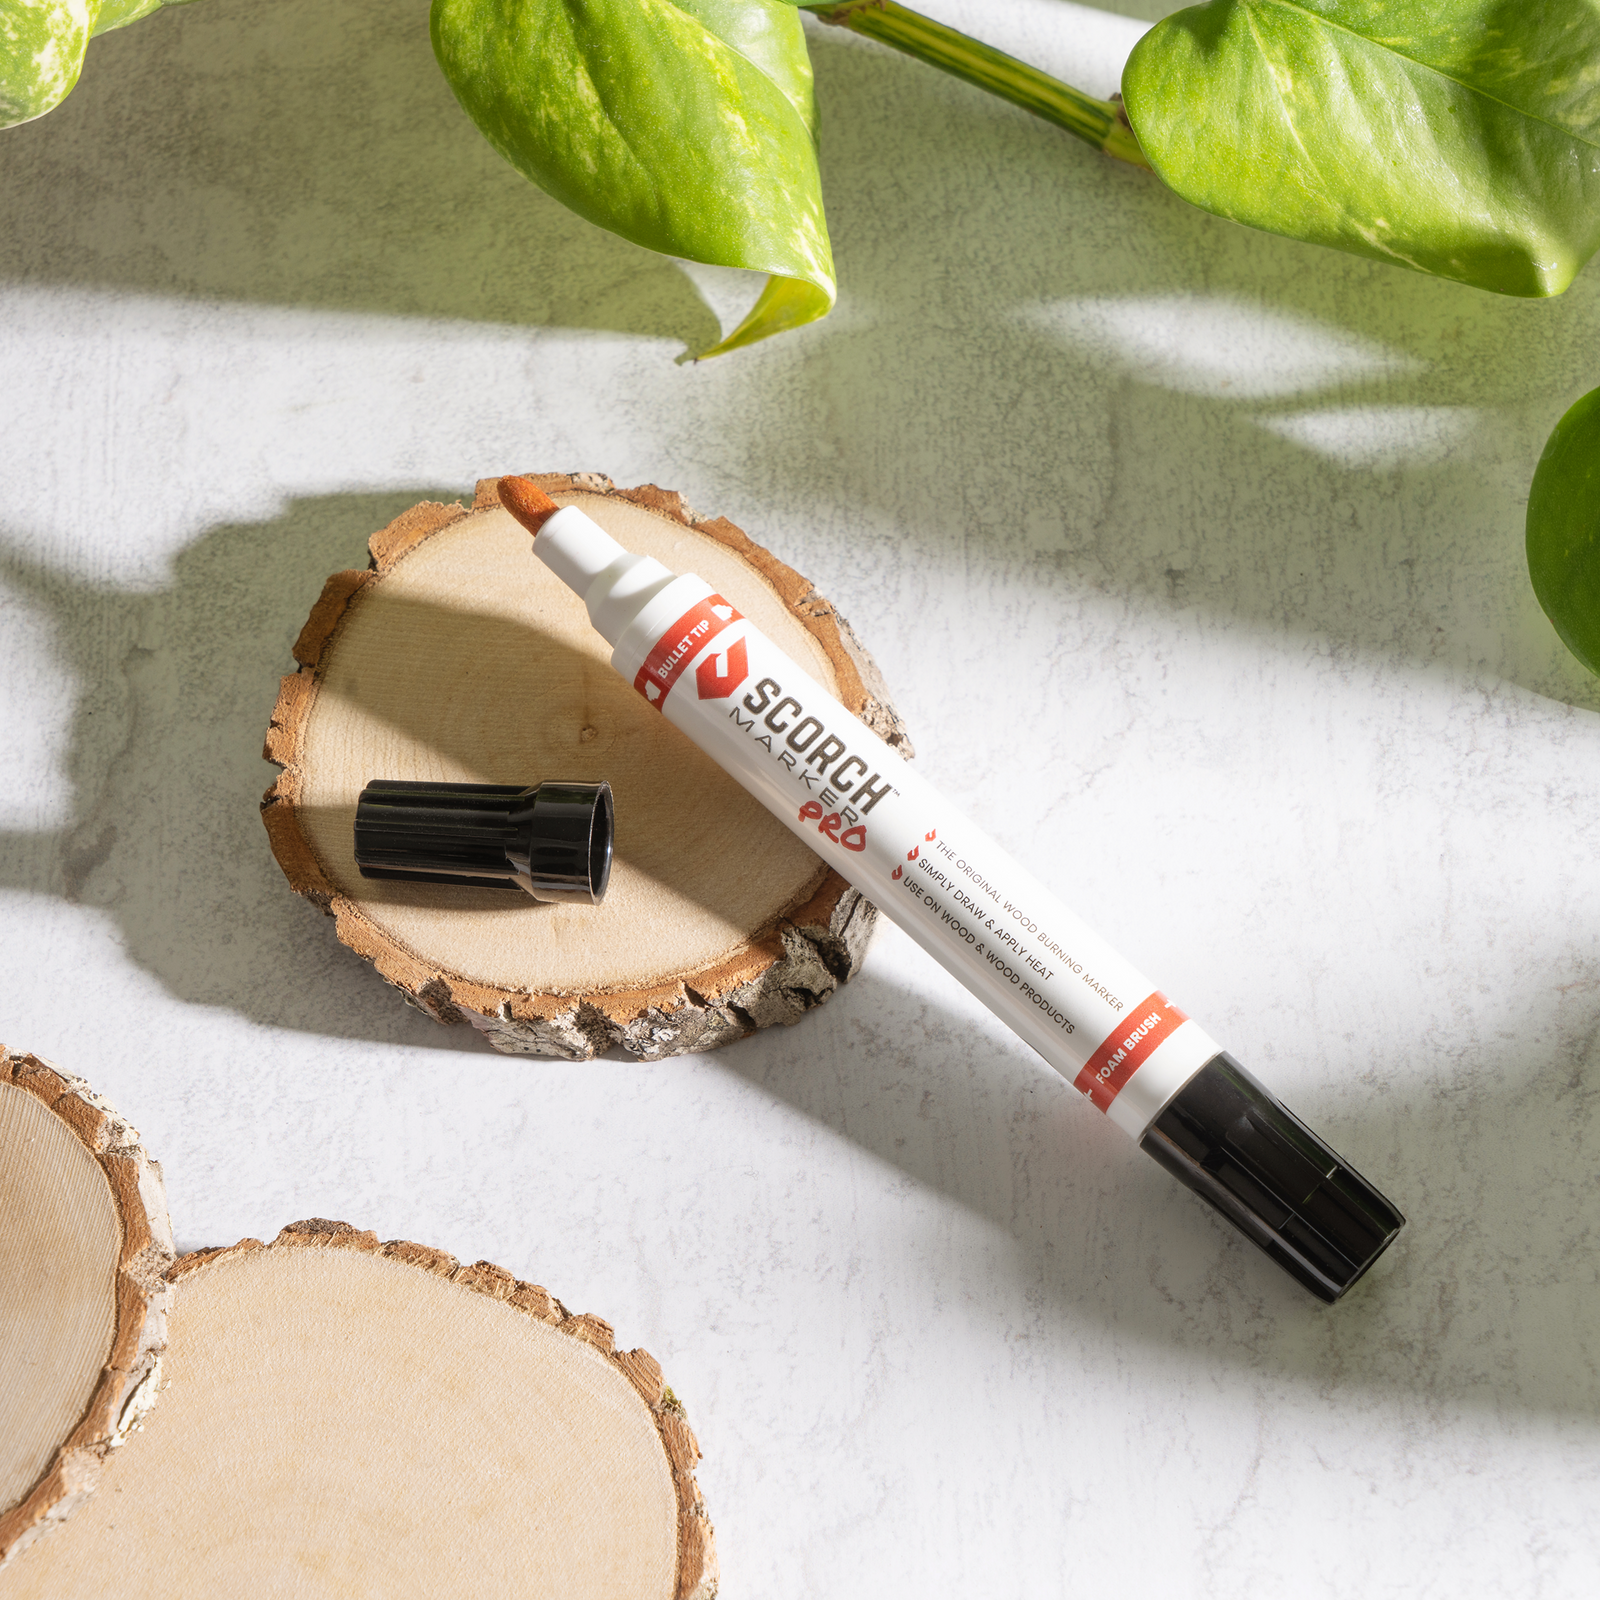
Simplest and least-intimidating of all is the wood-burning marker.
This option is ideal for the ultimate beginner or someone who would like a little twist on pyrography.
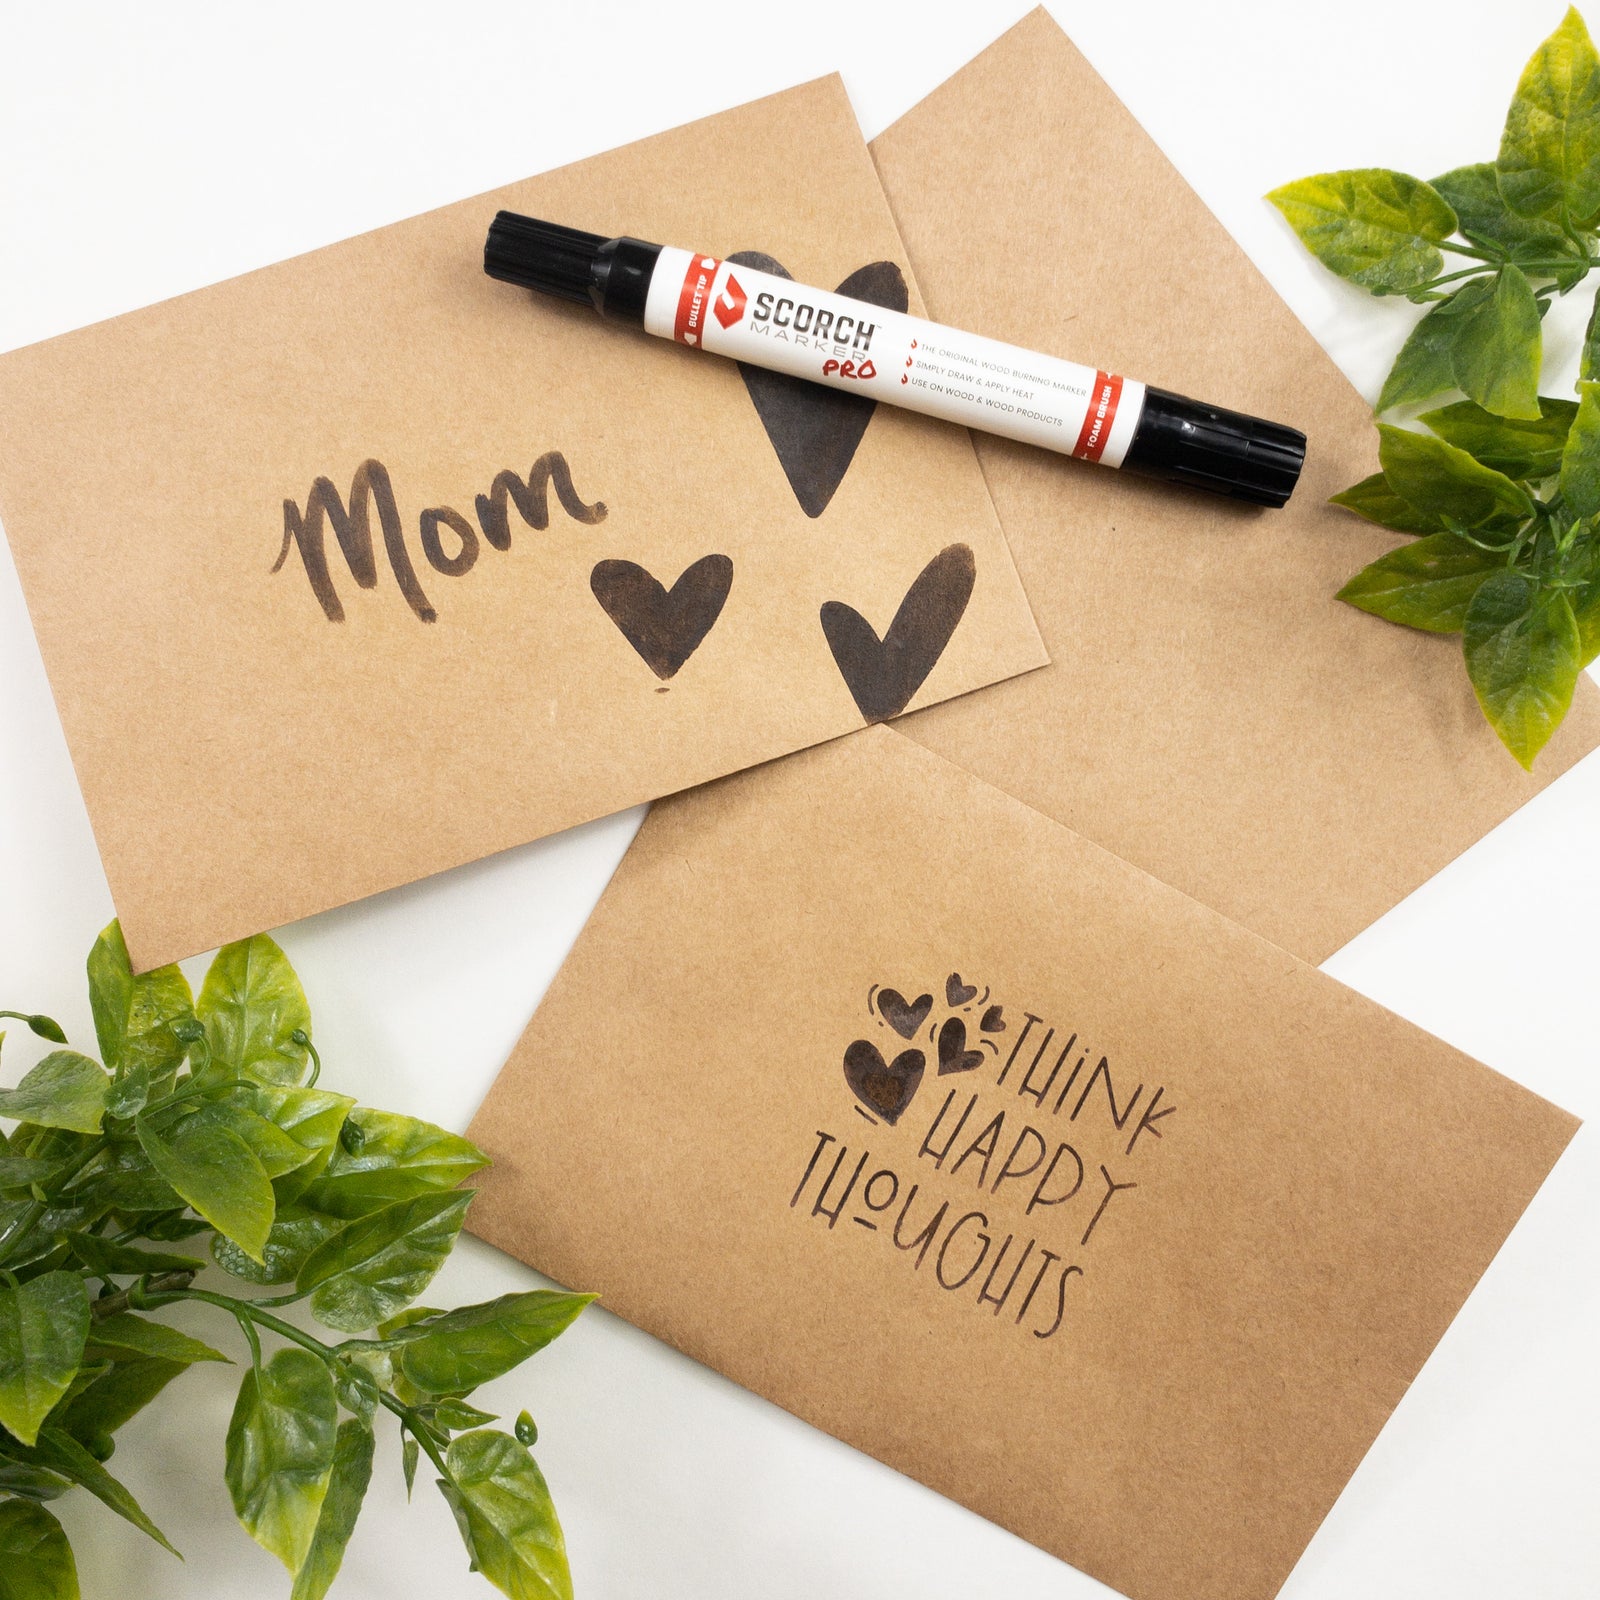
Scorch Marker, the only wood-burning marker currently available, makes erasing wood burning mistakes easy and eliminates the fear of burns.
The marker makes stenciling your wood burnt designs possible, while also making gradient effects easy to achieve.
It’s the perfect solution for getting kids in on the action and enjoying pyrography with the entire family.

2. Experiment with Pyrography Shading Techniques
In pyrography, shading is one of the most difficult aspects of the hobby to master.
With practice and persistence though, pyrography shading techniques can add texture, depth, and more life to your creation.
Make sure to hold your wood burning tool lightly to avoid hand cramps or mistakes in your work.
It’s incredibly beneficial to have several pieces of scrap wood nearby for you to practice different shading techniques before applying them to your art.
For example, burning a very dark background can really help your art pop, but this must be done with careful consideration for the main lines in your piece.
3. Erase Your Mistakes Properly
Making a mistake while working on a wood-burning creation can be an incredibly stressful experience.
Not only does one piece take lots of time and effort, but erasing wood-burning mistakes is not an easy task.
Sandpaper is the eraser for wood, and this is the only way to remove mistakes made while wood burning. Very dark and deep marks may never be completely removed.
This is another area where the Scorch Marker reigns supreme.
All marks made with this tool are shallow enough to be removed, while always remaining deep enough for permanence.
This feature offers quite a bit more control and peace of mind when it comes to intricate designs and pieces of art.
To learn more about the Scorch Marker, and how you can try one yourself, click here!


ARIANNE B MUNOZ
December 24, 2021
I would love to test this.