It can be hard to find wood burning patterns to use, especially online. We're going to show you exactly where to go to find the best patterns and how you can make those patterns a stencil to use with your wood-burning tool.
Follow these 5 easy steps to find, make, and use wood-burning patterns.
Step 1 - Find Pattern
We recommend going on sites like Pinterest or your favorite craft blog to see what types of designs are out there. Once you find one you like, save it or screenshot it for future reference. The trick is to find images that are black and white or easy to edit so that you can translate them into stencils easily. Let's show you an example.

This is a perfect example of what to look for when you want to make a stencil. We sell this stencil file on our website linked here, if you're interested.
You can see that the edges are clean and there are only two colors, black and white. This will make it very easy for our Cricut software to remove the background and turn this into a stencil.
Step 2 - Import Image
Import the image into Cricut Design Studio. Don’t have it? You can download it on your Mac here. Then we're going to remove the background and make sure it's the right size on our art board. Have more technical questions on how to upload Cricut files? Check out our 2020 Guide on Everything You Need to Know on Uploading Cricut Files linked here.
Step 3 - Cut Out Design

Let's load up some removable Cricut brand vinyl and cut out our turkey pattern.
Once we cut out our turkey we're going to weed out the parts that we don't want to use. To weed out parts of the stencil, we use a clay tool from Michael's for an easier removal. For those of you who enjoy more intricate designs, here is the link for those tools. You can buy these at your local craft store, or just use a toothpick or even your fingers. Just depends on how precise your design is.
Step 4 - Fill in Design with Scorch Marker
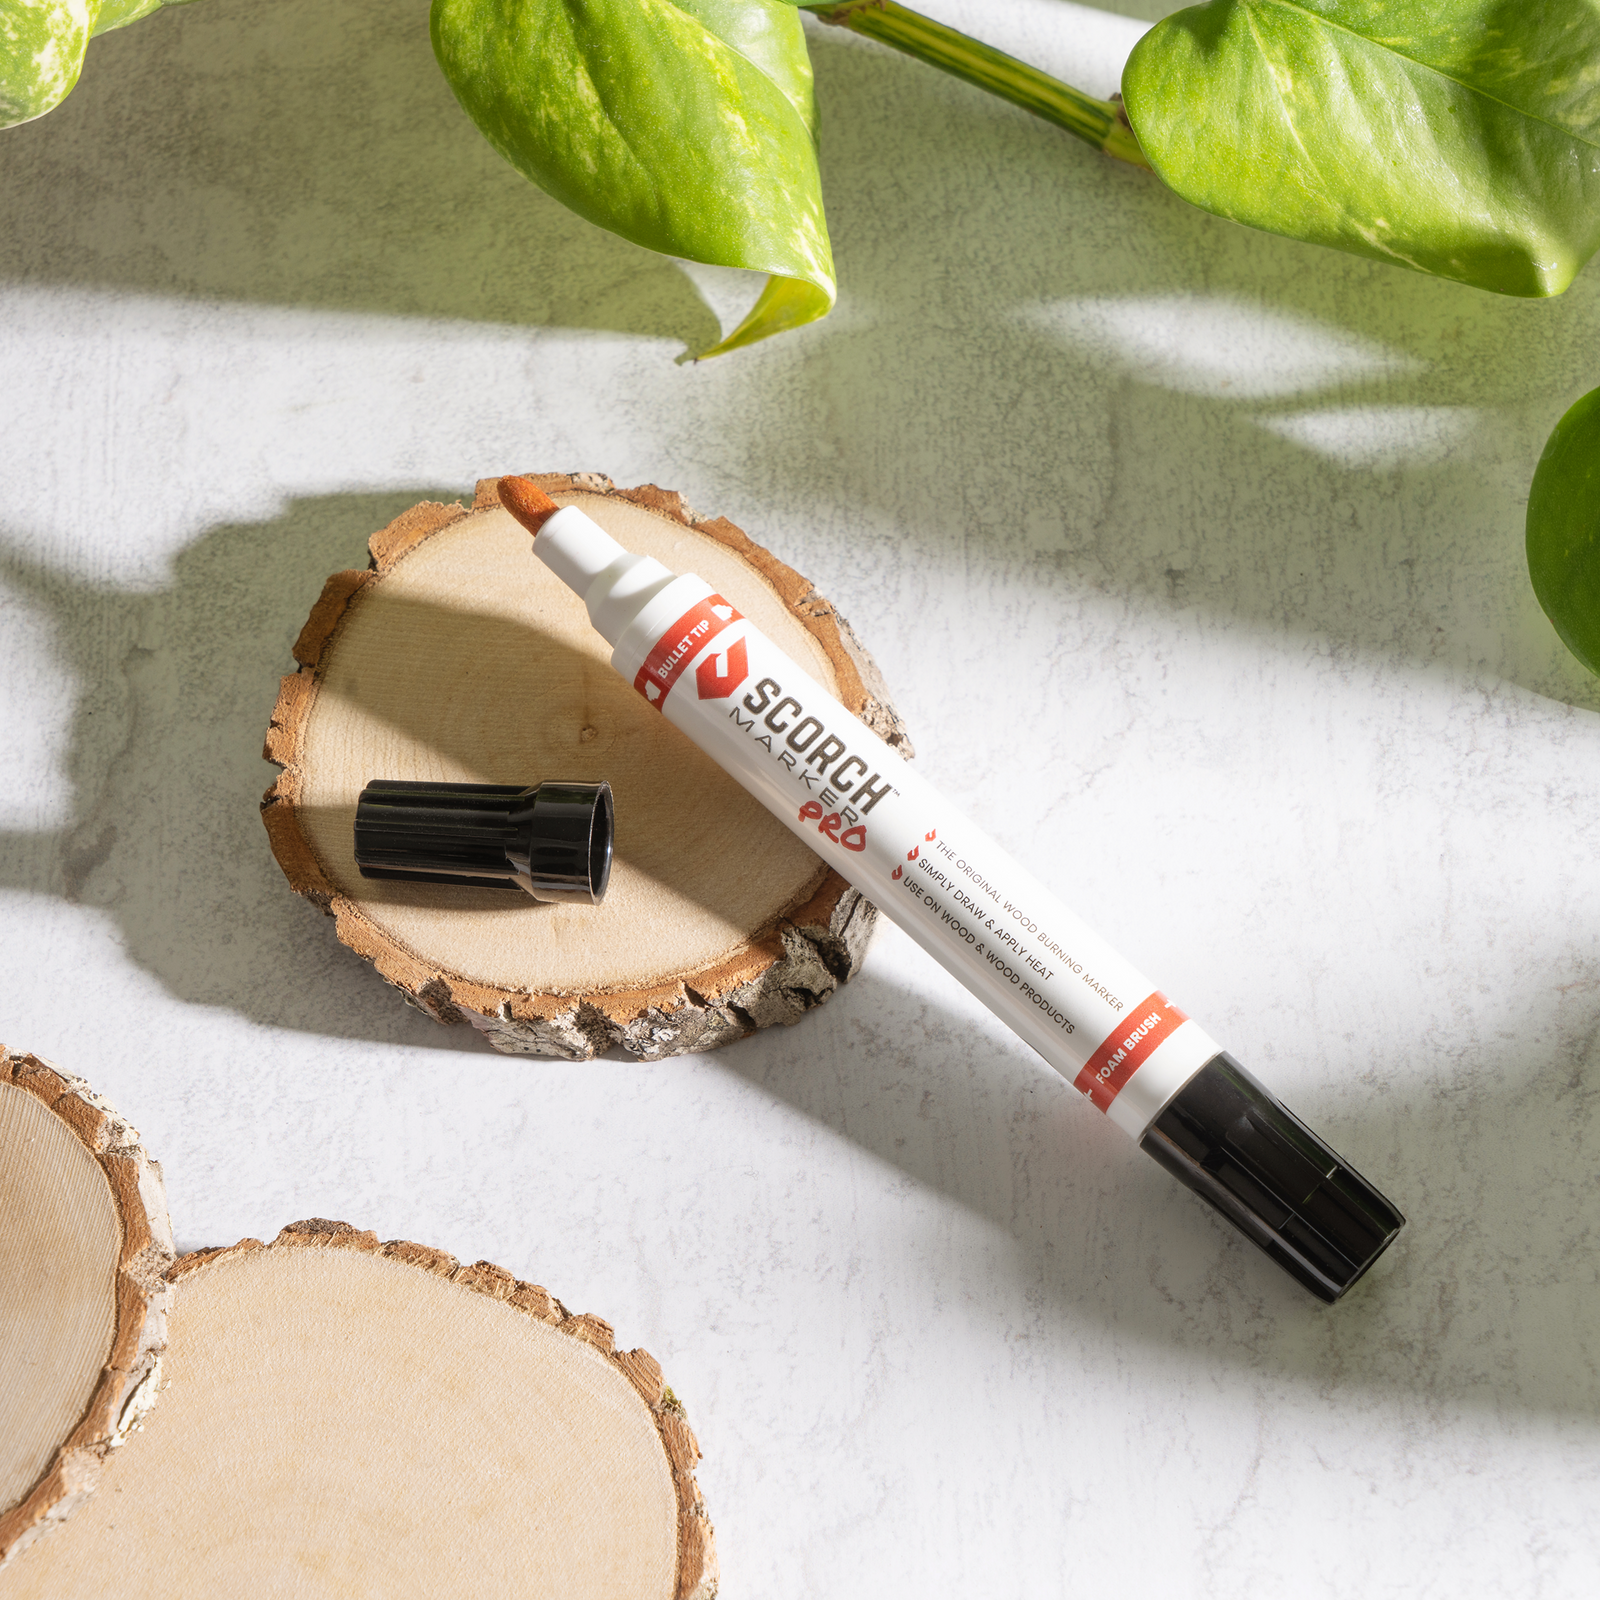
Grab a piece of wood. In this case we are going to use a 3 inch wood round made out of sourwood. If you want to buy wood rounds just like these click on this link. After the stencil has been applied to the wood surface we're going to fill in all the blank areas with our Scorch Marker Pro. After everything has been filled in all the way we're going to remove the stencil and get ready to scorch.
Step 5 - Fill in Design with Scorch Marker

Now it’s time for the fun part. We're going to use a heat gun (preferably above 1000 watts) and will heat where we applied our design and see our design burn right before our eyes.

If you don’t yet have a Scorch Marker or prefer to use your soldering iron, that’s ok! Just use a pencil to fill in your design and then go back over it afterward with your soldering iron to get a nice clean burn. Both great tools to have in your craft box, but Scorch Marker is much quicker and gives a similar burning effect.
For more information regarding Scorch Marker, visit our website by clicking here.


Milton Kelly
August 22, 2021
What an amazing invention I’ve always wanted to do wood burning i think will help to get me started. THANKS