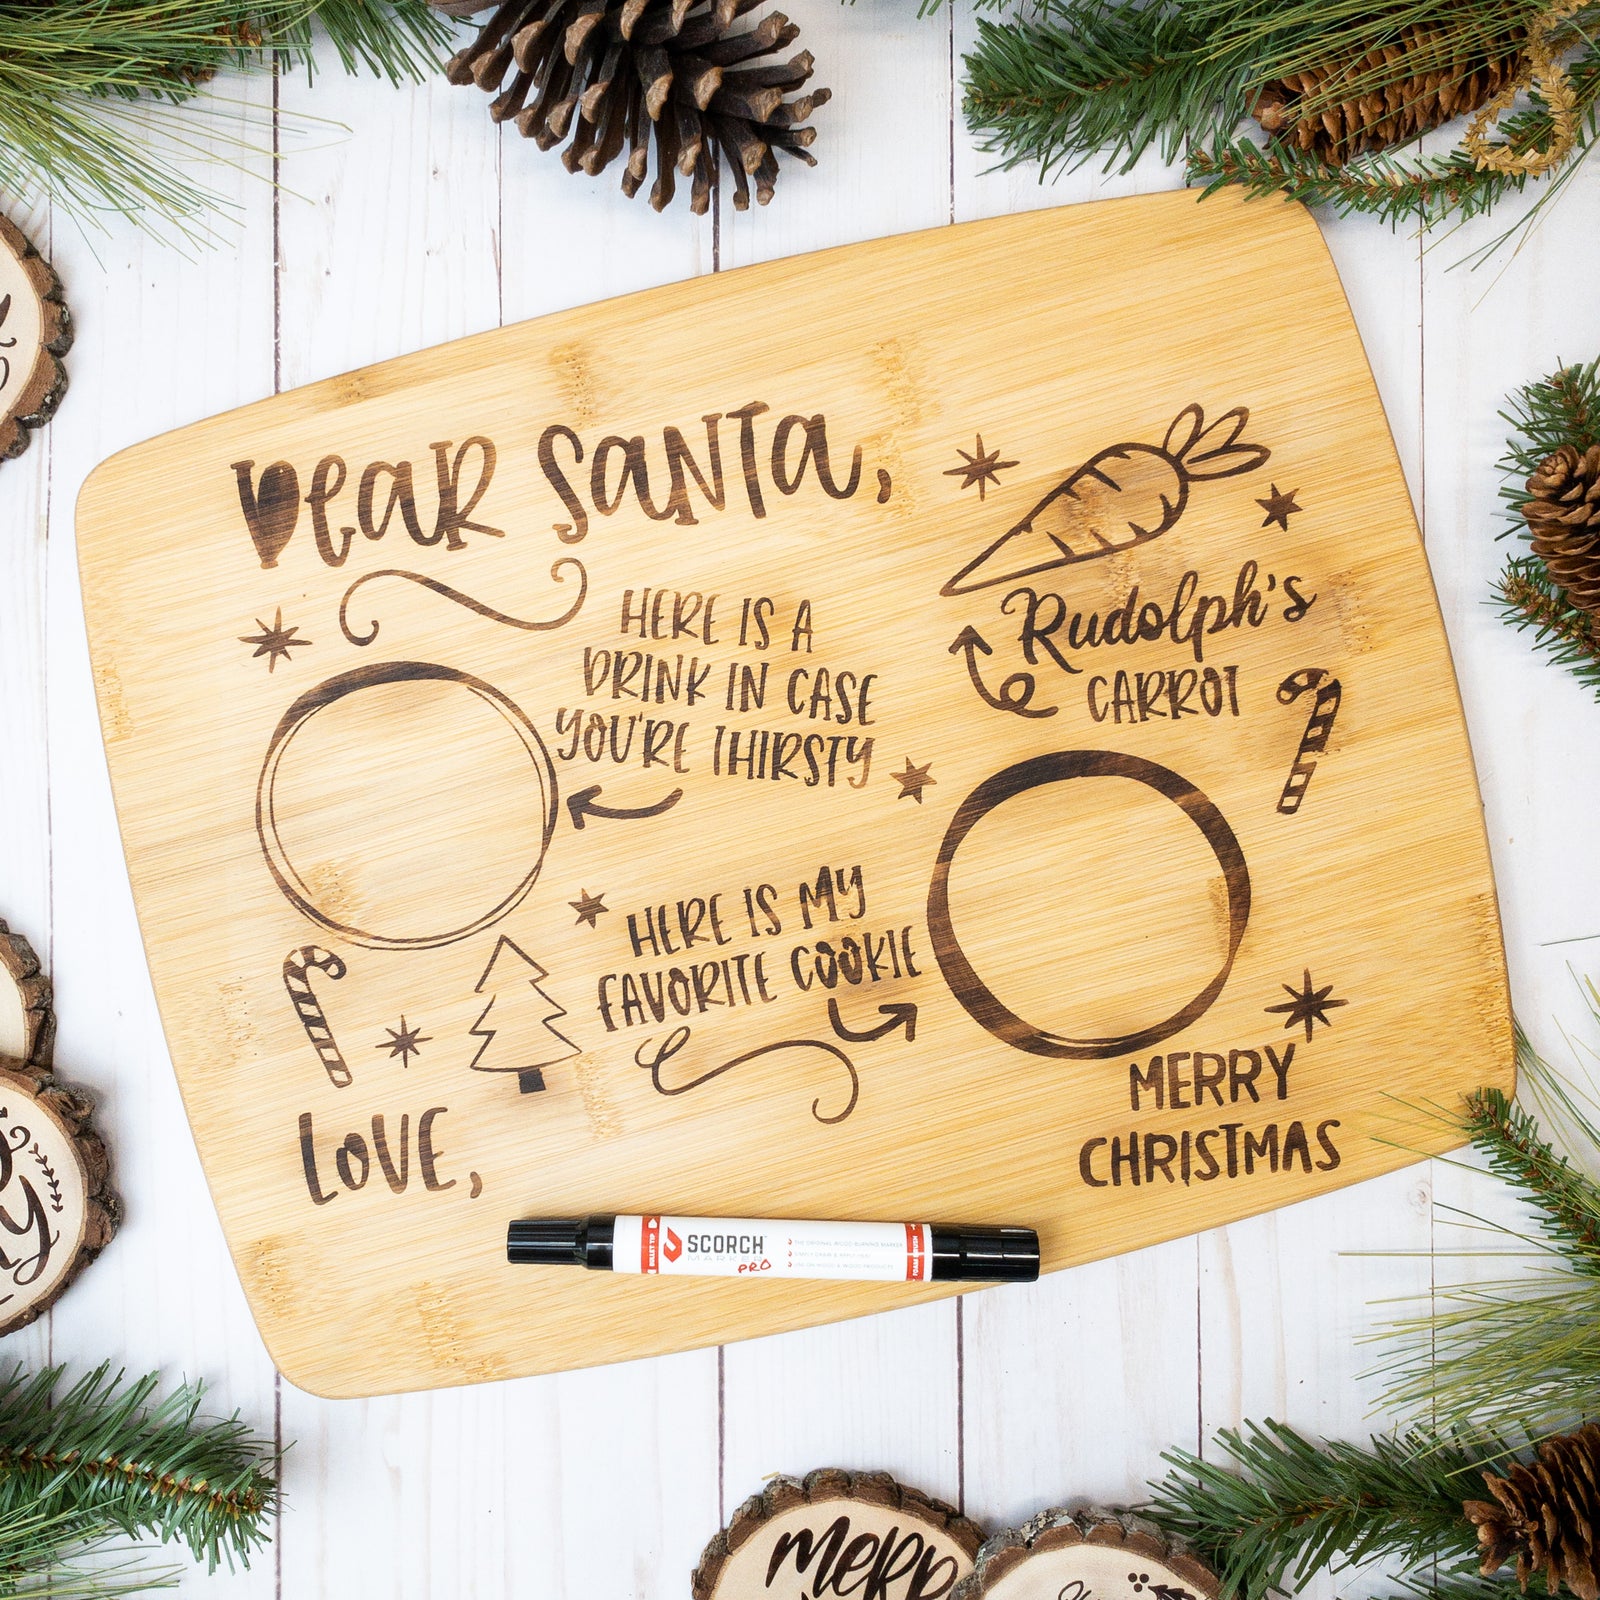

So, you put a whole bunch of time and energy into creating a vinyl, cutting it, applying it to the wood, and then drawing it on with the Scorch Marker.
But, the liquid bled underneath the stencil, and your final project resulted in messy edges and blurry lines.
Not much is more frustrating or deflating.
We get that and want to see you get the most success from your wood-burning marker.
That’s why we’re talking about the top tips for getting crisp, clean lines every single time.
To see these steps in action, visit our TikTok channel
Stop Your Designs from Bleeding the Right Way
While it might feel that way, drawing with the Scorch Marker isn’t like using any regular marker.
There is some mindfulness required when drawing with this tool.
But, when it’s used correctly, the wood-burning marker can produce designs that are beautiful, clean, and indistinguishable from traditional pyrography.
In this article, we’re discussing the five top tips you can begin including in your Scorch Marker designs to produce perfect results for all your creations.
Always Sand Your Wood
Possibly the most important step in the entire preparation process is the sanding.
We recommend sanding to 220-grit or greater, even if you’re using the wood that came with the Scorch Marker or some from a craft store. The smoother the better. Always be sure to sand with the grain pattern too.
When you sand to a finish like this, it creates a clean, smooth surface that is perfectly ready to receive the Scorch Marker liquid.
This helps you achieve a design that is sleek and has sharp lines.
Wipe with a Paper Towel
Definitely the second-most important step: wipe that surface!
You don’t want to sand away all of that coarse outer material just to have it sitting on top of your canvas.
Wiping the excess dust and debris helps your stencil stick more evenly to the surface, which is critical for preventing leaks.

Press Your Vinyl Stencil Firmly
Once you’ve worked so hard to get the surface ready for your vinyl stencil, it’s time to apply it.
Pay close attention to the seal that you are creating when applying your stencil, as this will make a difference in whether your lines bleed or not.
We press our stencils down firmly, and then make sure to get all the air bubbles out with a card scraper to help our designs look as professional as possible.
Don’t Use Too Much Liquid
Now, after all that work, it’s finally time to apply your design.
Make sure to use a Scorch Marker that is already primed, and apply a very thin layer of the fluid to your wood.
Using too much liquid, priming your marker on the wood itself, and over-saturating the wood are the primary causes of design bleeding.
A little really goes a long way here! And remember, you can always go back over your design with the marker and burn it again for a darker look.
Once your design has been applied, give it 2-3 minutes to really soak into the fibers of the wood before taking your stencil off and moving on to the next step.

Always Preheat Your Heat Gun
Preheating your heat gun to a very high temperature is another critical step in the process.
Coming in with a hot heat source, instead of one that gradually warms up, is the key to making sure that chemical reaction happens and the wood actually burns.
Always preheat your heat gun fully before applying heat to your wood.
Final Thoughts
Blunders and mistakes are disappointing, but the great news is that they can be avoided!
By following some simple steps, like always sanding your wood and never using too much liquid, you can control the end result of your creation.
The most important step in the process though is to have fun :)
No matter what, you can always sand away mistakes and try your design again.
We’d love to see what you create!
Try your hand at the Scorch Marker, and see all the fun you can actually have. Also, don't forget to share photos of your creations with us on all our social medial channels!


Laurie S.
January 02, 2023
Has anyone tried this on a stamp? Particularly the clear poly stamps out nowadays? What would you use to clean the stamp or even an accidental drip.? I’m dying to know and I wonder what rock I’ve been under for the last few years? Happy 2023 and thanks for the help, in advance.