Ahh, springtime has officially arrived! With everything blooming and the weather getting warmer, it's time to think of creative ways to spruce up your home in preparation for Easter.
Decorate your front door this season with a beautiful DIY Easter wreath that is sure to brighten up anybody's day - no matter who passes by!
In this blog post, we will walk you through the steps needed to create an eye-catching wreath out of seasonal supplies so that you can unleash your creativity and craft something that adds a little extra special flair for the upcoming holiday.
Use Scorch Marker to Decorate Your Home this Spring
Have you ever wanted to try wood-burning but were too intimidated by the heat and risk involved?
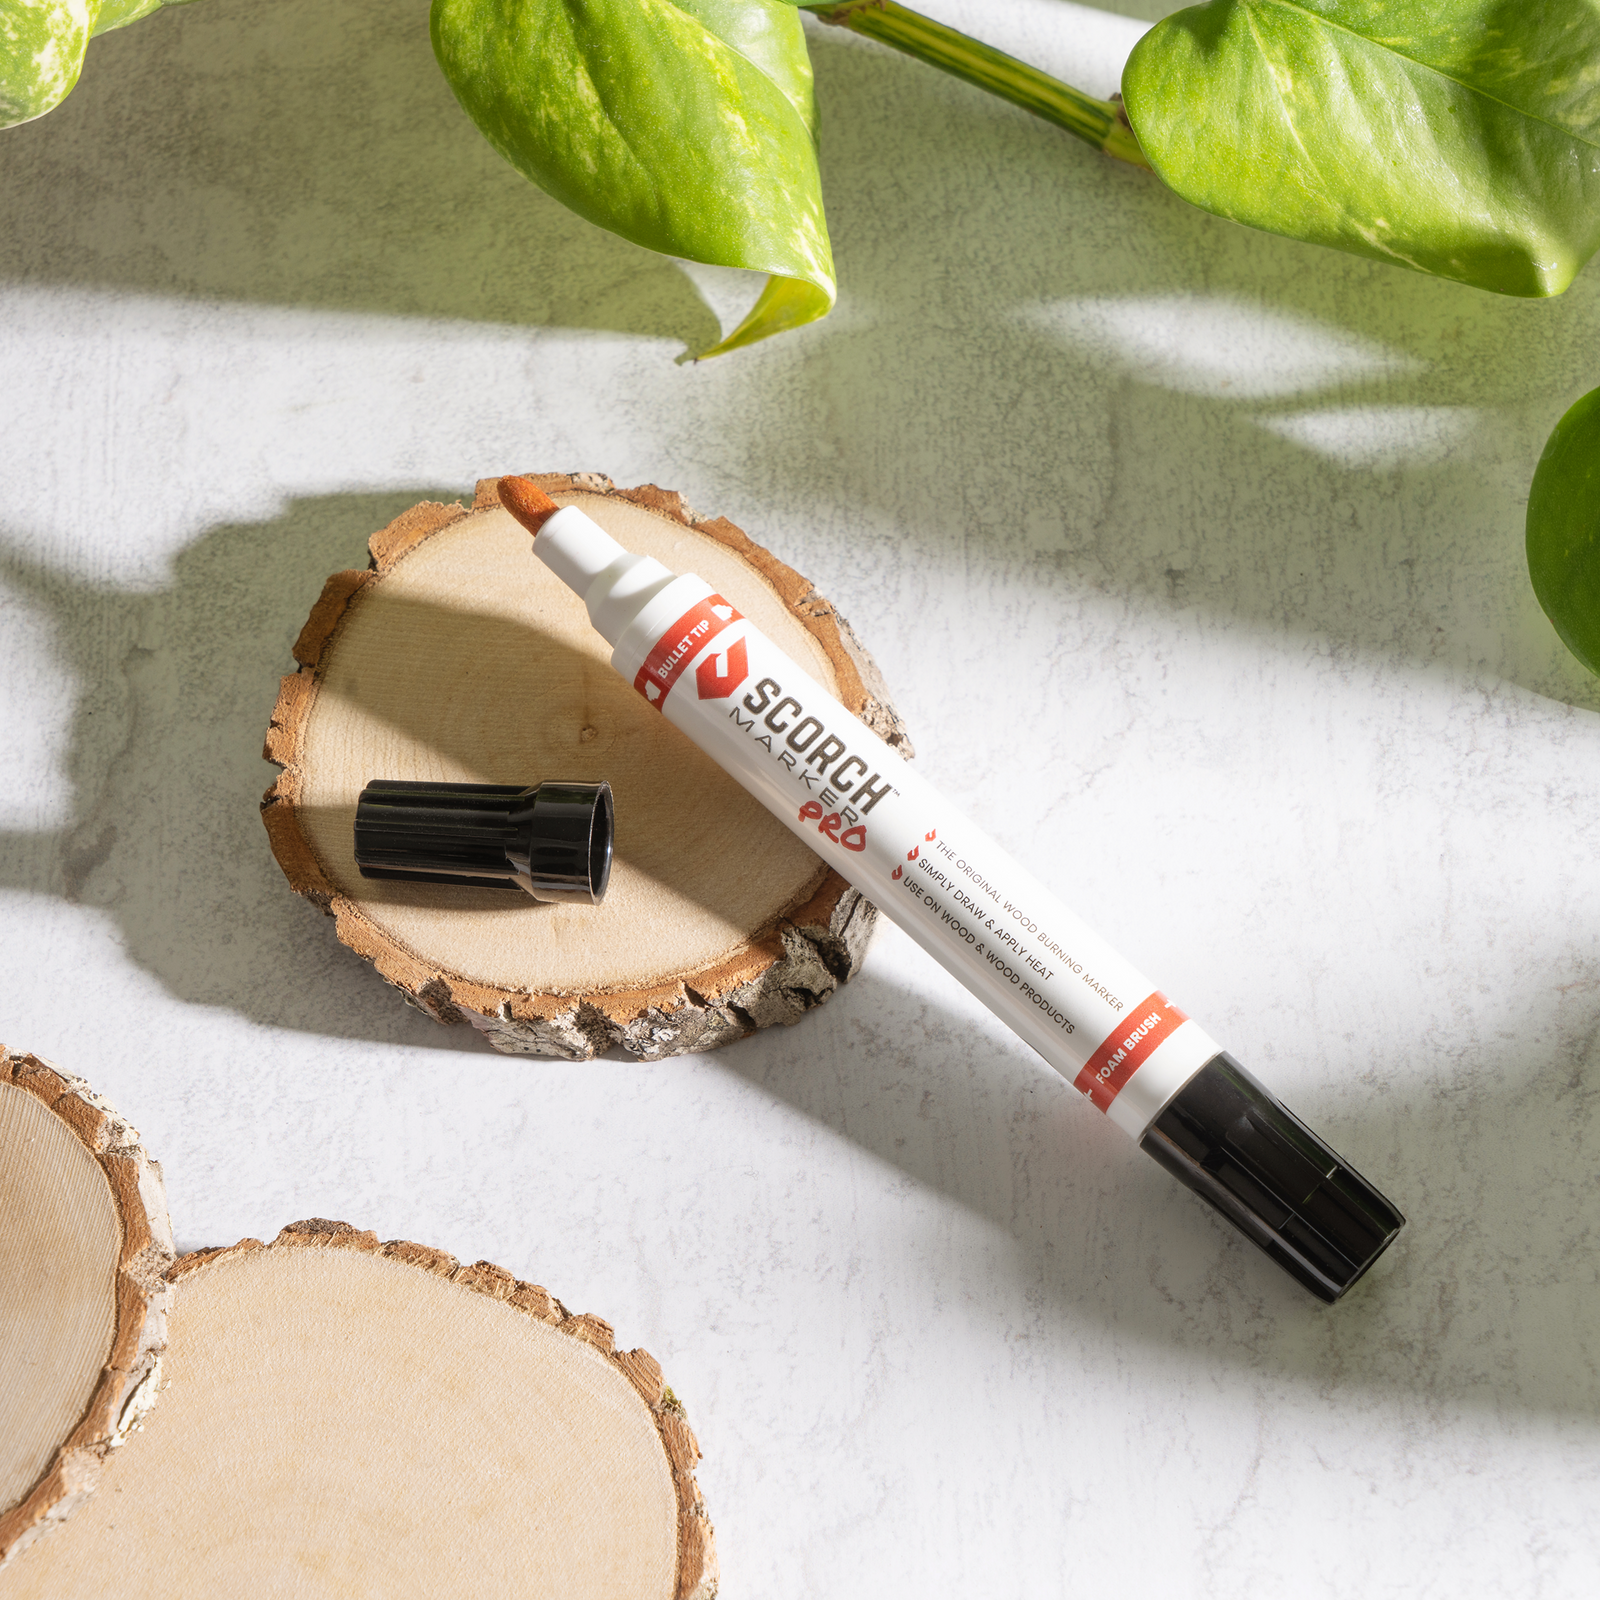
Well, say hello to the Scorch Marker – the wonderful crafting tool that simplifies wood-burning down to a marker. Now, you and your entire family can get in on the crafting fun without any worries of being burned.
With the Scorch Marker, you can design your piece and add heat afterwards. It's that easy!
And if you want to learn more, keep reading because we're about to show you the four simple steps to create your own spring wreath using the Scorch Marker.
And, if you’re interested in watching a video of it being made, you can watch on YouTube.
What You’ll Need:
- Grapevine Wreath
- 19 rustic wood slices
- Hot glue gun and glue
- Vinyl stencils
- Artificial easter branches
- Ribbon
- Paddlewire
How to Craft Your Wreath in 4 Simple Steps
This easy tutorial will show you how to wood burn your very own spring wreath in just a few simple steps. Add some personal flair and customize it however you'd like! It's the perfect way to add some extra decoration to your home for the Easter season.
1. Prepare and Fill in Your Stencils
Prepare your wood stencils before starting your wood project. See how to sand your wood projects and also try the Sanding Kit that makes it quick and easy to sand your wood pieces.
Next, apply each stencil to the designated wood round. Make sure your vinyl stencil is flat without any air bubbles. (You can use a card to smooth out any bubbles)

Once you have your stencils on your wood slices, apply a thin layer with your Scorch Marker, make sure to prep your Scorch Marker prior. (See how to prep your Scorch Marker here)

2. Burn Your Finished Wood Slices
With a preheated heat gun, learn how to use a heat gun with the Scorch Marker projects.
The longer you apply heat to your wood slices, the darker the design will be.
Use your heat gun in a sweeping motion to help prevent dark spots in other areas of your wood.

3. Glue Wood Slices to Your Wreath
Once your wood slices are ready, we can start attaching them to the wreath itself.
You can use a base of blank wood slices to create the framework for the lettered wood slices to make it easier to put together.
You can add extra embellishments wood slices that feature Easter elements like a bunny, eggs, and more!
4. Add some layers
Now that you have the main focus of your Easter wreath done you can add some fun!
Grab your favorite Easter ribbon, faux flowers, and more and assemble and attach them around your wreath to make the designs really pop!
Decorate this Spring with Scorch Marker
Now you can add fun new décor, games, and more with the Scorch Marker at your crafting side! Check out more fun Easter crafts we made with the Scorch Marker
Make sure you join the Scorch Marker Super Fans facebook group to see more holiday wood burning ideas!


Leave a comment (all fields required)