

For many people, pyrography is overwhelming because it is so permanent and sometimes difficult to get exactly right.
You mostly get one chance to make the mark you’re looking for, and a slight slip of the hand can ruin the entire piece.
It’s a lot of pressure.
Not to mention, many wood burning patterns are detailed and complex in nature, and the tools aren’t exactly the easiest to handle.
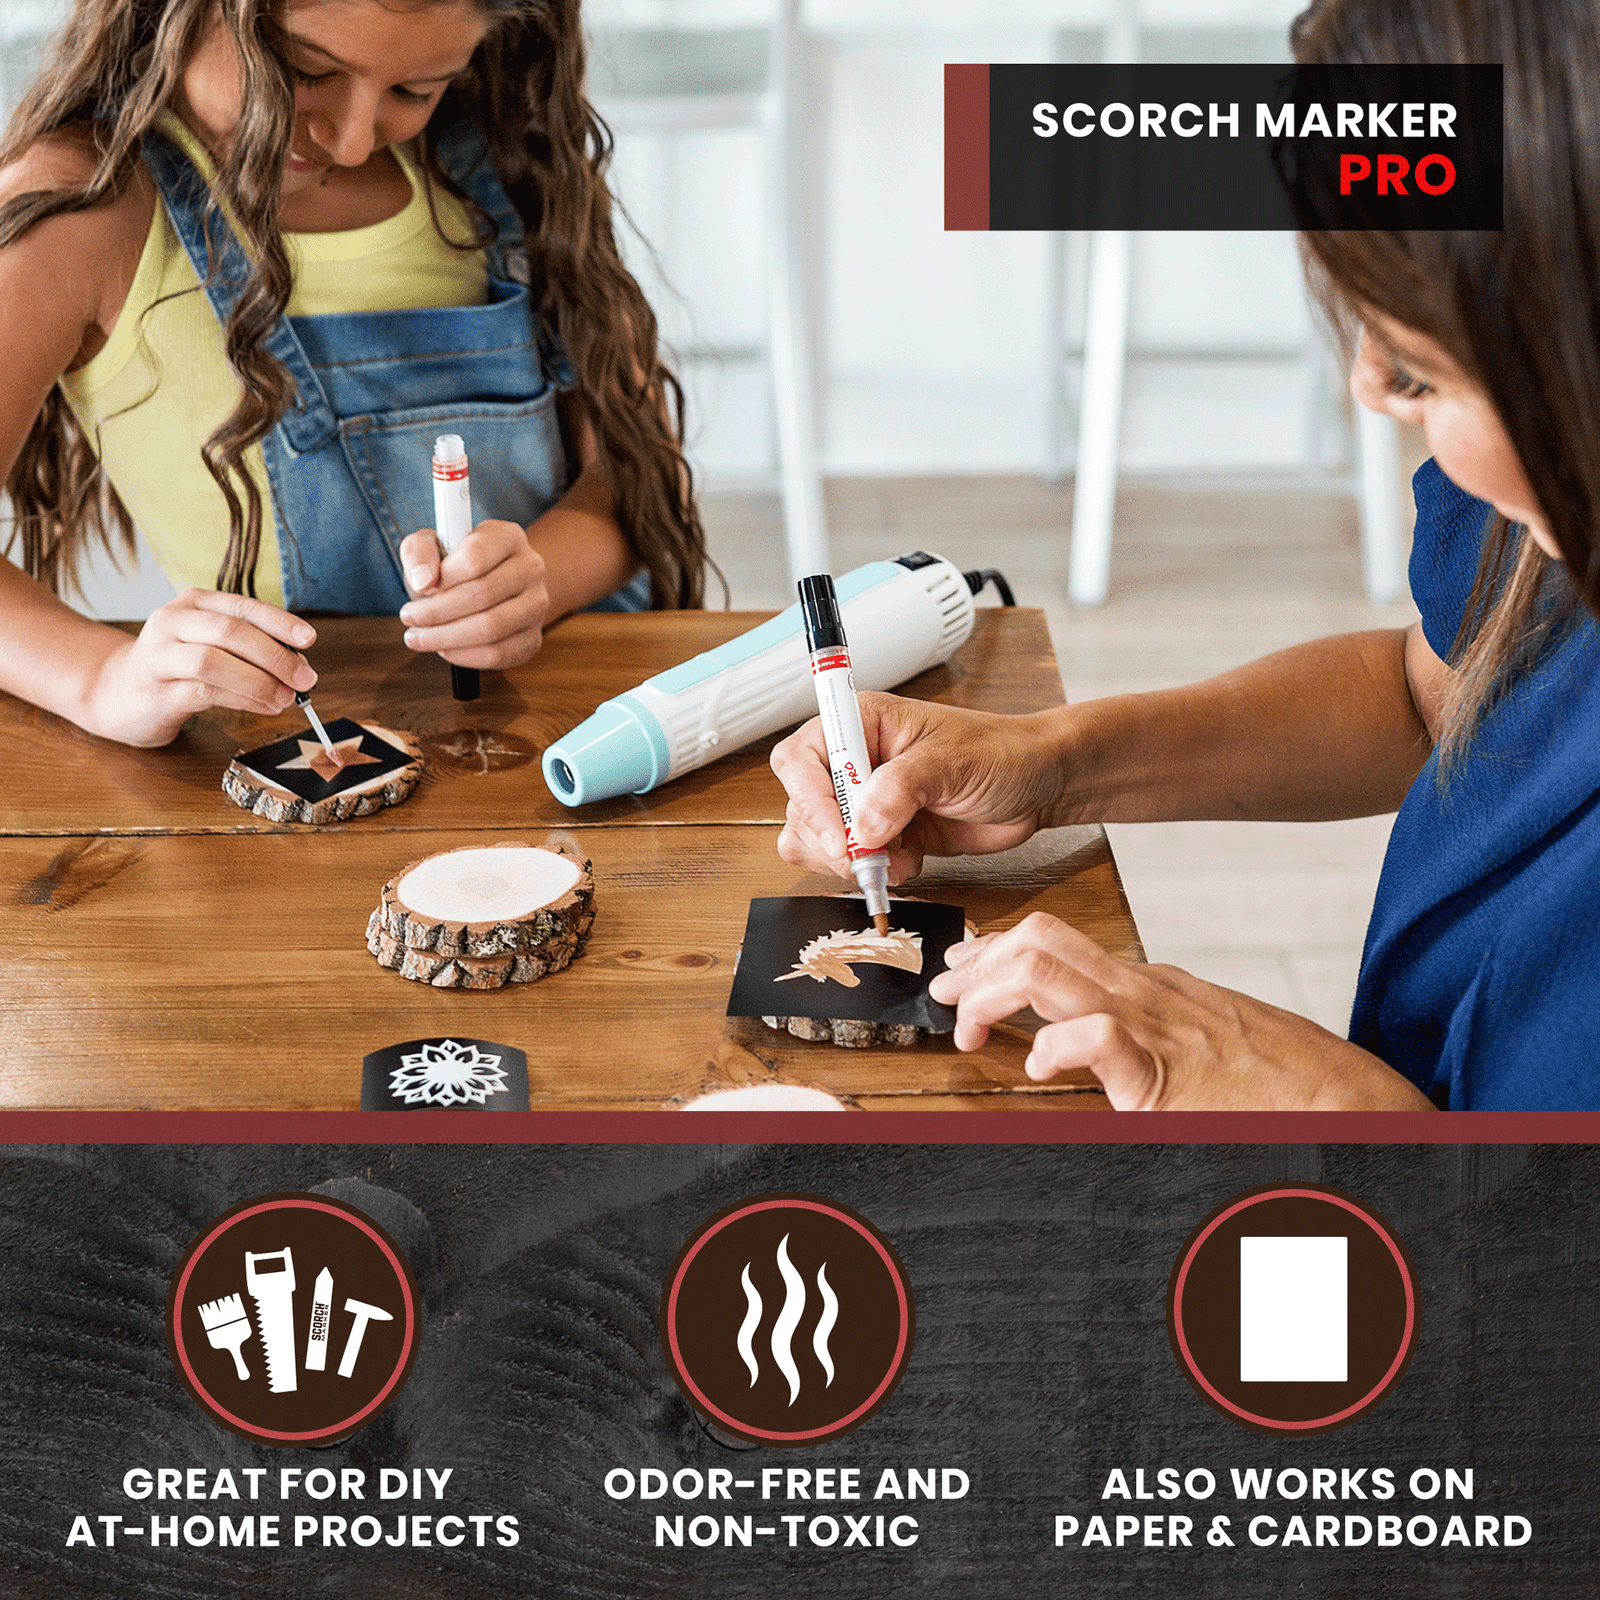
That’s why our wood burning marker looks and feels just like a regular marker, while also allowing you to use stencils with your work.
In this article, we’re discussing some of the top tips for using stencils with your wood burning projects to make the entire process easier and much more fun.

Tips for Successfully Using Wood Burning Stencils with Your Scorch Marker
Scorch Marker, the world’s only wood burning marker, is a game changer.
Instead of having to hold heavy metal stencils in place or freehand your entire project, this tool allows you to completely visualize your masterpiece before it’s ever completed.
This is great for helping you make decisions on placement and style.
Some of the best tips for getting the most out of your stencils are to:
Know Your Stencil Options
When it comes to stencils, there are lots of options out there.
Some people have their preference for stencil types, and the Scorch Marker works well with many of them. The most common stencil types include:
- Vinyl: Created for cutting machines, like the Cricut, vinyl stencils typically have a removable adhesive backing. These are durable stencils meant for single use designs.
- Ikon Art: Silk screen stencils can also easily be used with the Scorch Marker. Ikon Art stencils are preferred by those without a cutting machine looking to create their own customizable stencils at home. See a video of the Scorch Marker in action with a silk screen stencil here.
Prepare Your Surface Properly
Probably one of the most important steps for seeing the final product that you want is to prepare your surface properly before ever applying the stencil.
This first step is just as important as any other step in the process.
Start by sanding your surface, even if it feels smooth to the touch.
This will make sure all splinters and loose pieces are removed and help the stencil stick to the surface and prevent bleeding underneath it.
Sanding down to at least 220 grit will give you a great surface for working on.
Wipe Excess Liquid Before Removing Stencil
Because the Scorch Marker fluid flows so freely, having it bleed underneath the surface of the stencil is one of the top concerns.
To prevent this, dab the tip of your marker onto a paper towel before applying it to the surface of your wood.
This prevents excess fluid from ever making its way to your piece.
You should also approach every stroke of your Scorch Marker with patience.
Take the time necessary to get your lines exactly right.
Use the foam brush for those tiny openings.
And, wipe excess liquid from the wood before actually removing your stencil.
Taking these steps will help you get crisp, clean lines on every work of art.
A Variety of Wood Burning Patterns Made Possible with the Scorch Marker
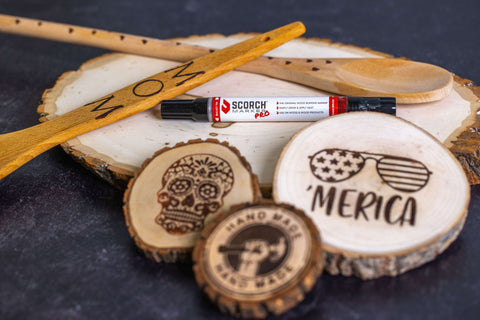
When the science and beauty of wood burning is packed into the convenience of a marker, the possibilities are endless.
Craft ideas with the Scorch Marker range from simple coasters and cutting boards to detailed portraits and wooden utensils.
And, because heat is applied at a separate time from when you draw your designs, your stencils can be used, reused, and reimagined in each piece you create.
The sky is the limit with the Scorch Marker!
Get access to our brand new fall stencil pack for free by entering the code ilovestencils at checkout.


Helen Hildebrand
February 22, 2024
Love it. Was so easy.