

One of the most exciting aspects about the Scorch Marker is that it can be applied to so many different surfaces.
Today, we’re showing you a fun craft that was completed by our friend, Amy Latta just in time for St. Patrick’s Day.
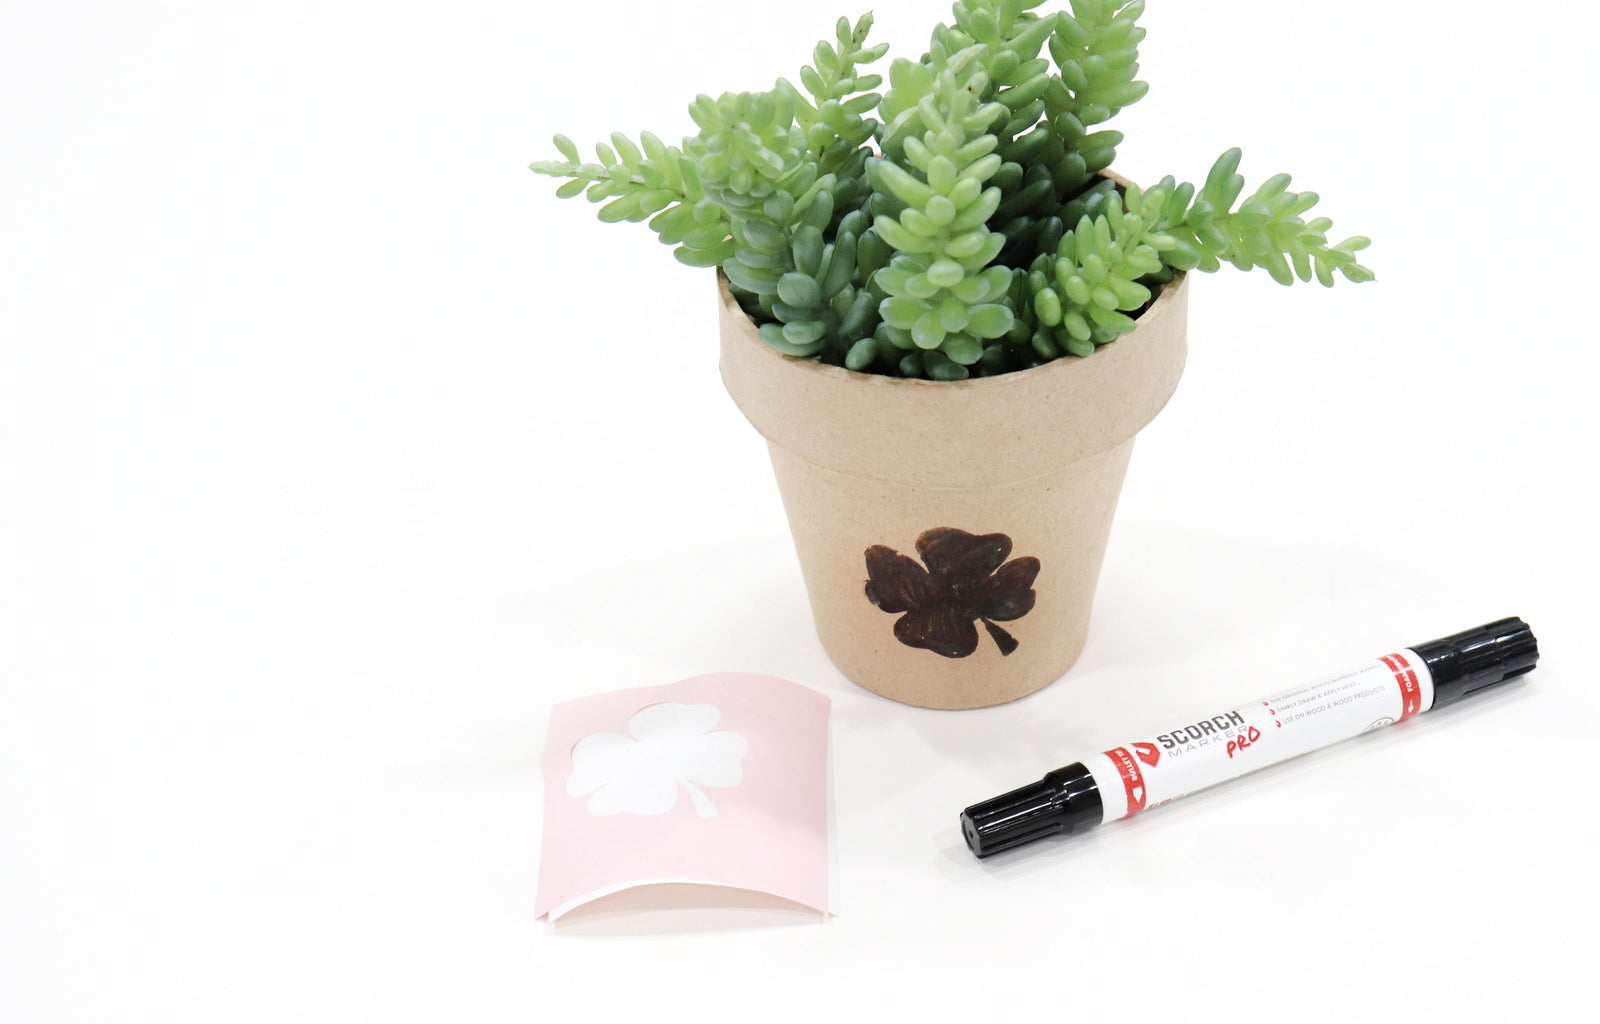
This paper mâché clover pot is terrific for bringing some life into your home after such a cold winter.
Decorating for St. Patrick’s Day is Fun with the Scorch Marker
The Scorch Marker is a safe, non-toxic chemical burning solution.
It requires very few materials and has almost no learning curve.
It really is the ideal tool for the crafting beginner and expert, alike.
And it’s one of our favorite ways of decorating for the holidays.

Materials for This Project:
Cricut & Vinyl
Crafting Your Clover Pot
This flower pot craft is perfect for completing with loved ones or as a quick afternoon project.
It’s super easy and requires no sanding and very little preparation.
You can also watch the entire process on our YouTube channel.
Let’s get started!
1. Prepare Your Stencil
The first thing you want to do before ever priming your Scorch Marker is to prepare the stencil.
A stencil is not required for crafting with the Scorch Marker; it only makes things easier for those who may not be totally confident in their drawing/lettering skills.
For this project, we’re going to be using a vinyl stencil created with our Cricut, however, the Scorch Marker can be combined with any stencil of your choosing.
When your Cricut is ready to go, open Design Space on your computer or phone.
Then, select a new project and upload your image.
Once you choose the correct image from your storage, choose the simple black and white option, and make sure to remove the background.
Save it as a cut image, and you’re ready to go!
Now you want to click the “Upload” button and then insert that cut image you just created into the canvas.
Resize it to the size you’d like. 2 inches is what we went with.
And now, you’re ready to “Make it.”
Connect your machine, choose your material, and then load your mat.
Once the stencil is cut and weeded, you’re ready for the next step.
2. Apply Your Clover Stencil
Now you want to take your stencil and position it appropriately on your paper mâché flower pot.
Make sure to press it down onto the surface firmly, removing excess bubbles from the edges.
This will ensure that your edges stay nice and clean.
3. Color the Area with Your Scorch Marker
The preparation is complete, and it’s time for the Scorch Marker!
The bullet-tipped marker nib is the best tip for this project, but you can always take advantage of the foam brush.
This end is especially helpful if you’re doing a lot of these pots at once.
Make sure to shake your marker for at least 30 seconds, and to prime it, before applying the liquid to your flower pot.
Once you’re finished drawing, remove the vinyl stencil, and get ready for the magic.
4. Heat Your Design
This is the only dangerous part of the entire process, and it’s when you want to be the most careful.
A heat gun gets extremely hot and can cause burns and fires, which is why it’s important to take this step seriously.
For the chemical reaction to take place and the paper mâché to burn, we recommend a heat gun that is at least 1500-watts.
Start by preheating your heat gun for a few minutes.
This will limit the amount of time it’s spent in your hand and decrease the risk of burns.
Then, apply your heat to your design in a sweeping motion, and watch as the color change takes place before your eyes.
The more heat you apply, the darker your design will appear.
5. Finish with a Sealer
Finally, cover your clover pot with a clear acrylic sealer if you’re planning to use it for a real plant.
This will help extend the life of your pot and preserve your design.
Admire your project - you did it!

Celebrate All Your Holidays with Scorch Marker
With the new St. Patrick’s Day stencil files now available on our website, decorating for St. Patrick’s is easier than ever before.
There are six different holiday-themed stencils ready for your immediate download, and all for free! Use the code ‘ilovestencils’ at checkout to grab them.


Leave a comment (all fields required)