
Believe it or not, the 2021 holiday season is right around the corner!
Now is the best time to start preparing your home decor for family gatherings and holiday celebrations.
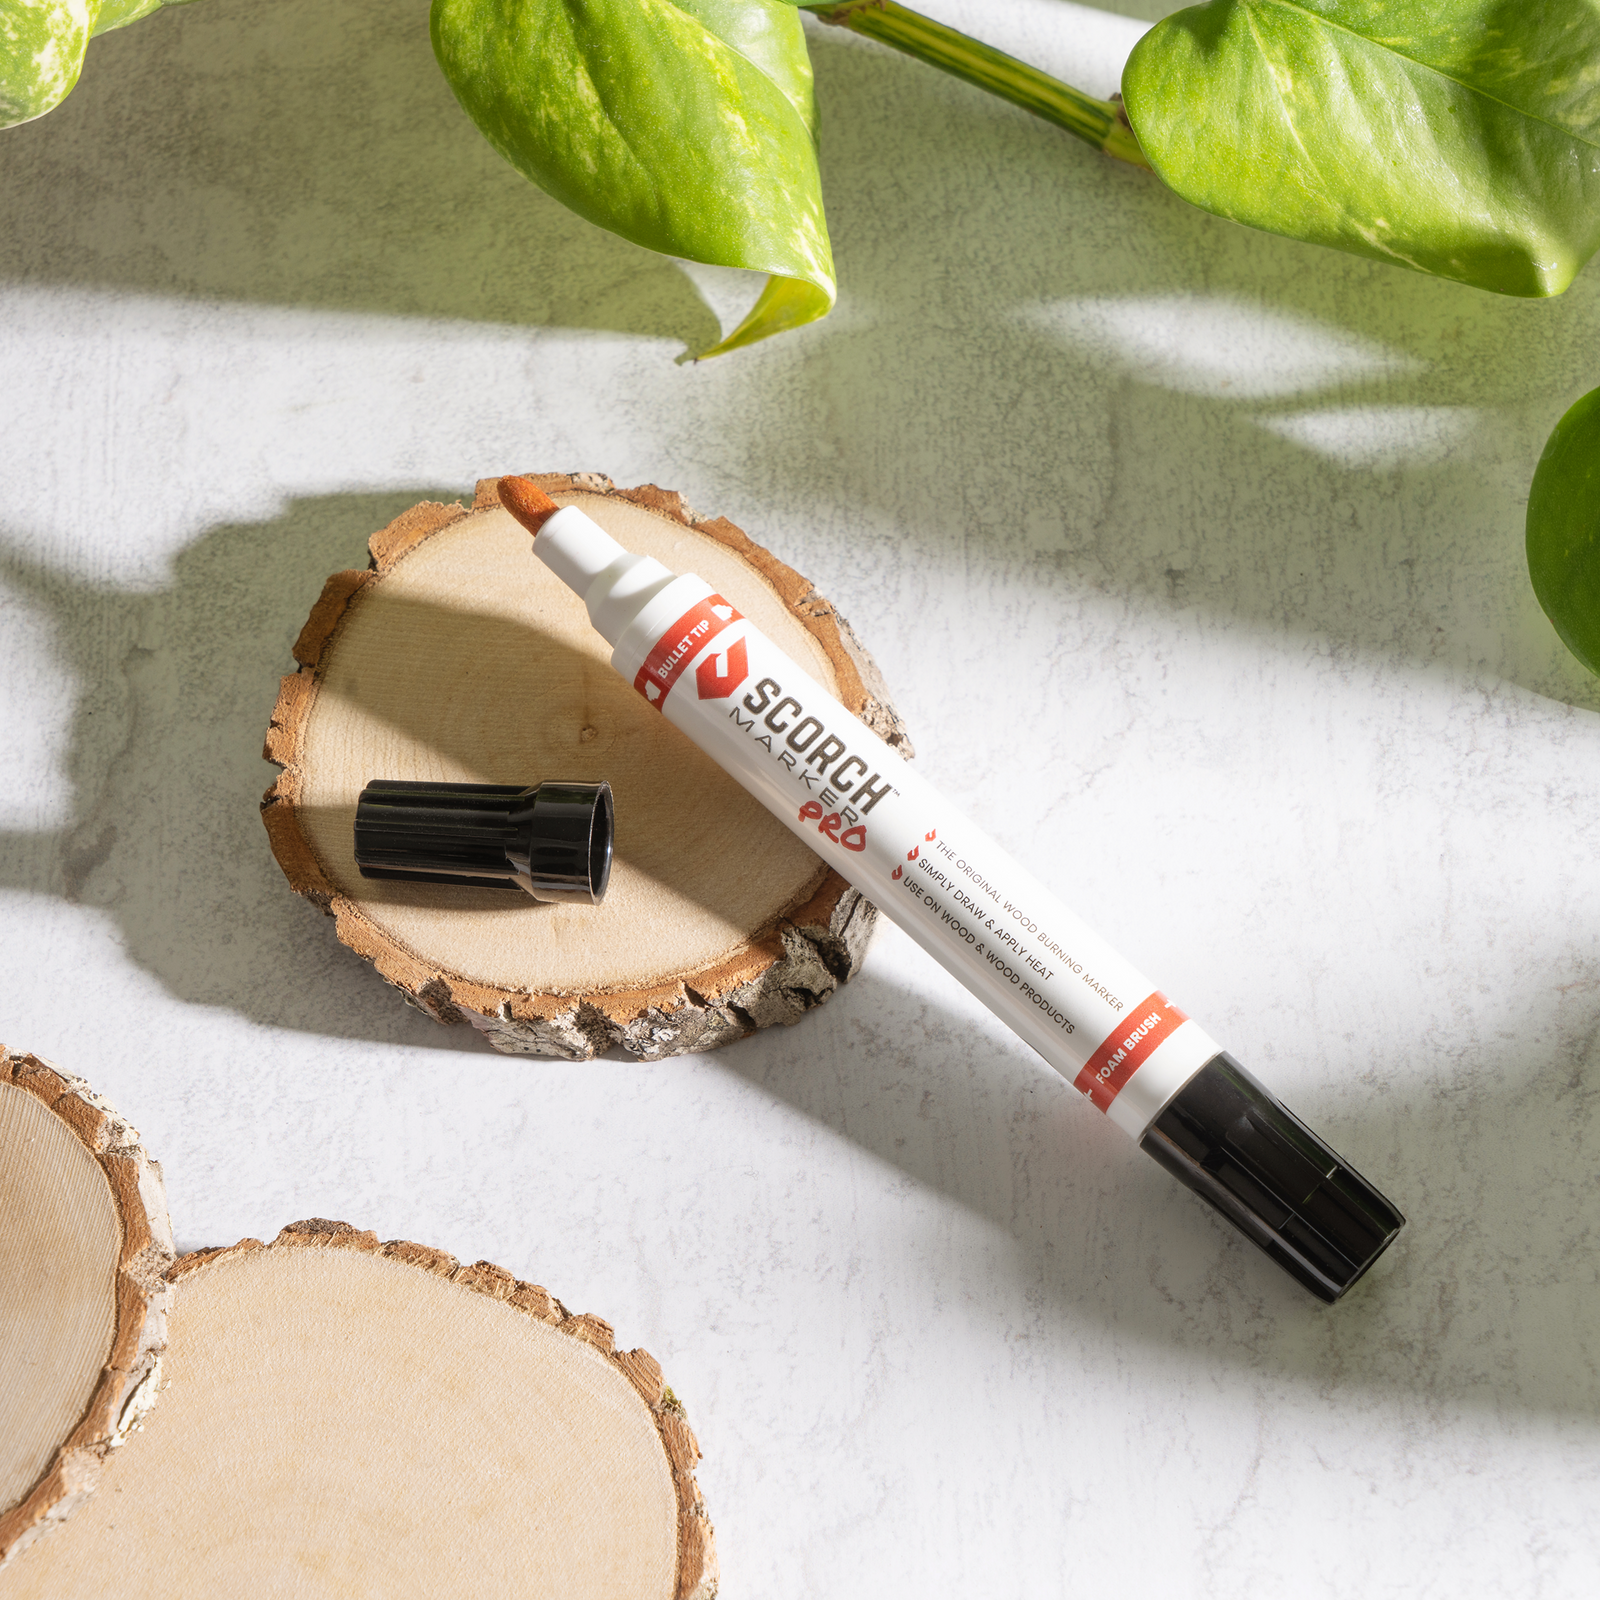
And, the Scorch Marker is the perfect tool to help.
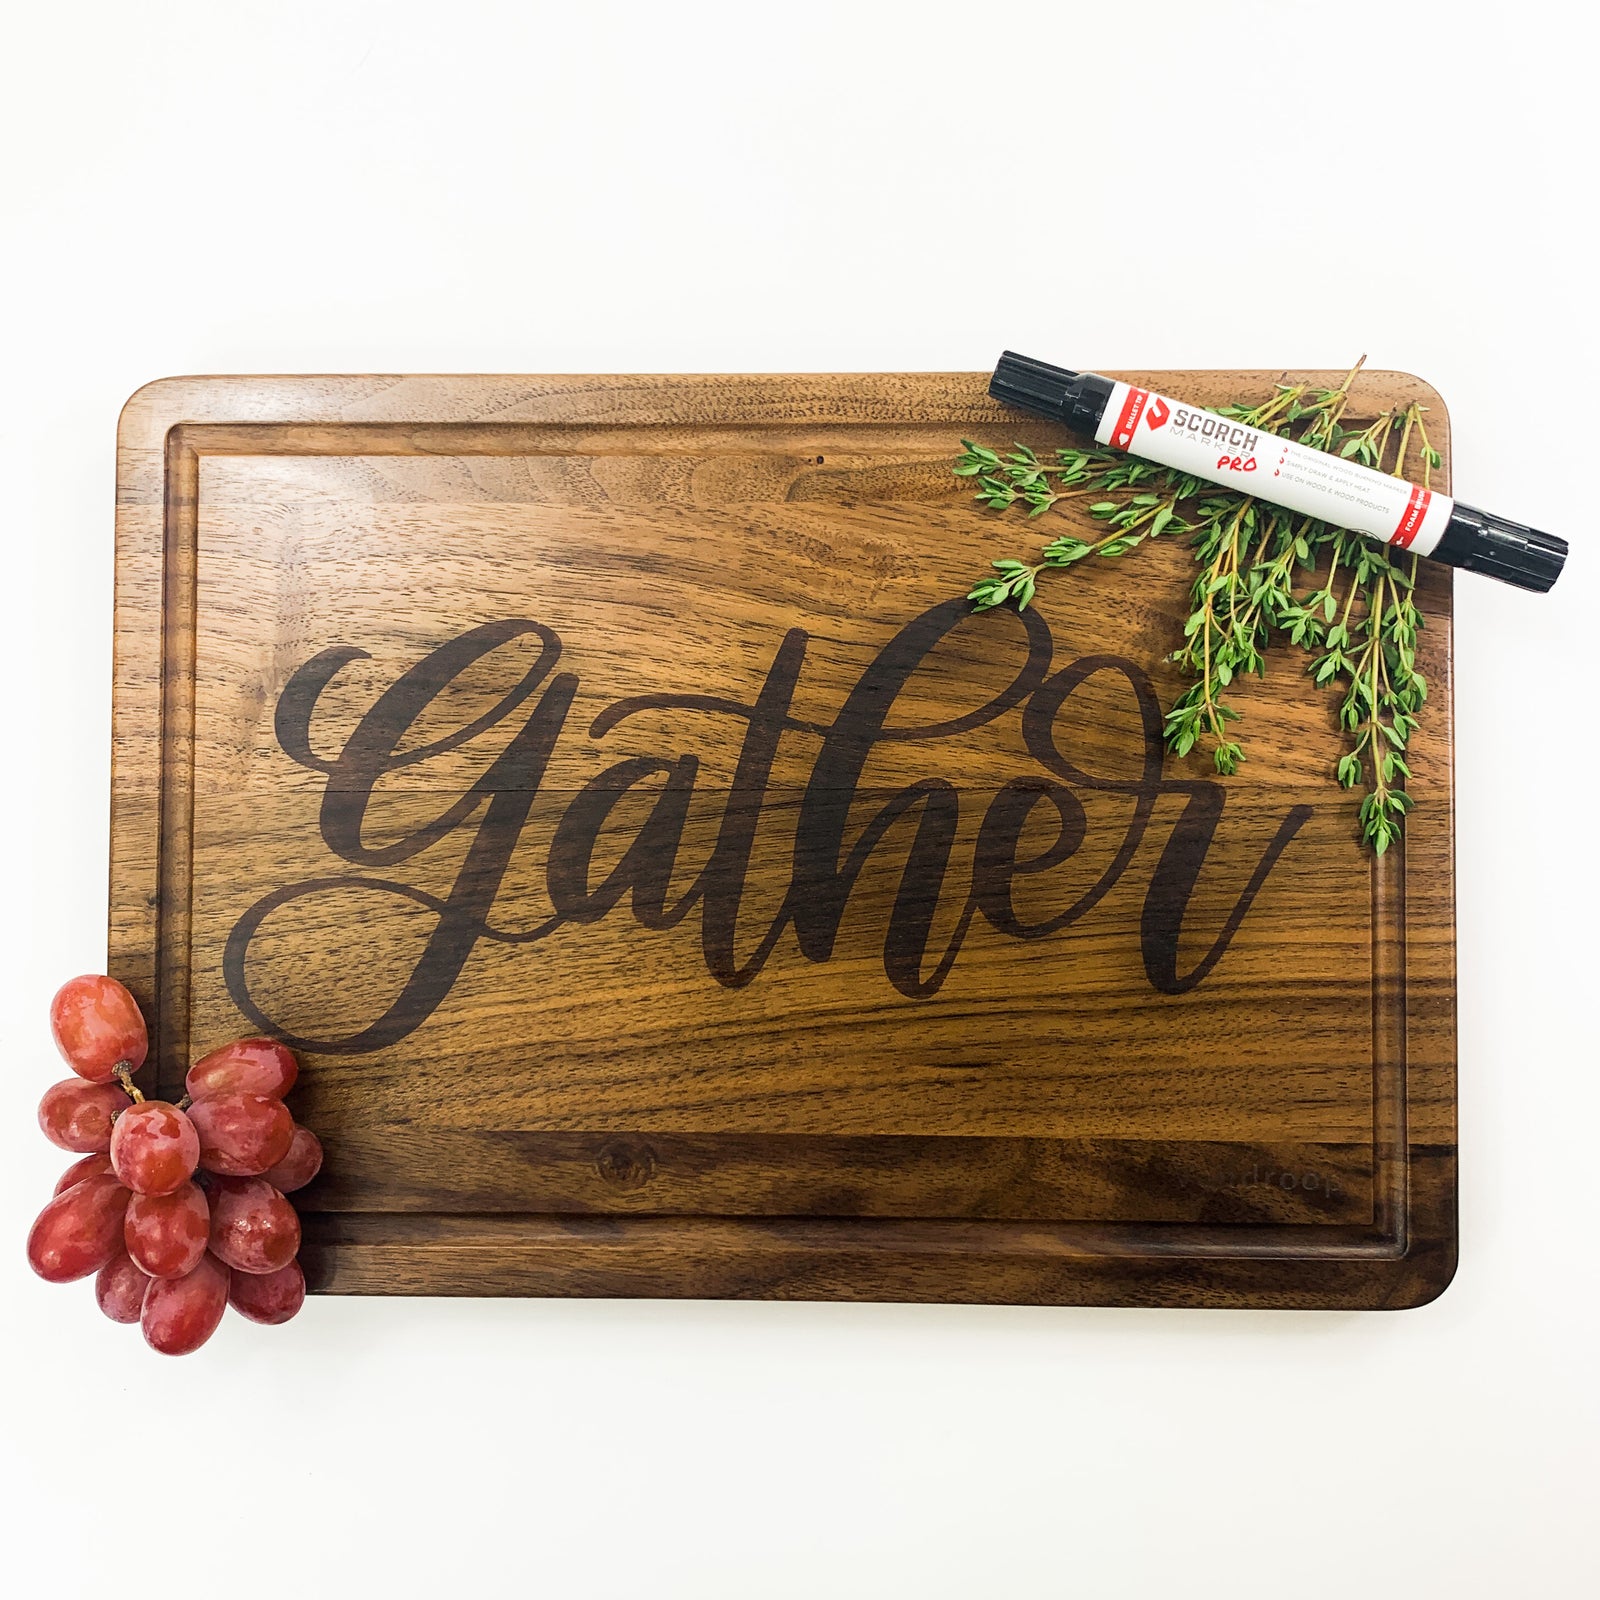
In this article, we’re showing you how to create a custom burn on a walnut cutting board in just five easy steps.
5 Non-Toxic Steps for Customizing Your Cutting Boards
When it comes to designing and decorating cutting boards, maintaining a non-toxic food surface is the top priority.
Thankfully, the Scorch Marker is totally food-safe and non-toxic, making it the best tool for food surface crafting.
But, how do you turn a raw wooden cutting board into a wood burnt work of art? We’re going to show you!
1. Sand to 500-Grit
The first step to achieving a perfect chemical wood burn is to create a totally smooth crafting surface.
This will prevent the liquid inside the Scorch Marker from running with the grain before you burn it.
We typically sand with 220-grit sandpaper to remove any imperfections from the wood and then go over that with 500-grit for the smoothest surface.
2. Apply Your Vinyl Stencil
Once your wood surface is sanded and wiped down, it’s time to apply your stencil.
We prefer using vinyl stencils because they’re so easy to create and stay in place by themselves.
But, the Scorch Marker can be combined with stencils made of silk screen, plastic, and metal!
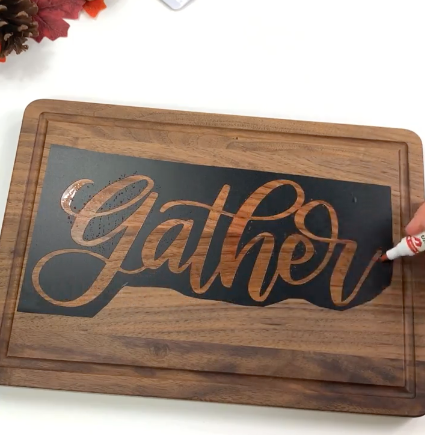
3. Fill it In with the Scorch Marker
Once you’ve chosen and applied your stencil, it’s time to fill the open space in with the Scorch Marker.
Try dabbing your marker on a paper towel prior to the wood to further prevent bleeding.
Remember: a little liquid goes a long way, and it doesn’t take much to create a satisfying burn.
Once you’ve finished using the marker, blot away any excess fluid that has gathered on the stencil or design.
Then, allow your craft to sit and dry for about five minutes.
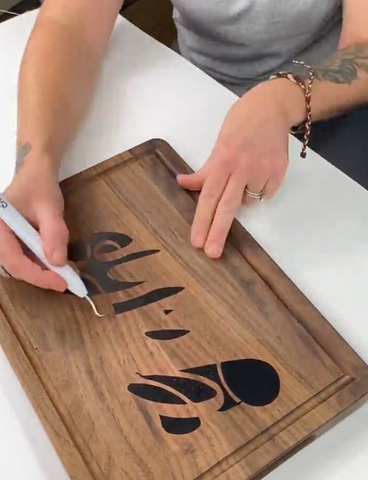
4. Remove Vinyl and Burn Your Design
Now that your design has dried and soaked into the wood, it’s time to remove your stencil.
A weeding tool is super helpful for removing vinyl from wood.
Before you do that though, begin preheating your heat gun.
A gun of at least 1500-watts is required for crafting with the Scorch Marker, but we prefer the 1800-watt heat gun from SeekOne for all our projects.
Once the vinyl has been removed, your heat gun should be thoroughly heated. Use it on high to apply the heat in a sweeping motion all over your design.
It should take about 3-5 minutes to achieve a dark burn.

5. Cover with a Food-Safe Finish
Now that your design has been burned, it’s time to protect it.
Sealing crafts intended to be used around food is so important because it protects them from wear and tear and also makes them waterproof.
Make sure to use a food-safe finish, like Odie’s Oil, on your cutting boards.
If you’re feeling extra crafty, you can also check out our TikTok account for a DIY food-safe finish.
In it, you will also find other project ideas and crafting examples. We can’t wait to see you there!

James Sabo
February 22, 2024
Could you please list all the specifics of the type of vinyl used to put transfers onto wood. There are so many different types.
Thanks, James Sabo