There are two types of people in this world. Those who garden and those who don’t.
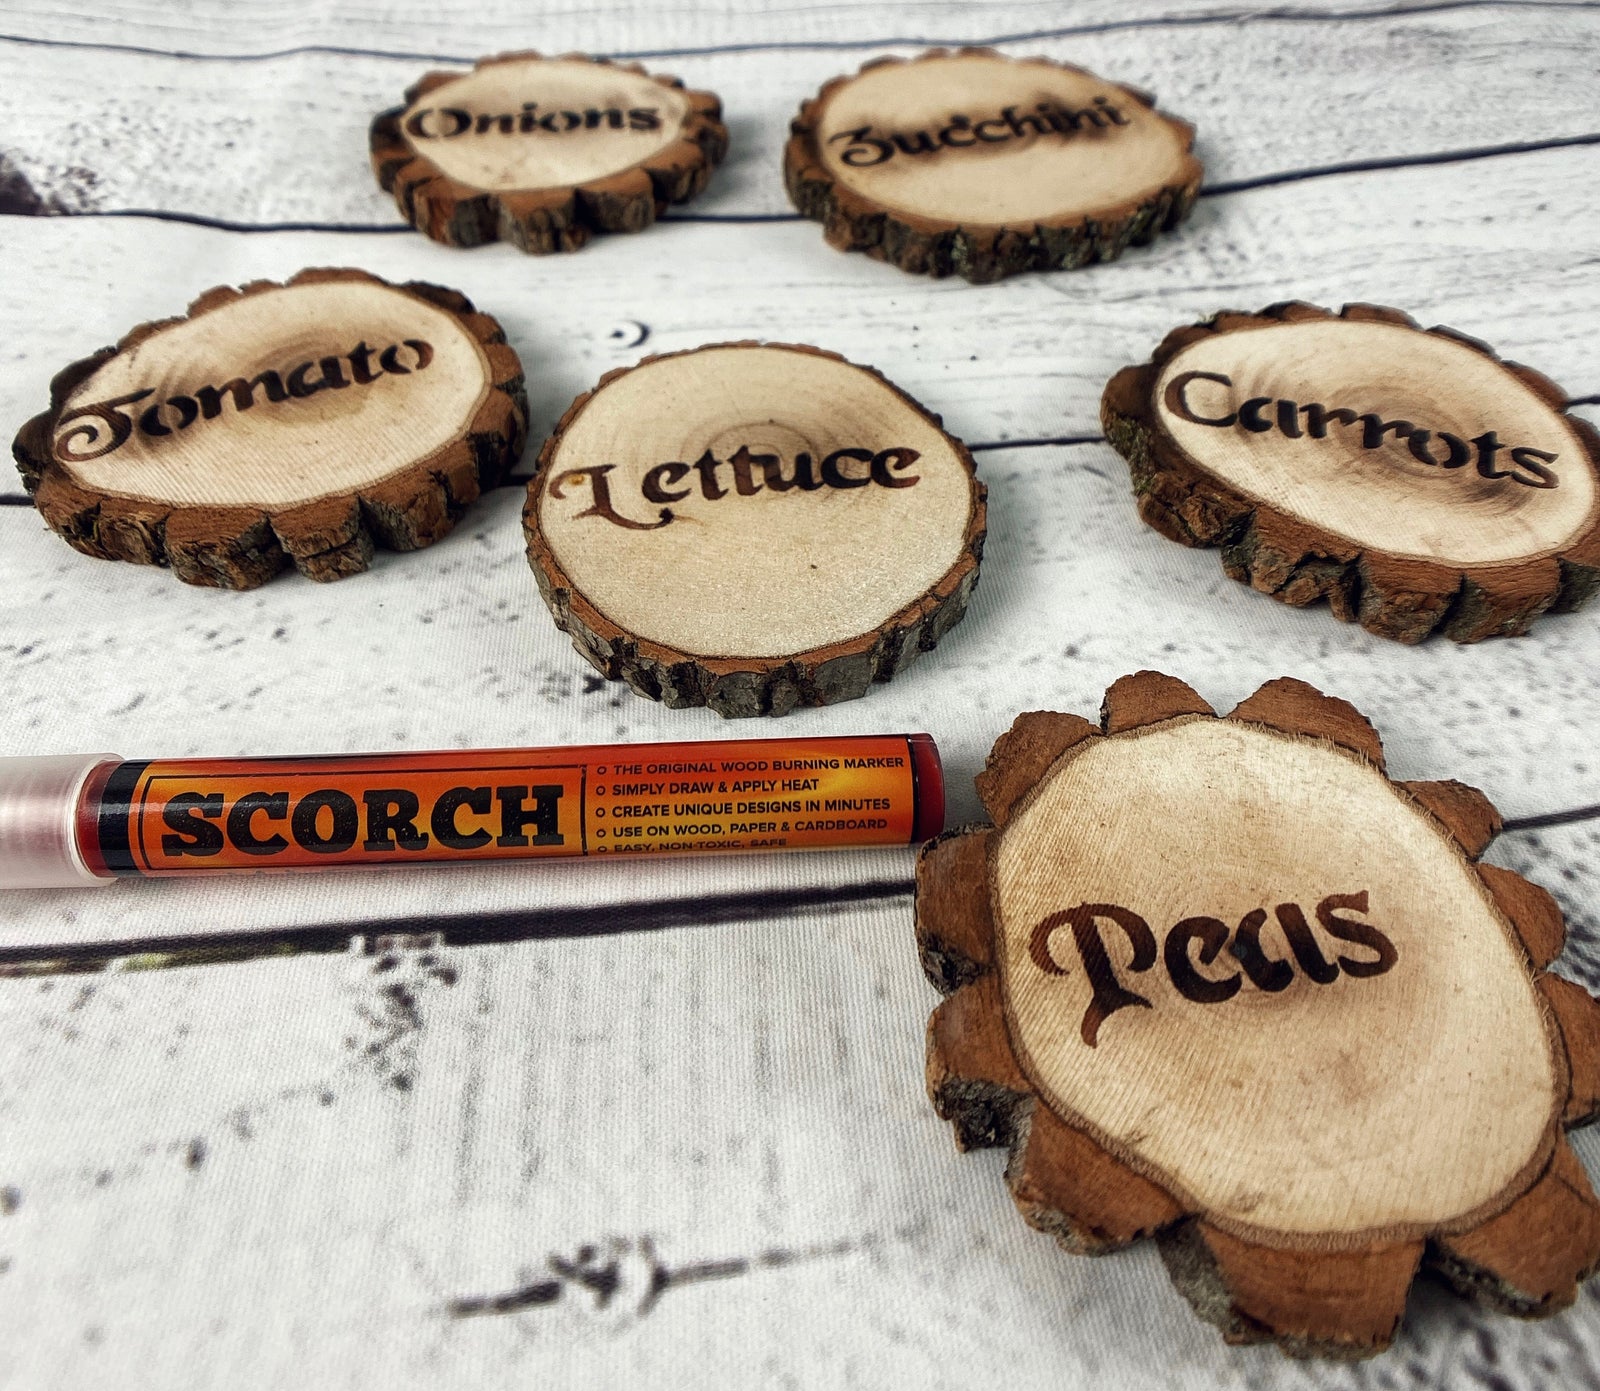
We are gardeners. And this summer we’ve been doing some improvement projects to help our vegetable garden look its best. One idea we found on Pinterest and wanted to try, was wood burning garden signs for our garden to label each vegetable.

Besides giving the garden a more rustic look with the wood signs and wood burned lettering, this helps my kids know where the carrots are when I ask them to pick vegetables from the garden! Haha. It's a win/win.
Here's what you'll need:

-
Heat gun over 1000W OR small hand held torch
-
Alphabet stencil*
-
Wood round/wood plank
-
Paper towel
Note: If you would rather freehand your letters, feel free to skip out on the stencil.

Directions:
-
Prep your wood surface by making sure it is sanded to 220 grit. Wood rounds purchased on the Scorch Marker website come already prepped. I used sourwood wood rounds for this project. But if you prefer a lighter grain, we would recommend aspen wood rounds.
-
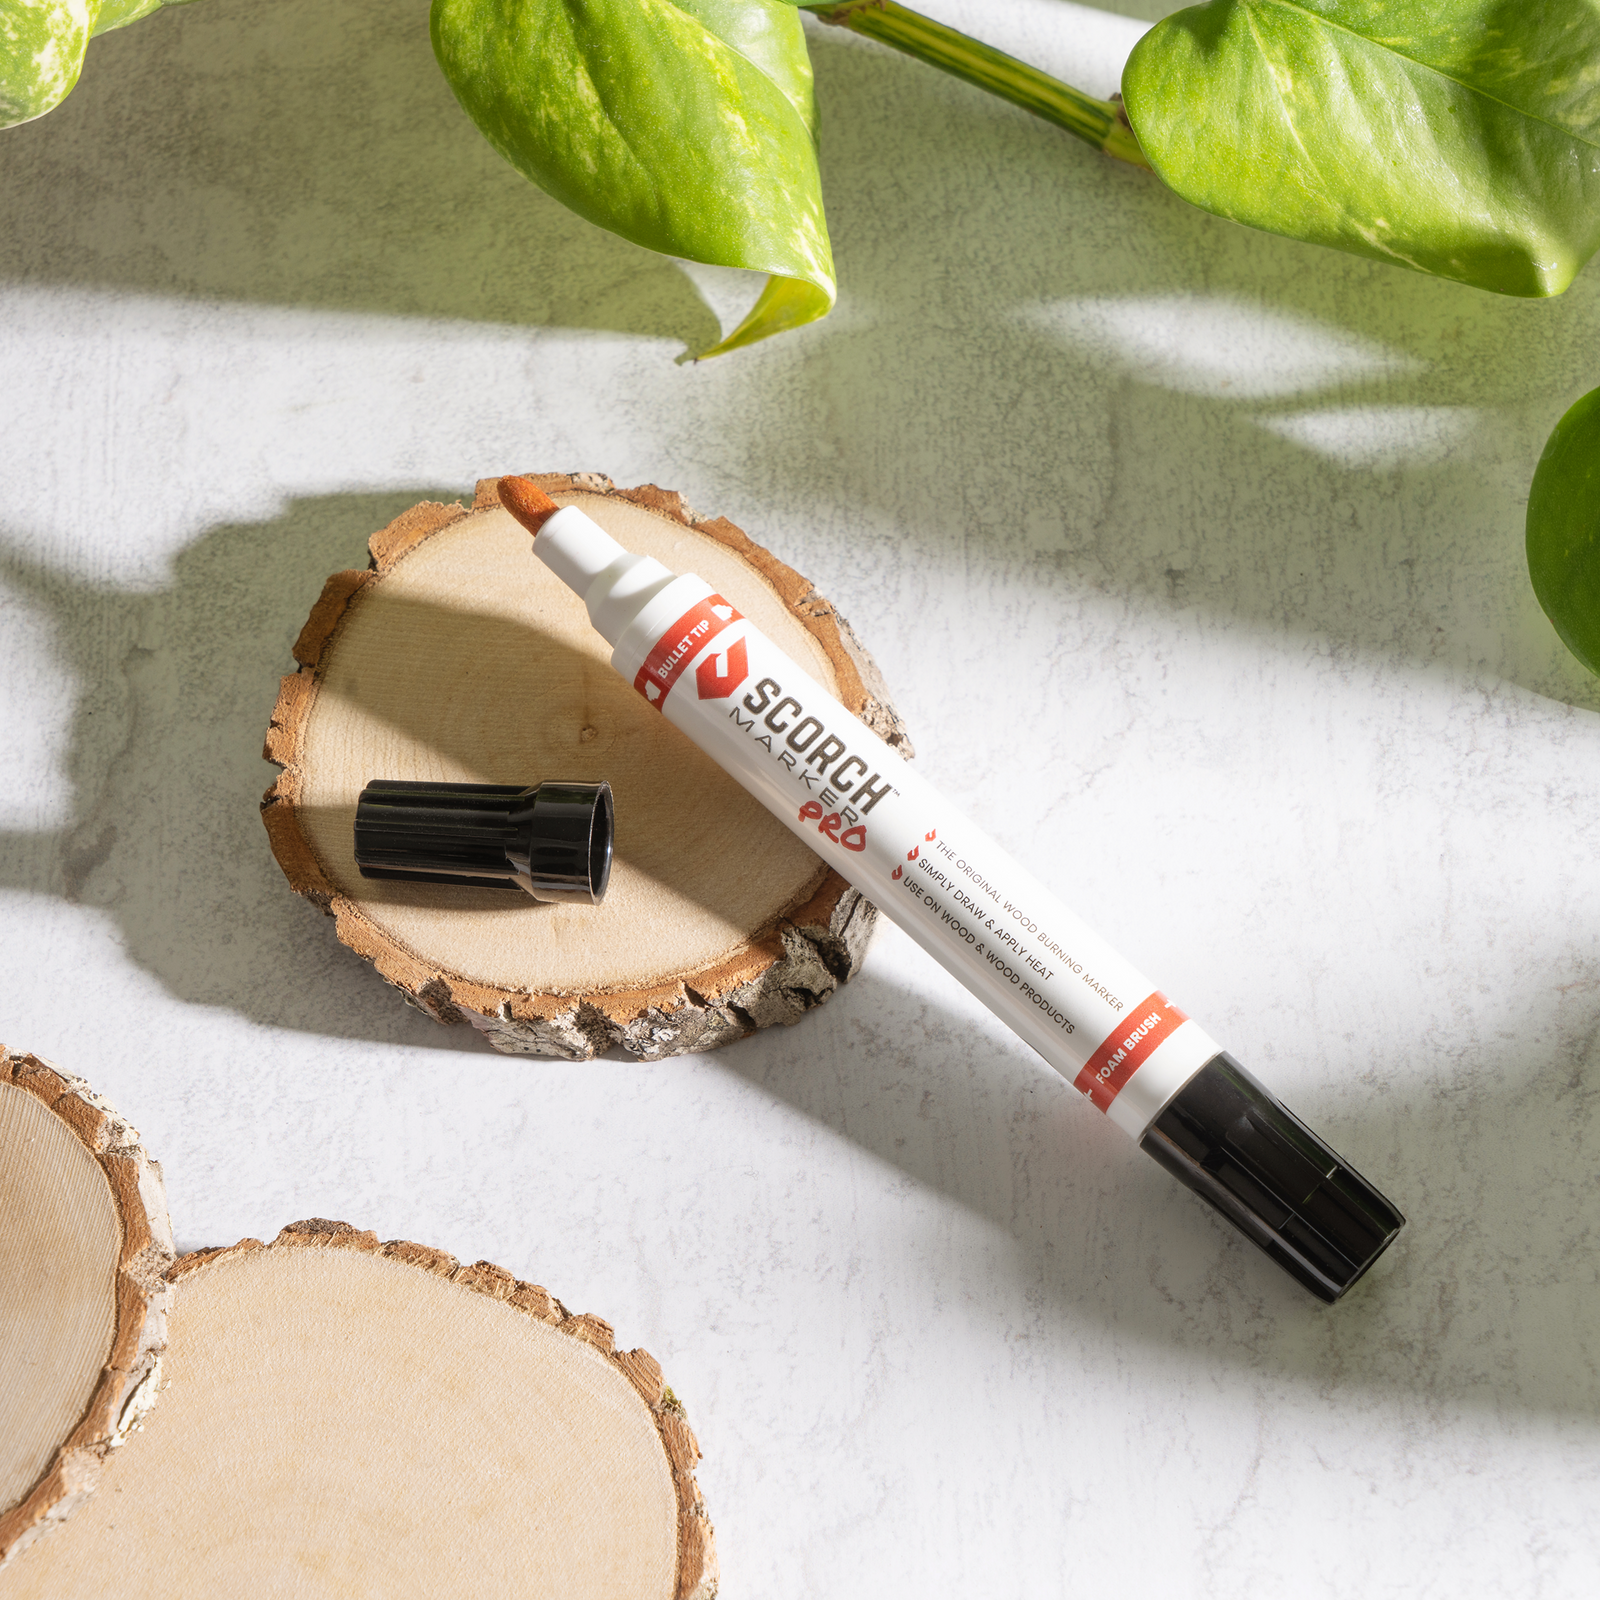
Test out Scorch Marker on a paper towel to ensure liquid flowing to the tip.
-
Once the tip of the marker has liquid flowing through it, color in the letters of choice with the stencil, moving the stencil as needed to write the word in a straight line. Be sure to space letters out evenly.
-
Remove stencil and set aside
-
Apply heat in a side to side motion. If using a small torch, turn on and hold an inch or two away from your subject. If using a heat gun, set on high heat and heat up for 30 seconds prior to applying to subject.
-
Heat until letters are the desired level of darkness

After the wood has cooled, feel free to apply poly or wood finish. You also could hot glue the wood rounds to wood stakes or paint sticks to stick in the ground. Or, simply nail the wood rounds to your garden boxes, if you use those.
For more information regarding Scorch Marker, visit our website by clicking here.


Patti Mayfield
November 10, 2020
Is there a certain kind of stencil you have to use