From the endless health benefits to its delicious taste, kombucha has spiked in popularity for a reason.
This unique drink has earned a place in everyone’s home and we’re here to celebrate it.
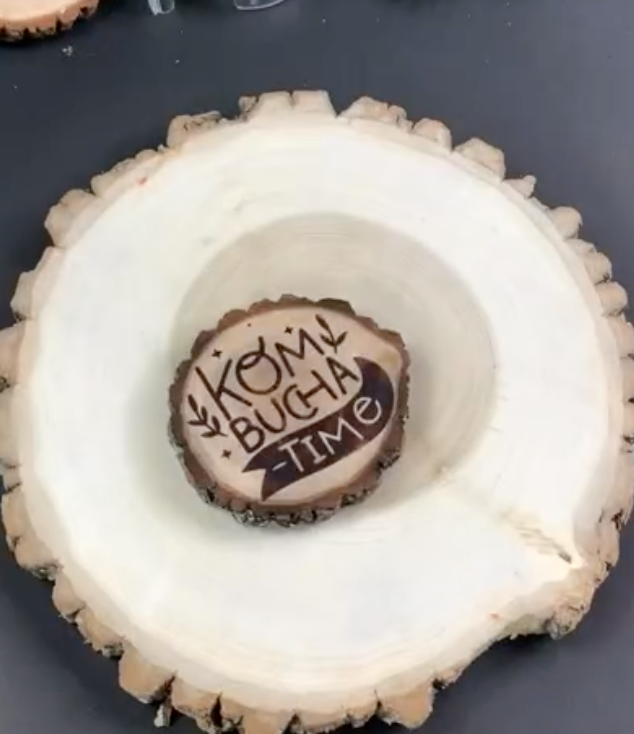
When you pass these wood-burned coasters out to all your friends, they’ll know it’s kombucha time. Let’s show you how to make them!
Scorch Marker Makes Pyrography as Easy as Drawing
The great thing about these hand-crafted coasters is that they’re so easy to make.
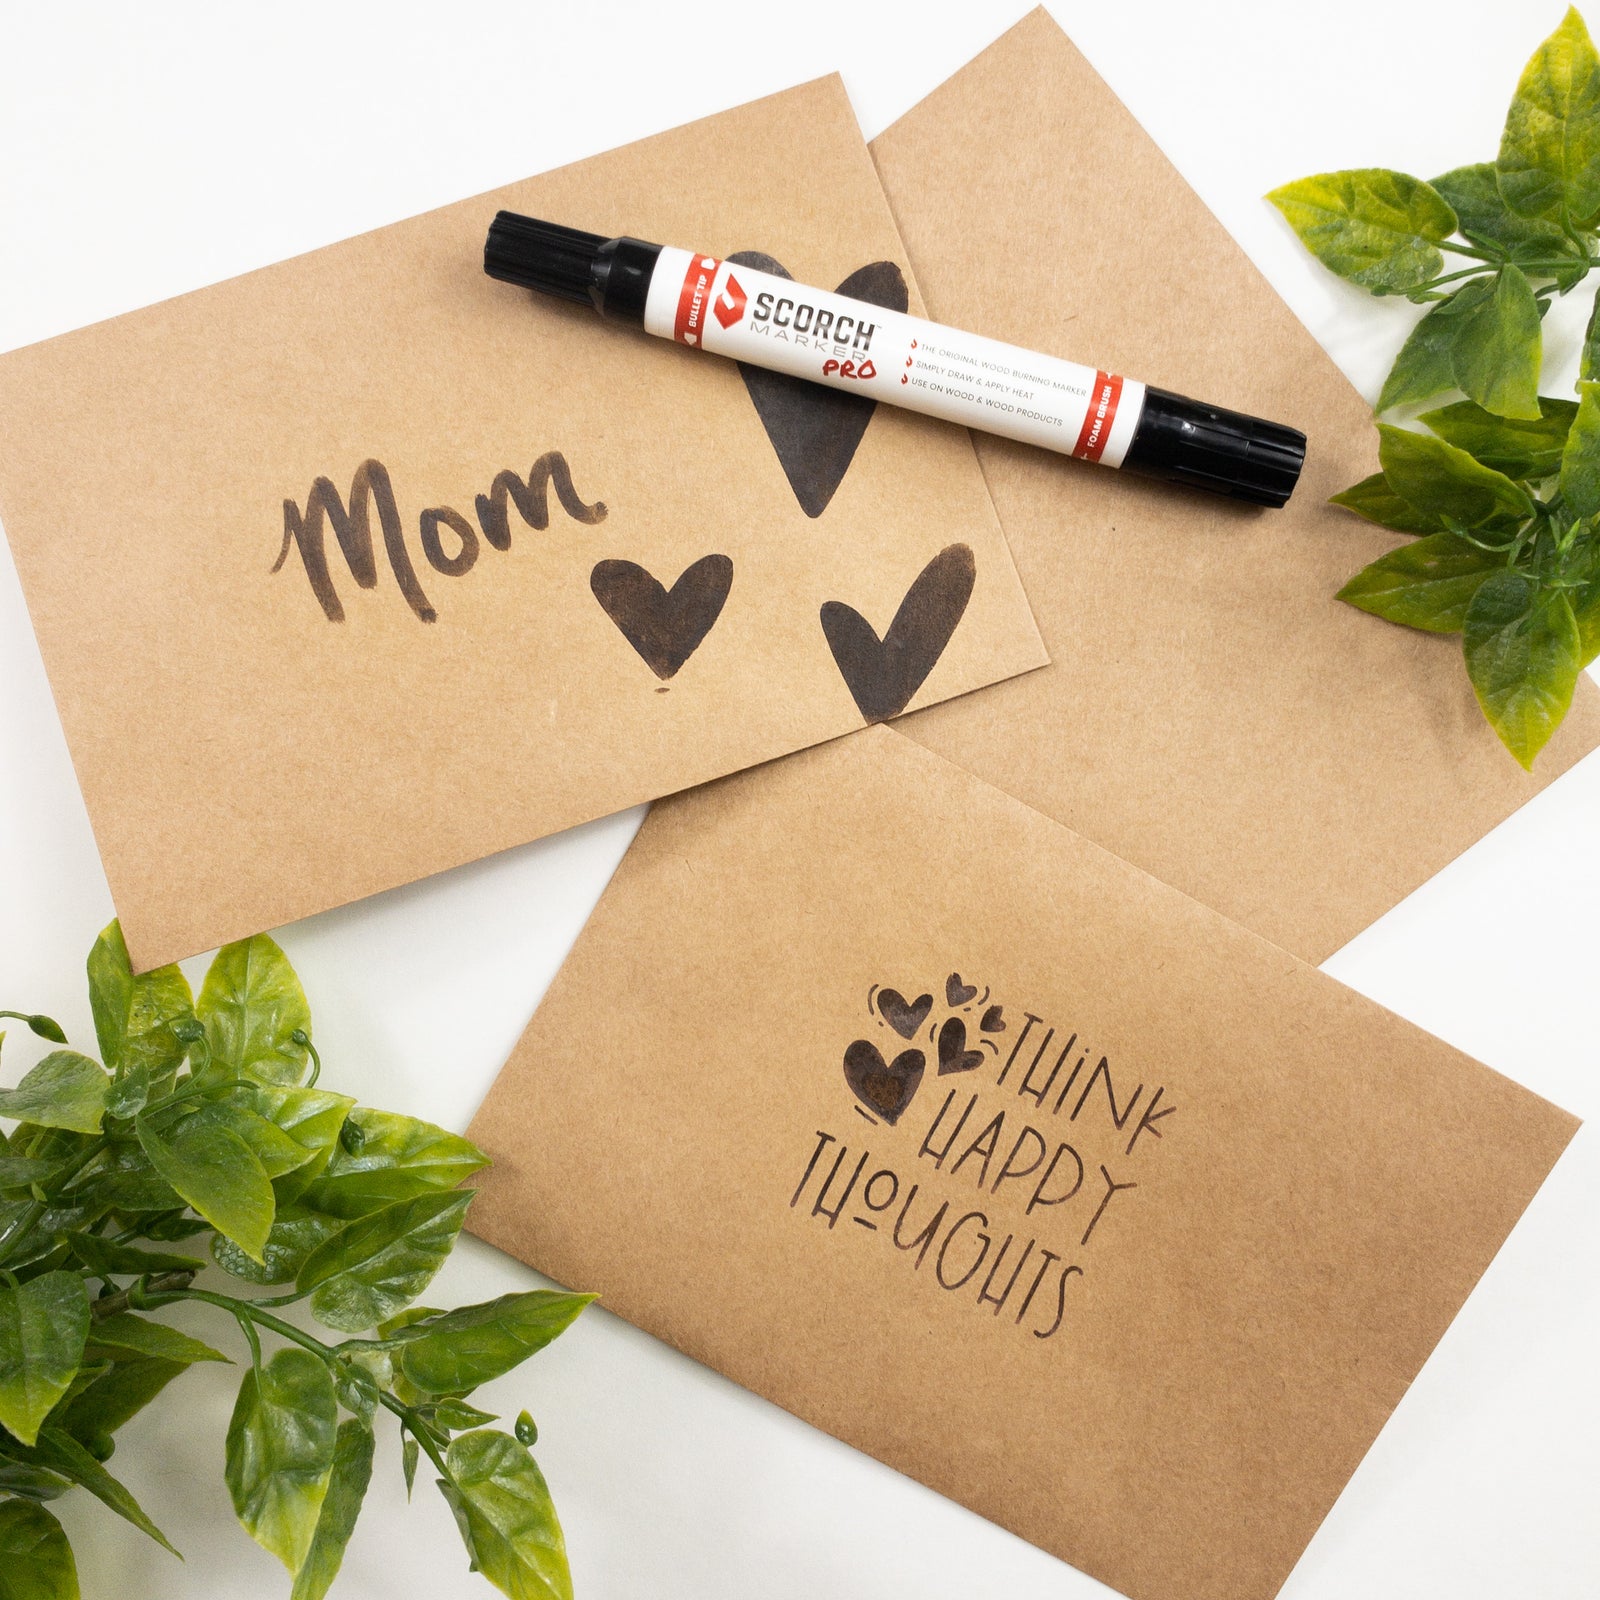
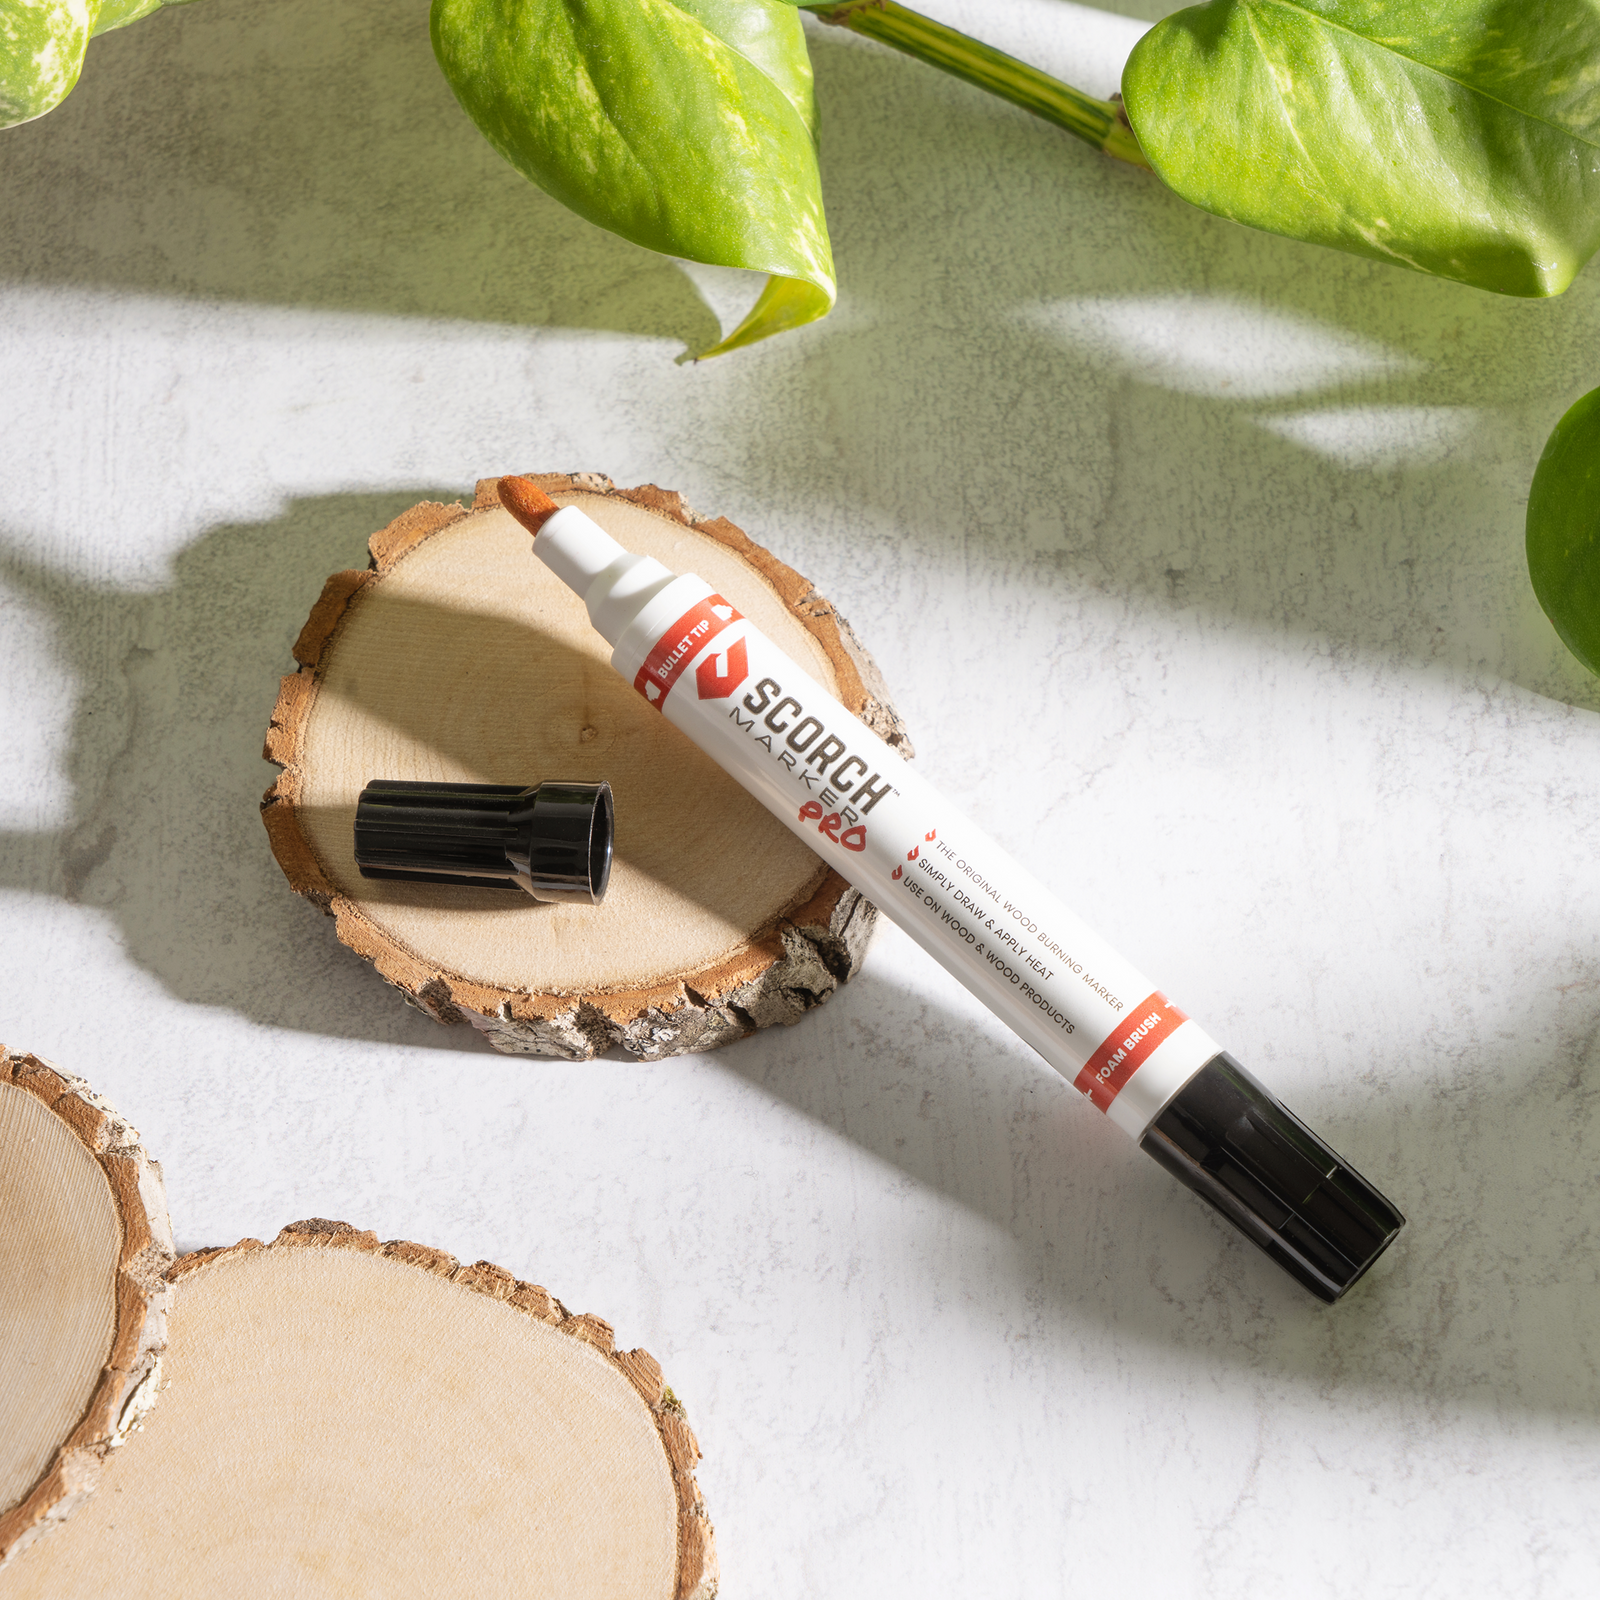
Scorch Marker has taken the intricate beauty of wood-burning and simplified it down into a marker.
All that’s required is for you to draw your design, heat it up, and watch it burn!
In this article, we’re breaking down these three simple steps to make sure you understand them and can do it yourself.

1. Draw Your Design with the Scorch Marker
Every Scorch Marker craft starts with a drawn design.
This can be freehand or stenciled on, depending on your comfort level.
Almost all stencils can be used with the Scorch Marker, including vinyl, silkscreen, metal, and even reusable plastic.
The most important tip to remember here is to sand before you draw.
We recommend sanding all wood crafts to at least 500-grit to prevent bleeding and achieve crisp, clean lines on every single project.
A little goes a long way with the Scorch Marker solution, so try not to oversaturate the wood.

2. Heat Your Design
While giving your design time to dry, it’s time to prepare your heat source.
We mostly use a heat gun that’s at least 1500-watts (this SeekOne heat gun on Amazon is perfect) for our crafts, but you can also use a heat torch!
If you’re using a heat gun, begin preheating it on the highest setting.
Once a minute or two has passed, the stencil can be removed from your craft and it’s time for the fun to start.
Apply the heat in a sweeping motion, making sure to keep the tip of the gun at least 6-inches from your craft.

3. Burn Your Scorch Marker Design into the Wood
The fun step also brings the magic.
Within just a minute or two of applying the heat, you will see your design go from a reddish color to brown and then to a dark, black color.
The longer you continue to apply the heat, the darker your design will be.
We recommend that you continue to move your gun in a sweeping motion the entire time that you burn to help avoid hot spots or warping.
Finishing Your Scorch Marker Craft
For coasters and wood crafts that will be exposed to moisture, it’s important to seal the final design.
This helps prevent bleeding and damage to your design and can help it last for a long, long time.
We love sealing our food crafts with Shellac or Odie’s Oil, both of which are totally food safe.
To watch us make the entire kombucha coaster craft, check us out on TikTok.


Leave a comment (all fields required)