The holiday season is approaching, and many of us are still scrambling to find or make the perfect gift.
With the Scorch Marker though, the crafting and gift-giving possibilities are endless!
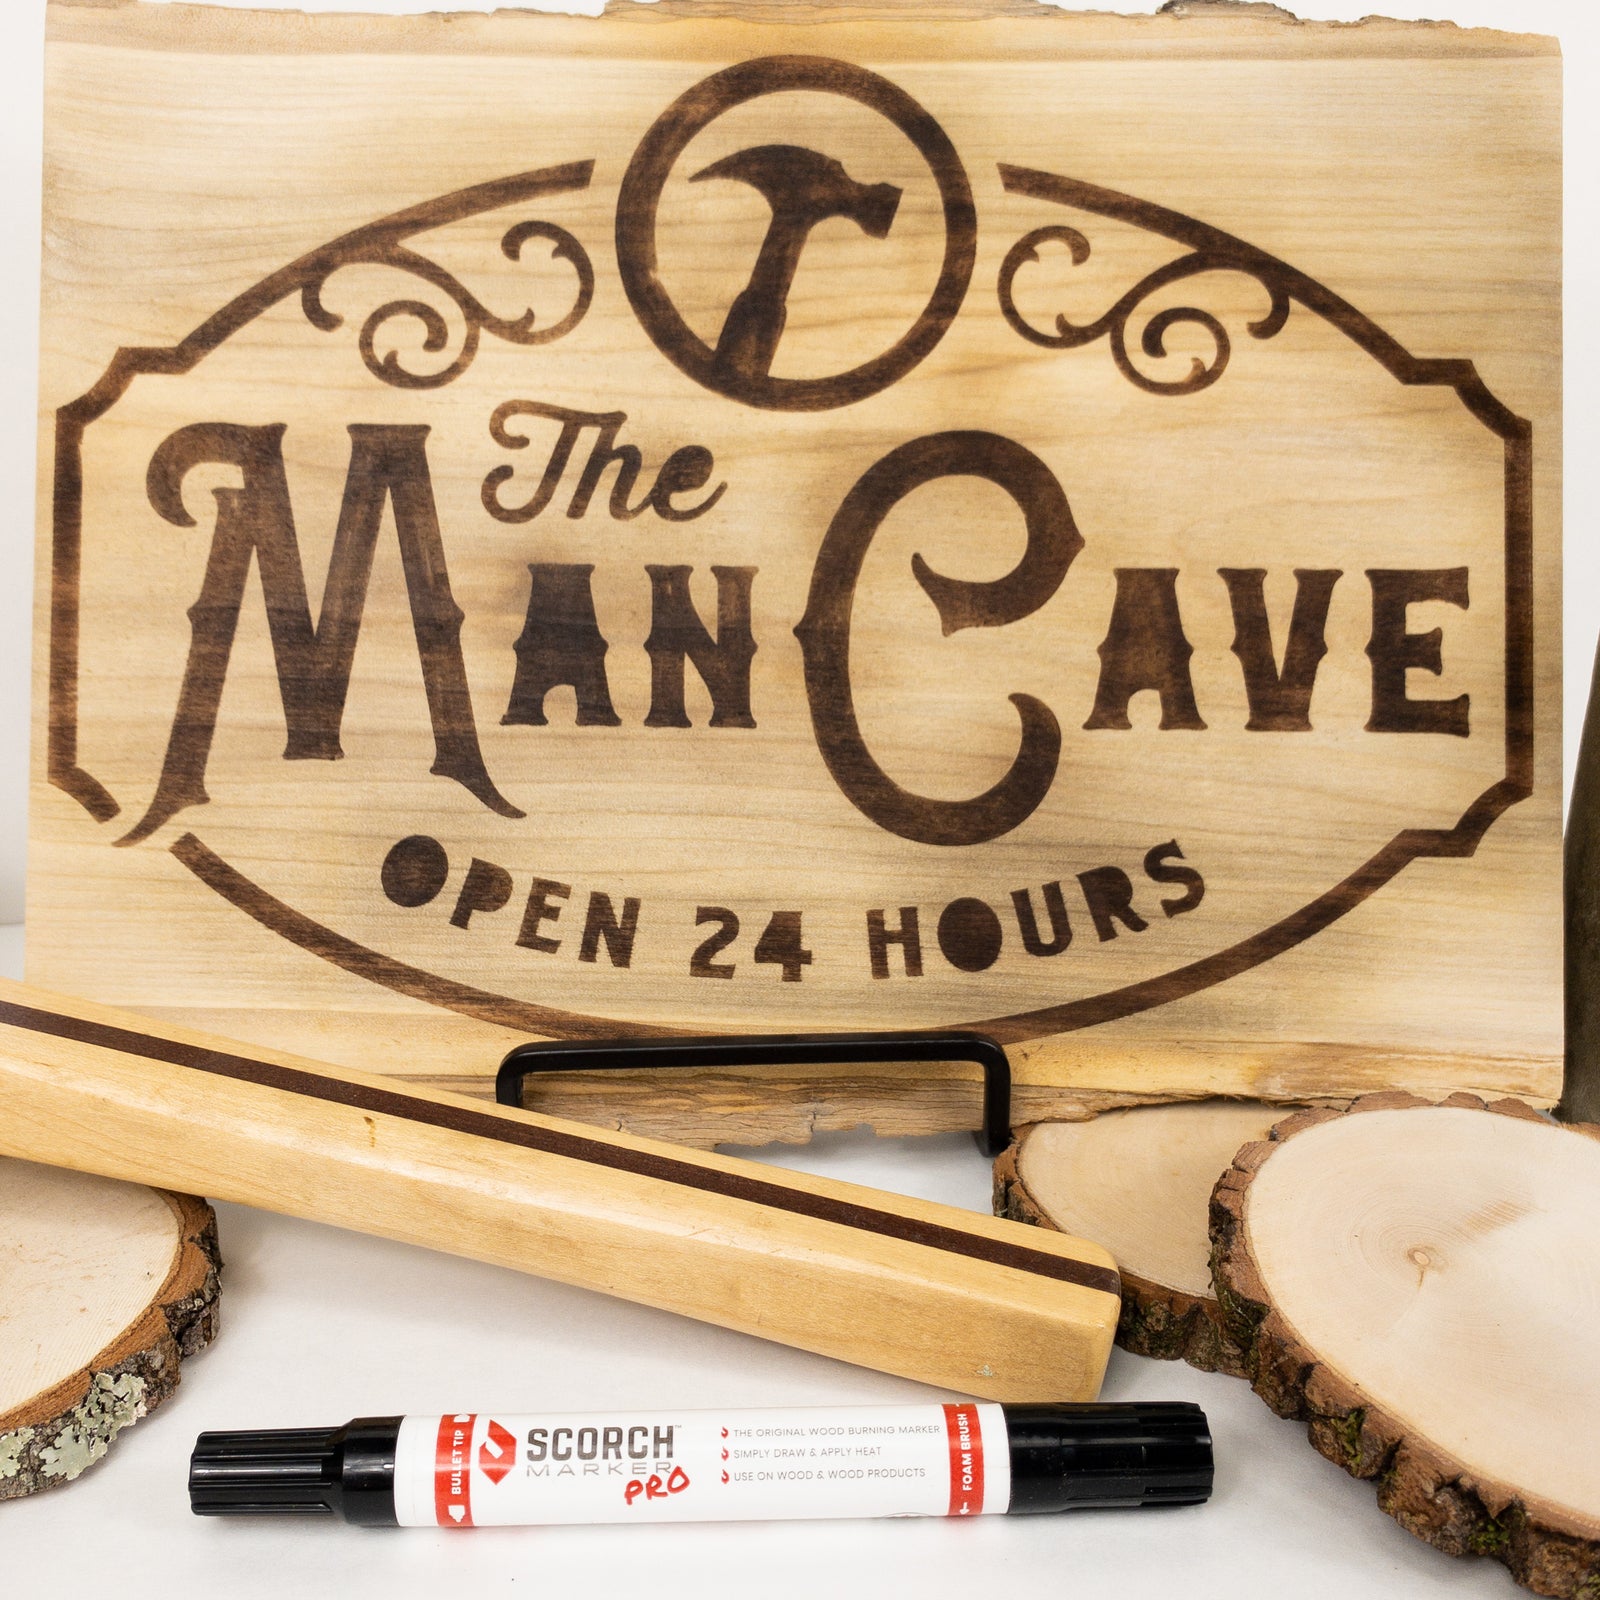
In this article, we’re going to teach you how to create this beautiful, rustic “Man Cave” sign for the perfect guy in your life.
It’s Fun to Burn Indoor Decor with the Scorch Marker
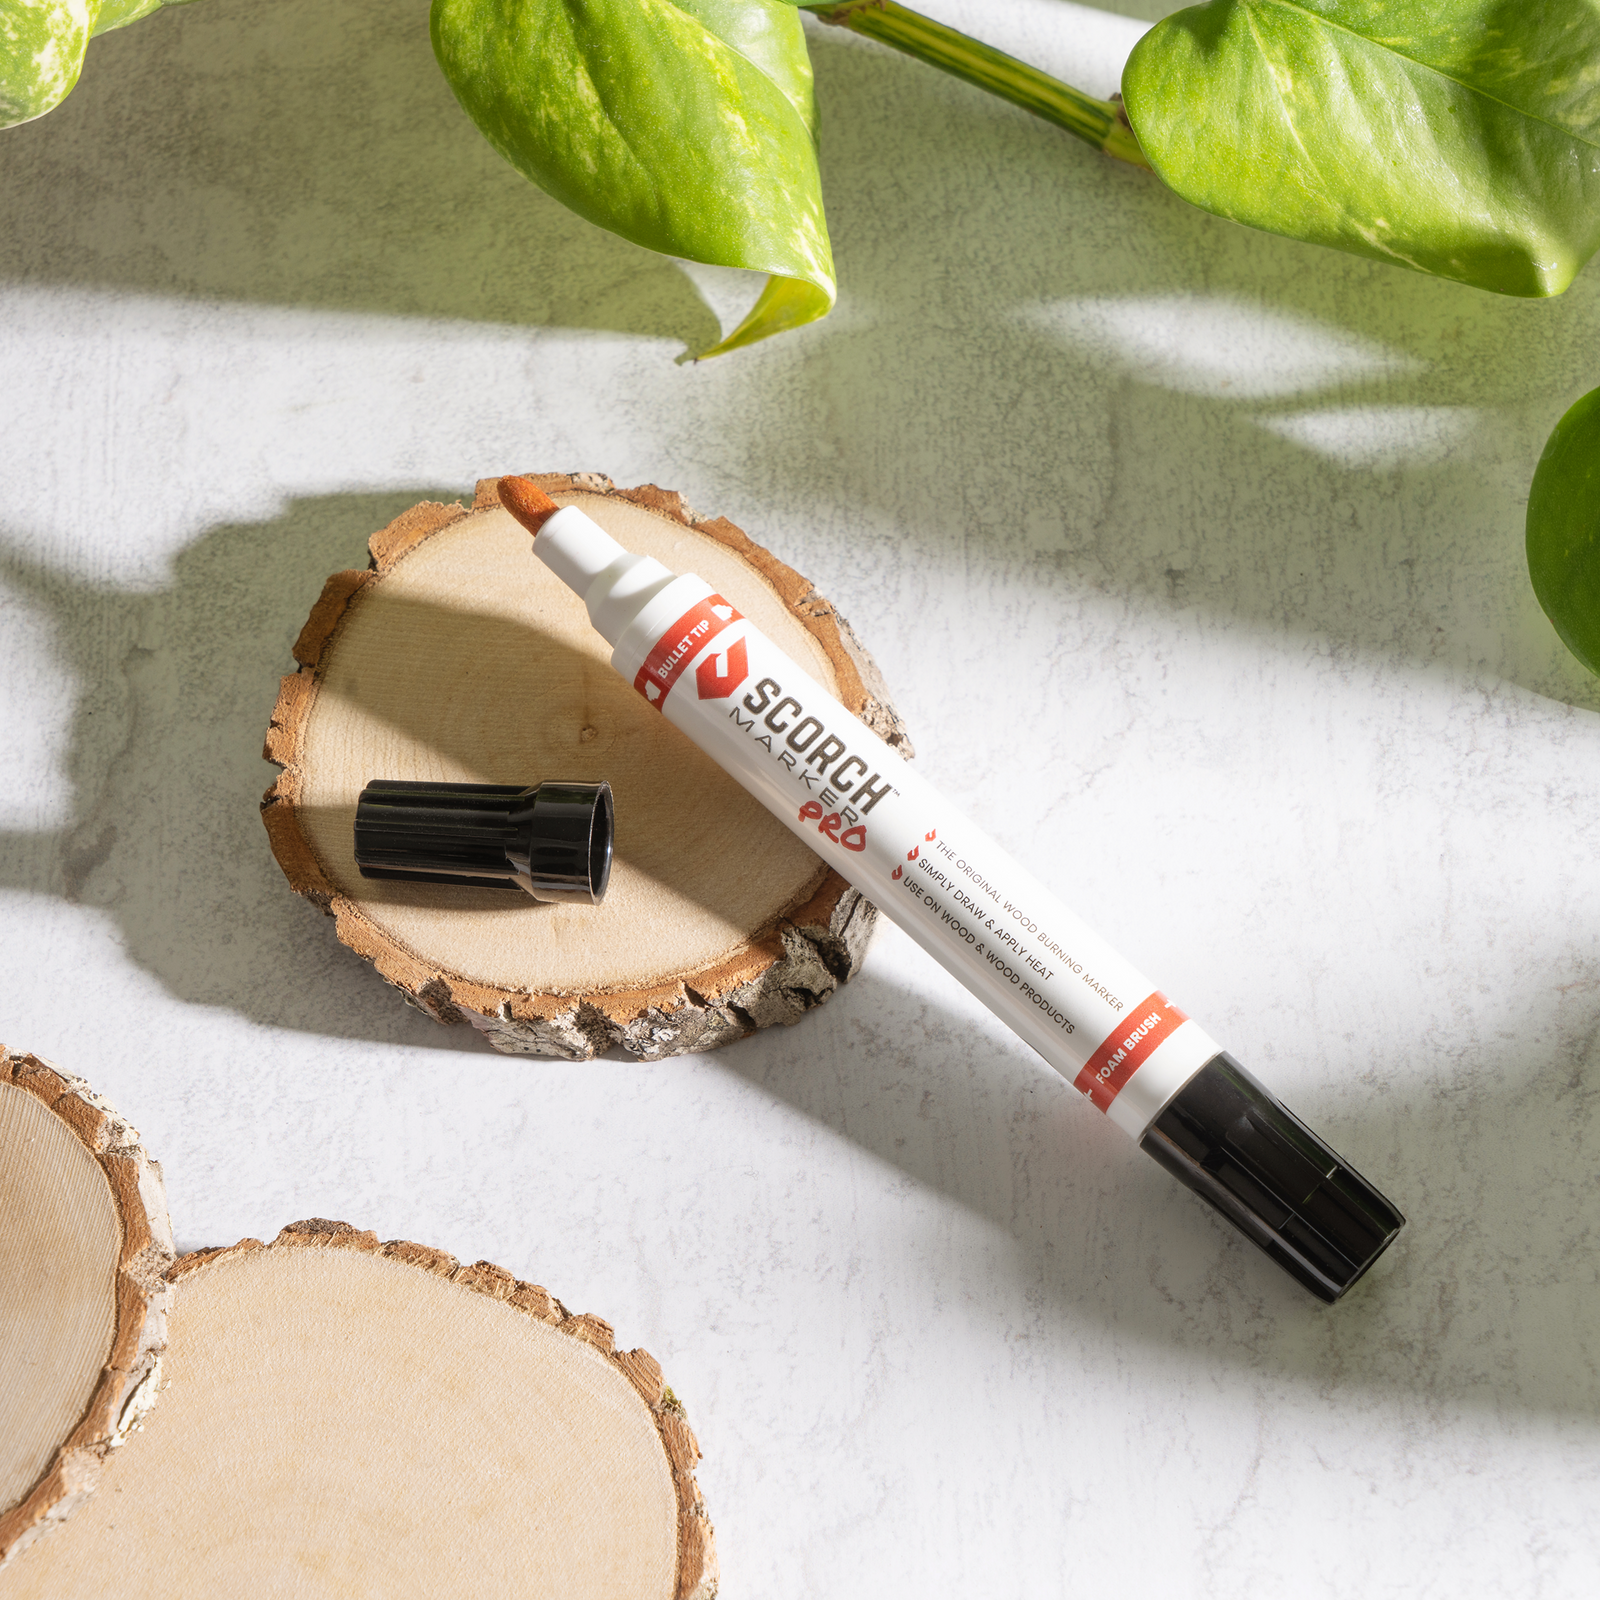
The Scorch Marker takes the magic of wood-burning and puts it into the simplicity of drawing with a marker.
With this unique crafting tool, you can create endless permanent and professional-looking projects with nothing but some wood and a heat gun.
Let’s talk about how it’s done!

Creating Your Own Man Cave Sign in 7 Easy Steps
Crafting with the Scorch Marker really is as simple as: Draw. Heat. Burn.
We take the guesswork and confusion out of wood-burning so that you can enjoy a hobby that is easily accessible and simple to figure out.
Here are the seven simple steps to the craft of your dreams.
1. Sand Your Wood Until Smooth
The most important prep step is to sand your wood!
Regardless of the type of wood you’re using, we recommend sanding to at least 500-grit to help you achieve crisp, clean lines every single time.
For softer wood, like bamboo or pine, it might be necessary to sand all the way up to 1000-grit to create a surface that’s smooth.
2. Firmly Apply Your Stencil
Not only does sanding help create a surface that’s smooth and prevents bleeding, it also helps your stencil stick.
We went with a generic man-cave stencil from Etsy, but you can put whatever you want on your wood!
Remember, the stencil doesn’t have to be made of vinyl.
The Scorch Marker can be combined with stencils made of silkscreen, plastic, metal, and even paper!

3. Prime Your Scorch Marker
If it’s your first time using a new Scorch Marker, it’s important to get the liquid flowing.
The way to do this is by priming your marker.
Simply hold your marker upright, with the marker nib facing down, and then press your marker down several times to saturate the nib.
Then, dab away any excess on a paper towel before applying it to your craft.
You can watch the priming process on TikTok.
4. Fill in the Exposed Areas
Now for the fun part!
Using your Scorch Marker (brush or nib), fill in the exposed areas of your wood.
A little goes a long way when it comes to crafting with the Scorch Marker, so try not to use too much in one area.
Minimizing the amount of liquid you use will also help prevent any bleeding underneath the stencil.

5. Remove the Stencil & Preheat Your Heat Source
Once you’re finished drawing, give your wooden craft a good minute or two to dry.
This is another critical step in preventing blurry lines.
While it’s drying, you can begin preheating your heat source.
We recommend that you use a heat gun that’s at least 1500-watts in strength.
Your design needs to reach at least 350F in order to start changing color.

6. Burn Until Desired Result is Achieved
Once your gun has been heated, it’s time to bring your project to life!
Hold the tip of the heat gun at least 6 inches from your craft, and apply the heat in a sweeping motion.
Try not to hold your heat source in one place for too long to help prevent any heat spots from appearing.
You can heat your project for as long as you want, but remember: the longer you heat, the darker the burn!

7. Finish Your Craft to Help it Last Longer
Finally, add a finishing touch to your craft in the form of protection!
Wood finishes, like Shellac or Odie’s Oil can help protect your project and allow it to last for much longer.
Crafting with the Scorch Marker can require a bit of practice!
To learn more about using it correctly, and for new crafting ideas every day, follow us on Instagram.
And, don’t forget to check out our expansive stencil collection, which you can download for free with the code: ilovestencils at checkout.


Genevieve Olivier
November 27, 2021
Your markers do not work as you advertised.