

At Scorch Marker, we talk a lot about using vinyl stencils on wood.
But, wood isn’t the only surface that can be combined with these versatile crafting tools.
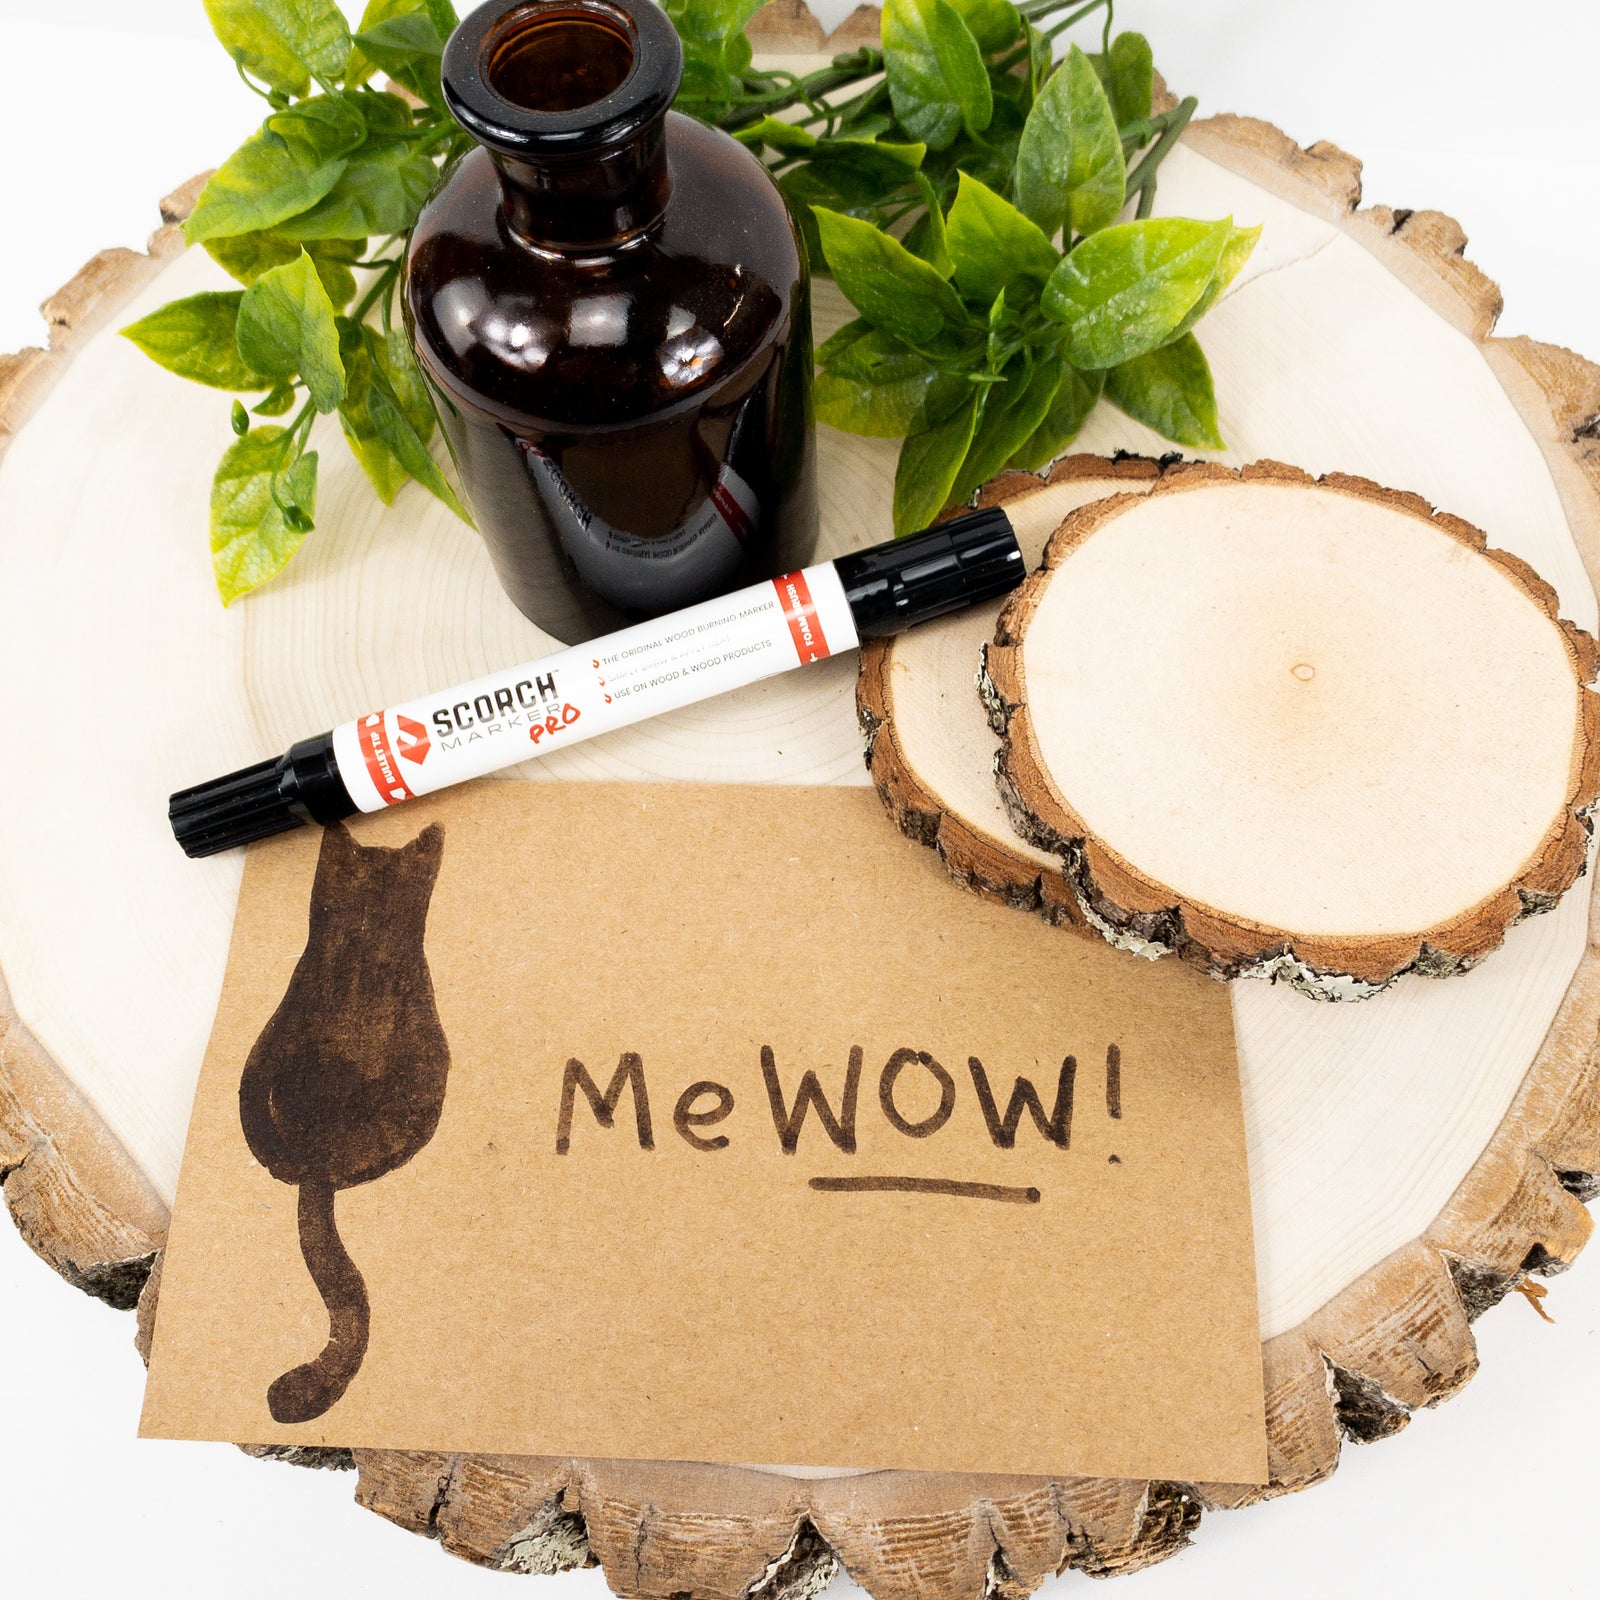
In fact, we enjoy using the Scorch Marker and vinyl stencils on a variety of different surfaces, including denim, canvas, and even paper.
In this article, we’re giving you three of the top tips for using vinyl stencils on paper to help your crafts turn out perfect every time.
The Scorch Marker Works on Paper Too!
As mentioned above, the Scorch Marker can be successfully used on all sorts of different surfaces.
Paper is one of our favorites because it’s so simple and easy.
However, working with vinyl stencils on paper can sometimes be complicated.
This is mostly related to the stickiness of the stencils and the damage they can cause to the paper.
Let’s discuss some ways to prevent that.

How to Use Vinyl Stencils on Paper
As with most Scorch Marker crafts, applying and removing vinyl stencils follows the same general steps.
But there are some special tips to try when crafting on paper. These include:
1. Press the Stencil to Your Clothes
Tearing and ripping is the biggest concern associated with using vinyl stencils on paper.
But this can easily be prevented with a little preparation.
Reduce the stickiness of your vinyl stencils by pressing them to your clothes or some other fabric material a few times before applying them to your paper.
This will make them easier to remove without ripping your craft.
2. Stick it On Gently
Preparing for tears are the best way to prevent them.
In addition to reducing the stickiness of your stencil, make the effort to prevent rips in your craft by gently applying the stencil.
For paper crafts there is no real grain so bleeding is not nearly as serious a concern.
This is why you can get away with gently pressing your stencil onto the paper before applying the Scorch Marker liquid.
3. Try Some Tweezers
Sometimes, even preventing stubborn stickiness through steps one and two isn’t enough.
If you still find yourself struggling to grab hold of a corner or edge of your stencil to remove it from your paper, resist the urge to dig at it with your fingernails.
Instead, a pair of tweezers with a thin or needle tip will work perfectly.
Simply grasp the corner of your stencil and remove it carefully with firm, even pressure.
Scorch Marker Stencils are Free on Our Website
We love combining stencils with the Scorch Marker!
That’s why we’ve created and designed dozens of different stencils to share with all of you.
These stencils can be cut with your Cricut, a similar machine, or even by hand.
And every single one of them are completely free to download.
When you use the code ‘ilovestencils’ at checkout, you will receive any and all stencil packs for free!
Then, share your crafting results with us on social media to be featured.
Happy crafting!


Renee Smith
January 13, 2022
I have bought a scorch marker from Amazon and I’m interested in your stencils that are available.