

If you love crafting with the Scorch Marker, then you need to learn the ways you can take your projects to the next level with stencils.
Stencils can be used to add a touch of professionalism to your Scorch Marker crafts, which is especially beneficial when creating gifts or projects for your business.
And the great news is that we’re always coming out with new stencils, patterns, and designs for you to try!
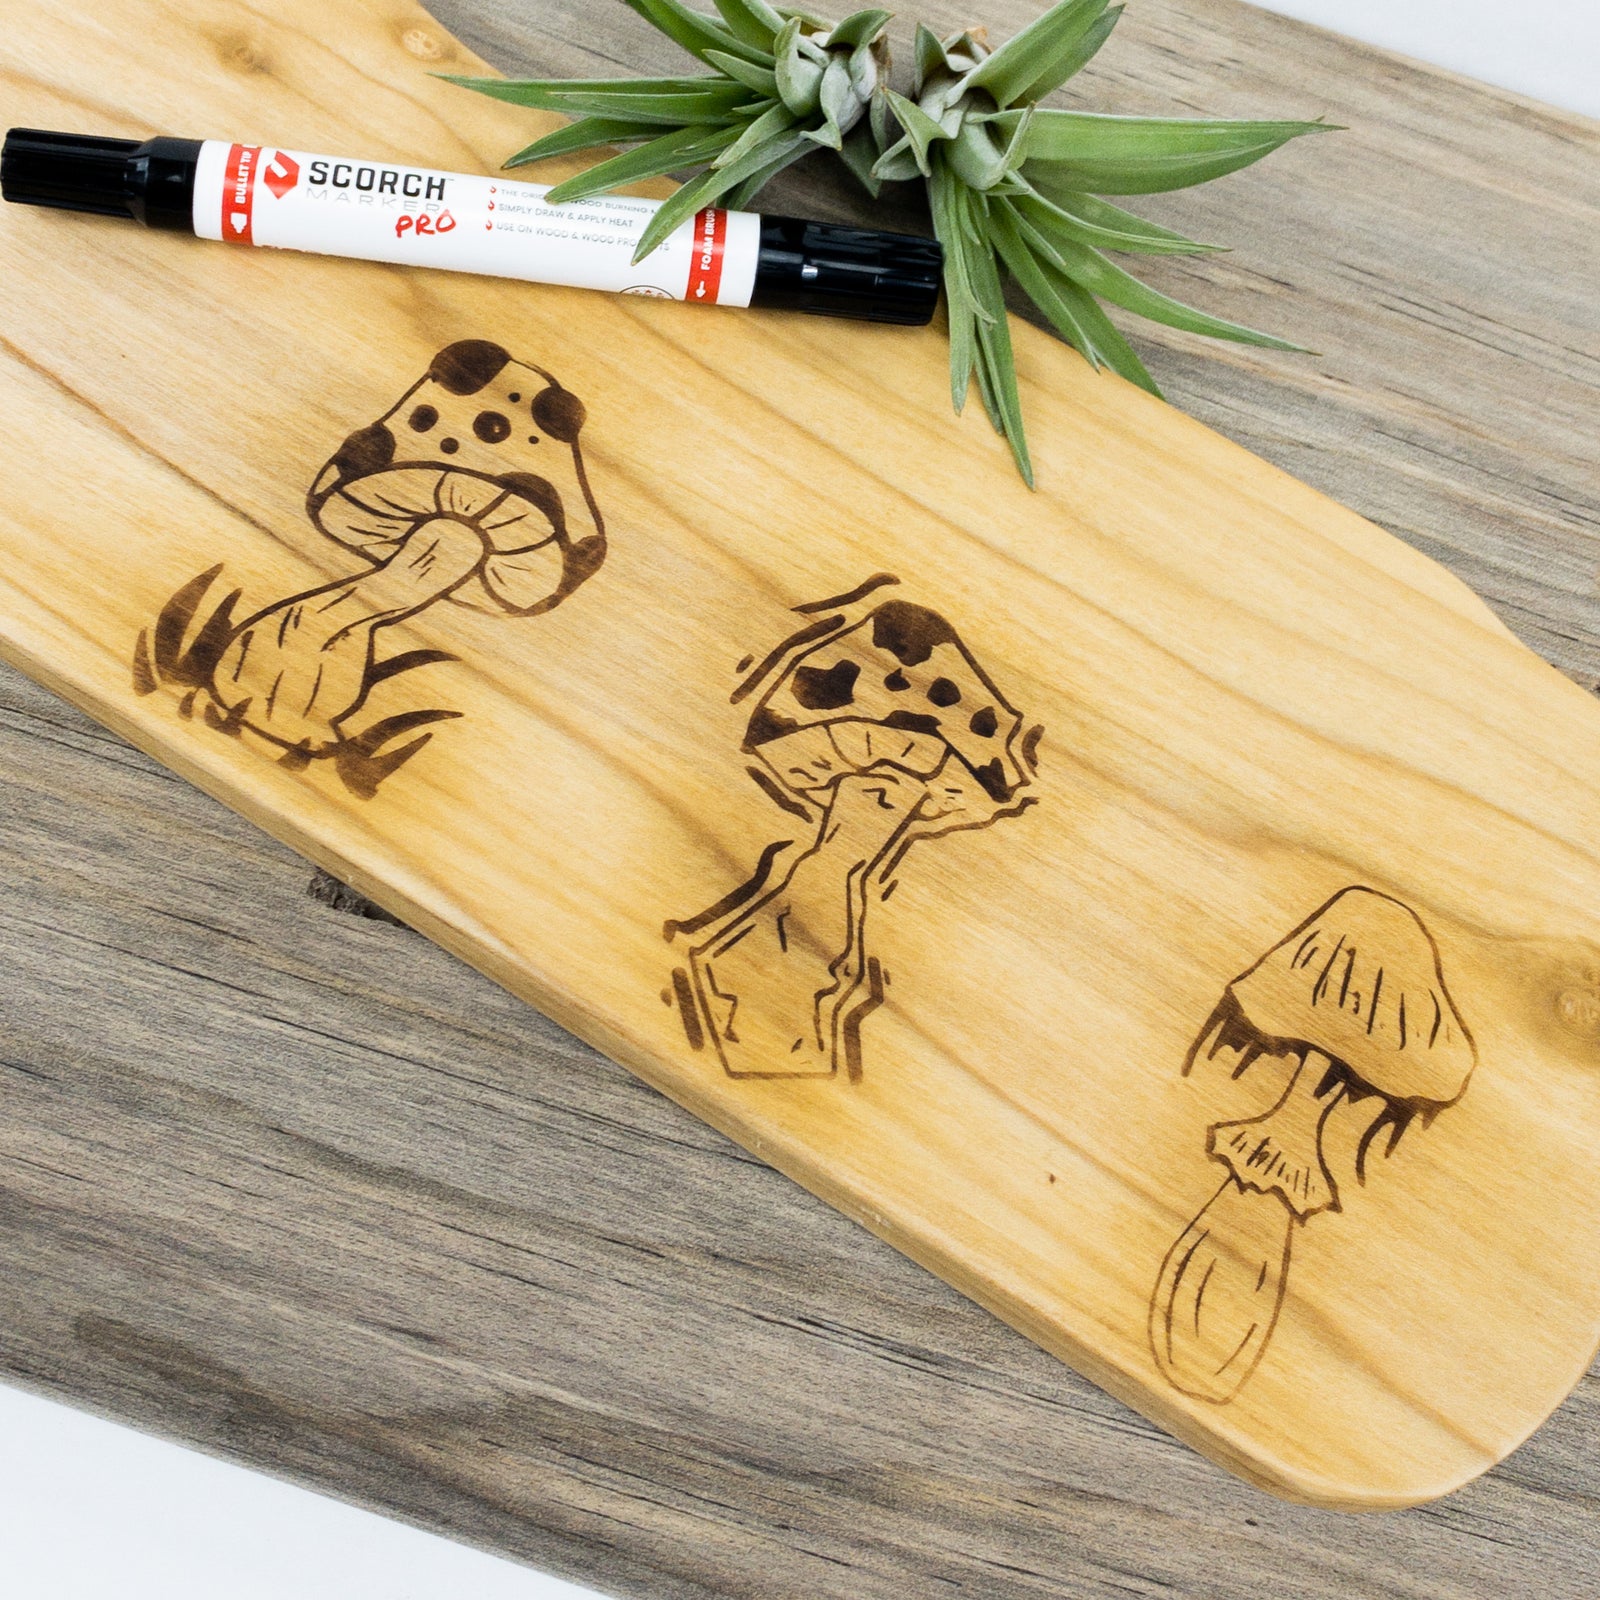
In this article, we’re introducing you to six new mushroom stencils that are available in our store now.

We Commission Real Artists for Our Stencils
Of course, stencils are never required for a Scorch Marker craft, but they do help make them a little more special.
Our stencils are hand-drawn, and commissioned by real artists working to make a career for themselves.
As a small business ourselves, we love supporting entrepreneurs in their endeavors.
And we also love helping you create the wood burning crafts of your dreams.
That’s why all our stencil packs are always totally free for download when you use the code ‘ilovestencils’ at checkout.
5 Steps for Using a Vinyl Stencil with Your Scorch Marker
It’s important to note that our stencil packs are not physical products, but instead, a set of downloadable files.
These files can then be uploaded to a Cricut machine (or something similar) and then cut at home.
Vinyl stencils are used in this way for all sorts of different crafts and, now thanks to the Scorch Marker, they can be used with pyrography, too!
Here are the five steps for including vinyl stencils into your Scorch Marker crafts.
1. Prepare the Surface
Let’s put first things first.
The most important step is making sure that your surface is properly prepared.
You want your wood to be smooth.
We recommend sanding to 500-grit in order to achieve the cleanest lines possible.
Then, wipe any sawdust from your surface and you’re good to go!
2. Firmly Adhere Your Mushroom Stencil to the Wood
Next, position and apply your mushroom stencil to the wood.
The stencil application is just as important as the wood preparation for preventing bleeding.
Air bubbles, creases, and other wrinkles in the stencil will provide space for the liquid to bleed.
Use a card scraper, or similar tool, to get a nice seal between your stencil and the wood.
3. Apply a Thin Layer of Scorch Marker Liquid
Now it’s time to draw!
When it comes to the Scorch Marker, a little liquid goes a very long way.
Use the bullet tip, foam brush, or a paintbrush of your own to apply a thin layer of the fluid.
Not much is needed to burn the wood. Make sure that you only apply the amount required, as oversaturation can lead to a bleeding design.
4. Heat it Up
This is the fun part.
Once you’re finished drawing, give the liquid a minute or two to settle into the wood fibers.
While this is happening, grab your heat gun and turn it on.
Preheating the heat gun reduces the burn time and the risk of being burned, yourself.
Be sure to remove your stencil completely before applying the heat!
Then, using a sweeping motion, begin applying heat to your design.
It may take a moment for the magic to start happening, but your design should start burning into the wood before your eyes.
5. Seal Your Design
While Scorch Marker designs are, quite literally, burnt into the wood, they are still subject to scuffs, scrapes, and scratches.
To prevent this from happening, and to protect and waterproof your piece, you can seal it.
There are lots of different wood finishes to choose from, and many of them are even food-safe.
You can read our list of favorite finishes to combine with the Scorch Marker here.


Richard
February 22, 2024
Very informative