

Spring is just around the corner, and now is the perfect time to start getting your garden ready.
Unfortunately, outdoor signs and garden decor can be outrageously expensive.
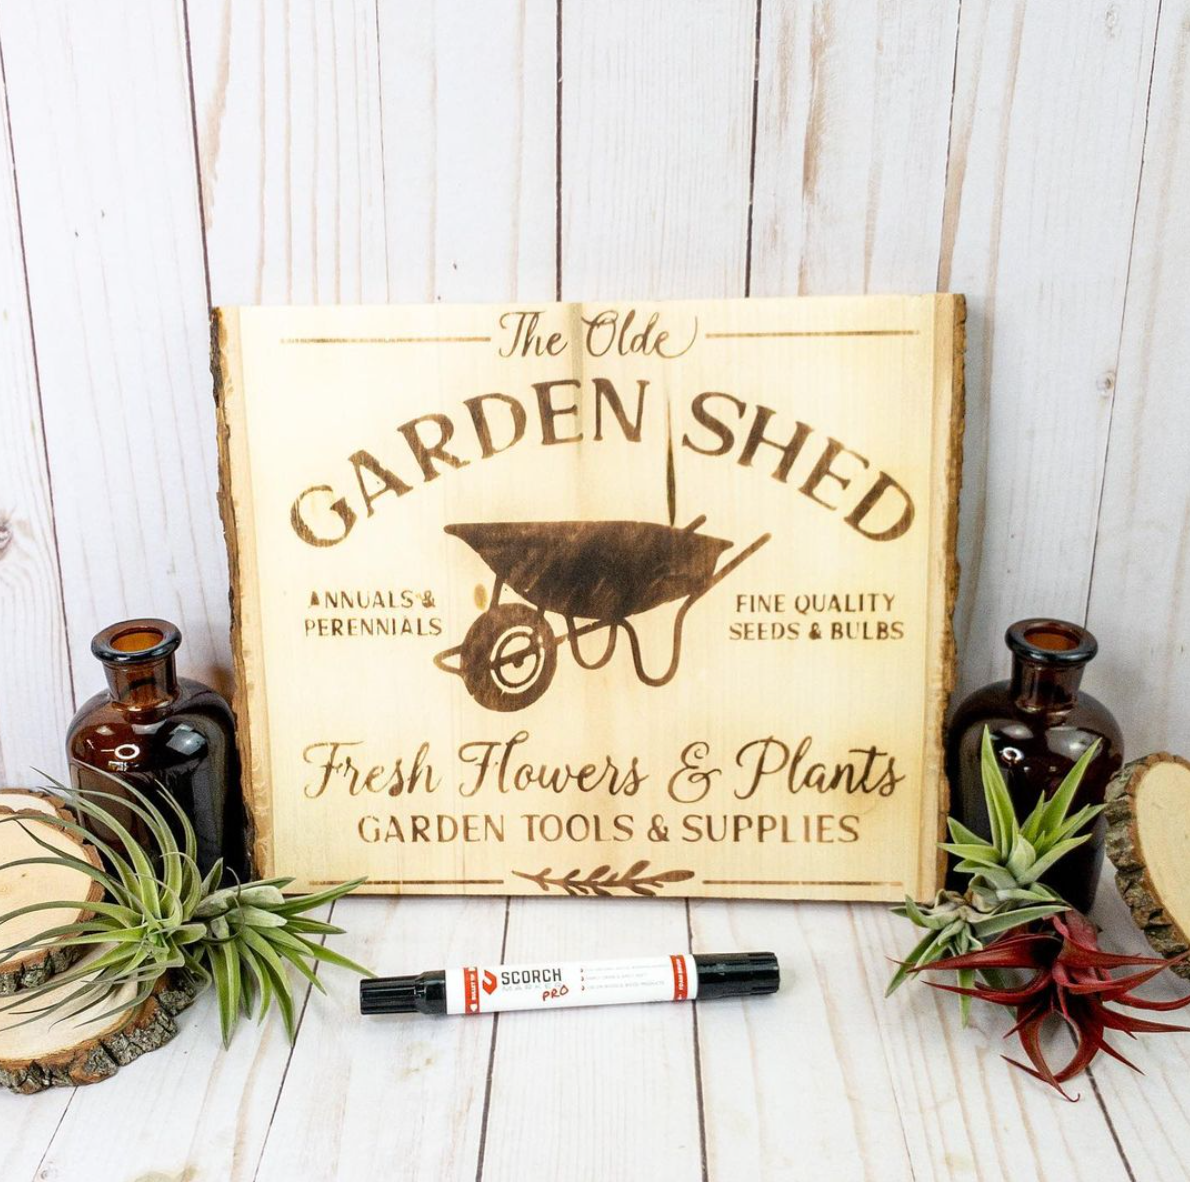
That’s why we’re giving you step-by-step instructions for creating your very own wood-burned garden sign with the Scorch Marker.
You can watch a video of us making our garden sign on Facebook.
Scorch Marker is the Perfect Crafting Tool for Spring
It’s wood burning in a marker.
Scorch Marker utilizes the science of a chemical reaction and allows you to burn permanent designs into wood and other surfaces of your choosing.
It’s our favorite crafting tool to use in the spring because Scorch Marker designs look amazing on decor intended for use both inside and out!

Garden signs are a wonderful way to take your small family garden to a whole, new level.
They’re fun, completely customizable, and can bring so much life to your outdoor space.
For a flawless, professional garden sign, we’re using a stencil with our Scorch Marker, but you’re always allowed to freehand if that’s your gift.
Sand Your Surface to 500-Grit
No matter what wooden project you’re working on, sanding before using the Scorch Marker is necessary.
This helps preserve the life of your marker nib while also preventing your lines from running into the grit.
For most projects, sanding to 220 is totally fine, but taking it all the way to 500 can help it last for longer.
The specifics depend on the type of wood that you’re working with, which is why it’s always beneficial to spot test on different types of wood with the Scorch Marker before going all out.
Once you’ve sanded to your desired grit, use a paper towel to wipe away any debris and take a moment to admire your perfectly smooth surface.
Prepare and Apply Your Stencil
For most of our projects, we use vinyl stencils cut with the Cricut.
But you don’t have to!
Scorch Marker can be combined with stencils made from all different materials, including silkscreen, plastic, mylar, and even paper.
If you are using a vinyl stencil, take the time to press it down firmly with a card scraper to reduce the risk of bleeding.
Apply a Light Layer of the Marker
Believe it or not, you don’t need much of the Scorch Marker fluid for the chemical reaction to happen.
In fact, a little goes a long way!
You can always go back over your design with more liquid if you really need it, but one of the primary causes of blurred edges is using too much liquid.
If you’re using a really large stencil, remember to take advantage of the 2 marker tips.
The foam brush is perfect for covering large areas while limiting the amount of liquid that gathers in one place.
If you went with a stencil, make sure to let it sit on the wood for at least 3 minutes before removing it.
This will ensure that everything has been soaked up by the wood, and reduce the risk of messing up your design.
Preheat Your Heat Gun
While you wait for the design to dry, begin preheating your heat gun.
We recommend a heat gun that is at least 1500-watts, but 1800 is even better.
This is the one we use on Amazon.
Preheating your heat gun reduces the time you spend holding it over your wood, so we recommend preheating on high.
Heat Until Desired Darkness is Achieved
Now it’s time for the magic!
Apply your heat in a sweeping motion over your entire design.
The hotter your design gets, the darker your burn will be.
Scorch Marker gives you the creative freedom to burn it so that the wood is scorched, leave it with a reddish tint, or even achieve a sort of gradient effect.
The possibilities are endless!
Tag us on social media when you create your garden sign, or any other Scorch Marker project - we’d love to see it!
And don’t forget to follow us on TikTok for new project ideas, and Scorch Marker tips every day :)


Alexandre pereira
March 10, 2021
Ola amigos sou do Brasil quem aqui no Brasil representa a marca???? Gostaria de conpra essa caneta trabalho com artesanato