The weather is warming up and Mother Nature is rising from her winter slumber.
Spring has arrived and, if you’re anything like us, you’ve probably been bitten by the spring cleaning bug.
This is even more true after a year like 2020.
One of our favorite ways of welcoming in the beauty of spring and bringing a new vibe into our home is through decorating.
And what’s better than doing it yourself?
In this article, we’re showing you how to craft a spring wreath using the Scorch Marker, vinyl stencils, and a lot of fun.
Use Scorch Marker to Add a Touch of Spring to Your Home
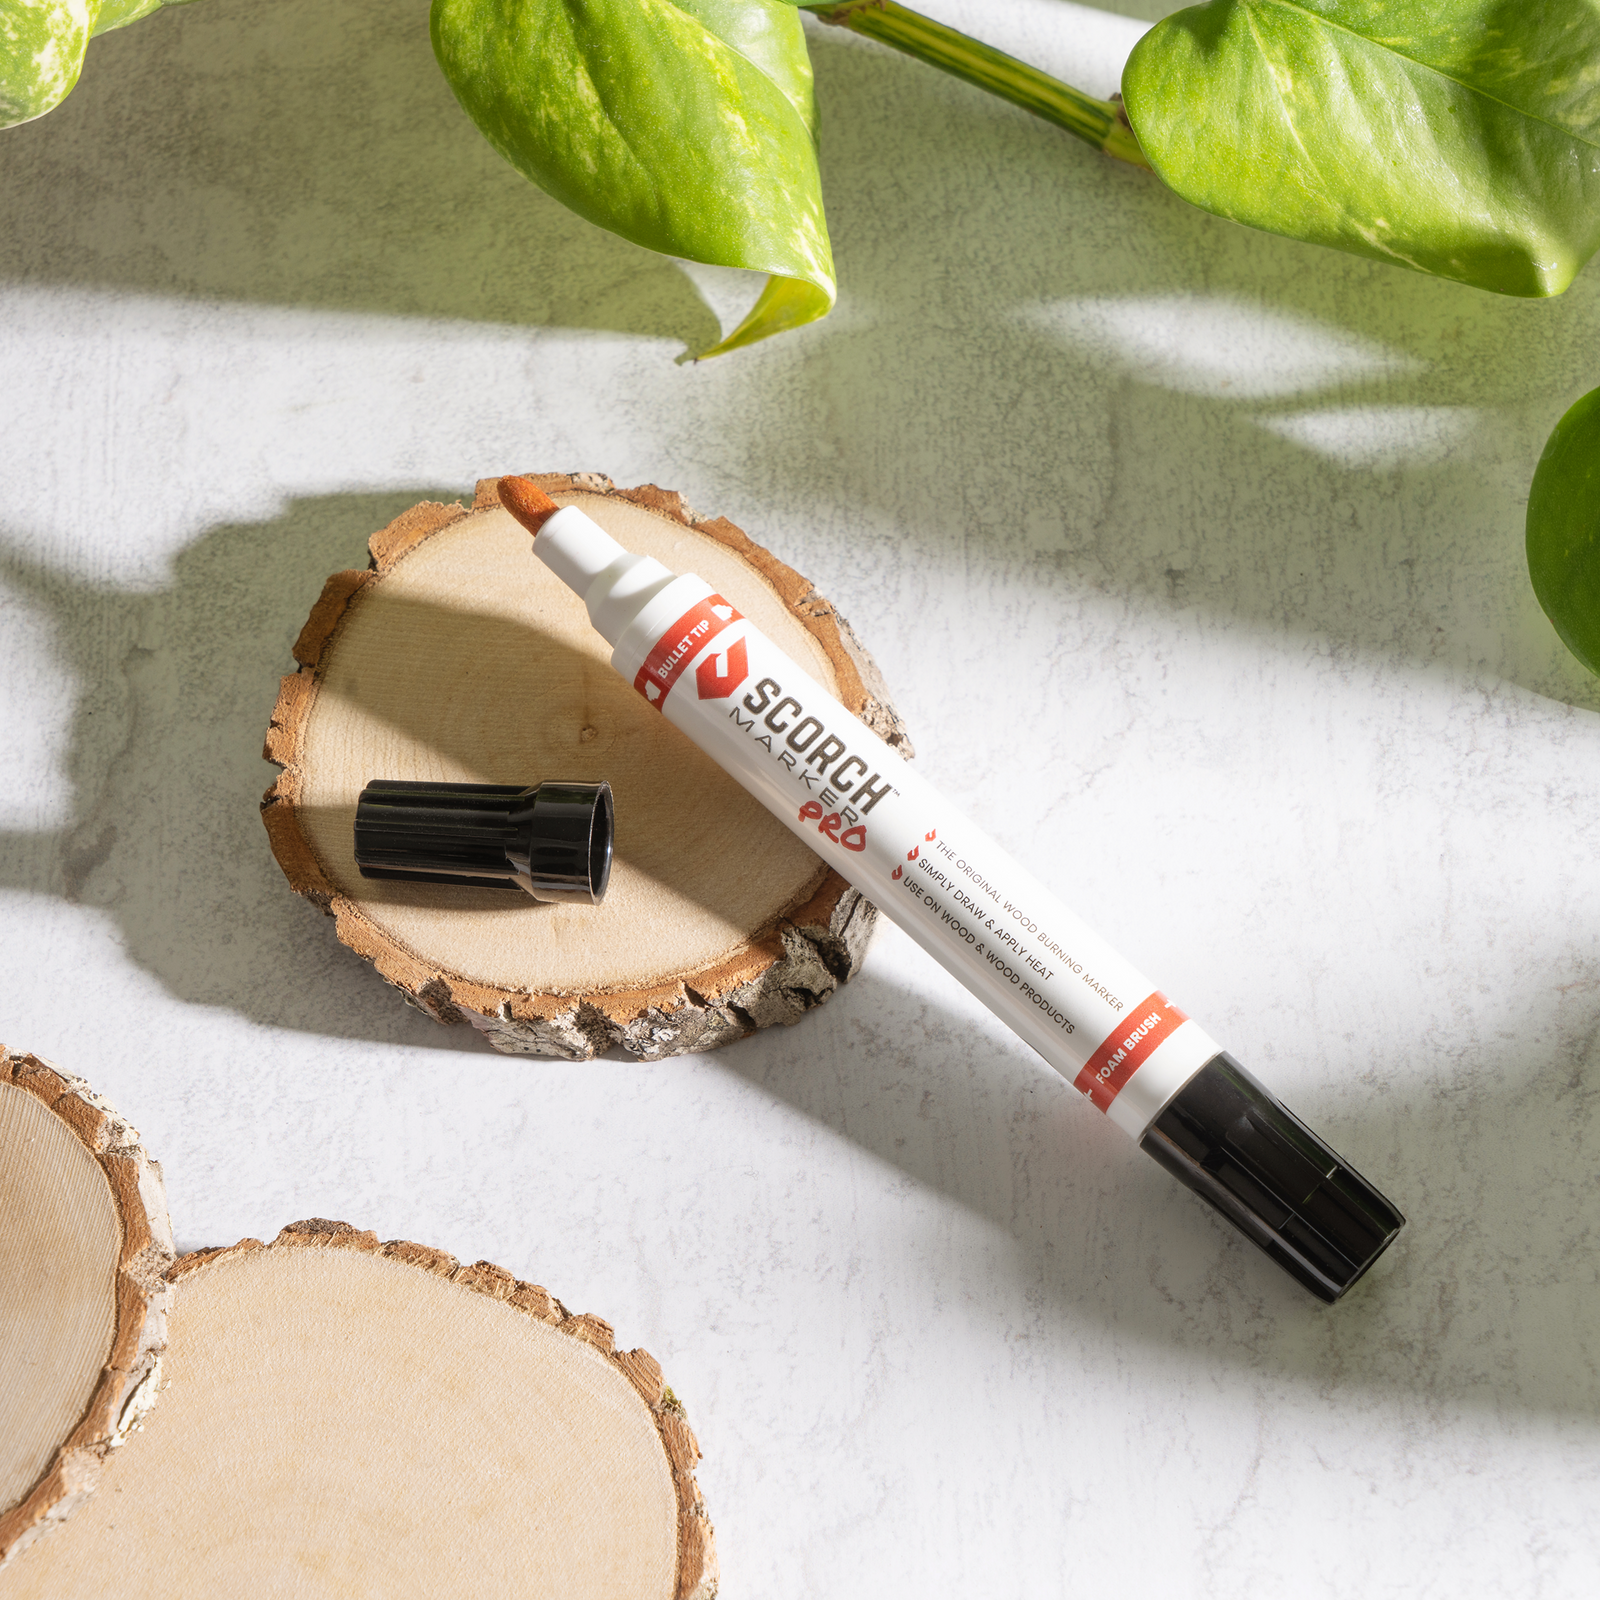
The Scorch Marker is a wonderful crafting tool.
It takes all the beauty and complexity of wood-burning and simplifies it down into a marker.
This means that your entire family can get in on the crafting fun without the risk of being burned.
That’s because there is no heat added to your piece until after you’re finished designing it.
If you want to learn more about how the Scorch Marker works, don’t stop reading!
We’re getting into the four simple steps it takes to craft your very own spring wreath like the one you see above.
And, if you’re interested in watching a video of it being made, you can watch on YouTube.
What You’ll Need:
19 rustic wood slices
Hot glue gun and glue
Ribbon
How to Craft Your Wreath in 4 Simple Steps
It doesn’t take long to go from a basic grapevine wreath to a fully decorated, wood-burned spring wreath. And we’re going to show you how!
1. Prepare and Fill in Your Stencils
Before you can get to crafting, it’s important to prepare your materials.
Start by gathering your wood slices to prepare for sanding the ones you’re designing.
We sanded 10 total slices for our wreath. Sand each surface to 500-grit.
Then, apply each stencil to its designated place.
Make sure to use a card scraper to eliminate any air bubbles and prevent bleeding.
Once your stencils have firmly adhered to your wood slices, apply a thin, even coat of the Scorch Marker liquid using the marker nib or foam brush.
Make sure to allow the liquid to dry for a minute or two before removing the stencils.
2. Burn Your Wood Slices
You’ve completed all the preparation and it’s time to start burning!
With a preheated heat gun, burn each wood slice to your desired appearance.
Longer burn time results in a darker burn.
We recommend that you use your heat gun in a sweeping motion to help prevent dark spots in other areas of your wood.
3. Glue Wood Slices to Your Wreath
Now it’s time to assemble the wreath!
We used hot glue to stick 6 blank wood slices on top.
The ‘B U N N Y’ wood slice letters were then centered over them.
The ‘T R AI L’ wood slice letters were then centered on the bottom half of the wreath.
Finally, we glued two wood slices on the right-hand side and centered the bunny stencil burn over the top.
4. Embellish
With the main pieces of your spring wreath completed, it’s now time to get a little fancy.
We used paddle wire and ribbon, as well as a few cute little artificial easter branches to add some pops of color.
Spring Only Gets Better with Scorch Marker
Take your crafting fun to the next level this spring with the Scorch Marker.
This wood-burning marker can be used on many more surfaces besides wood, including canvas and denim.
And we’re always looking for new ways to enjoy it!
Tag us on Facebook or Instagram in your next Scorch Marker craft and receive a coupon for your next order.


Leave a comment (all fields required)