

The Scorch Marker works on a variety of different surfaces, including paper mâché, canvas, and even denim.
But we weren’t sure if it would work on a gourd.
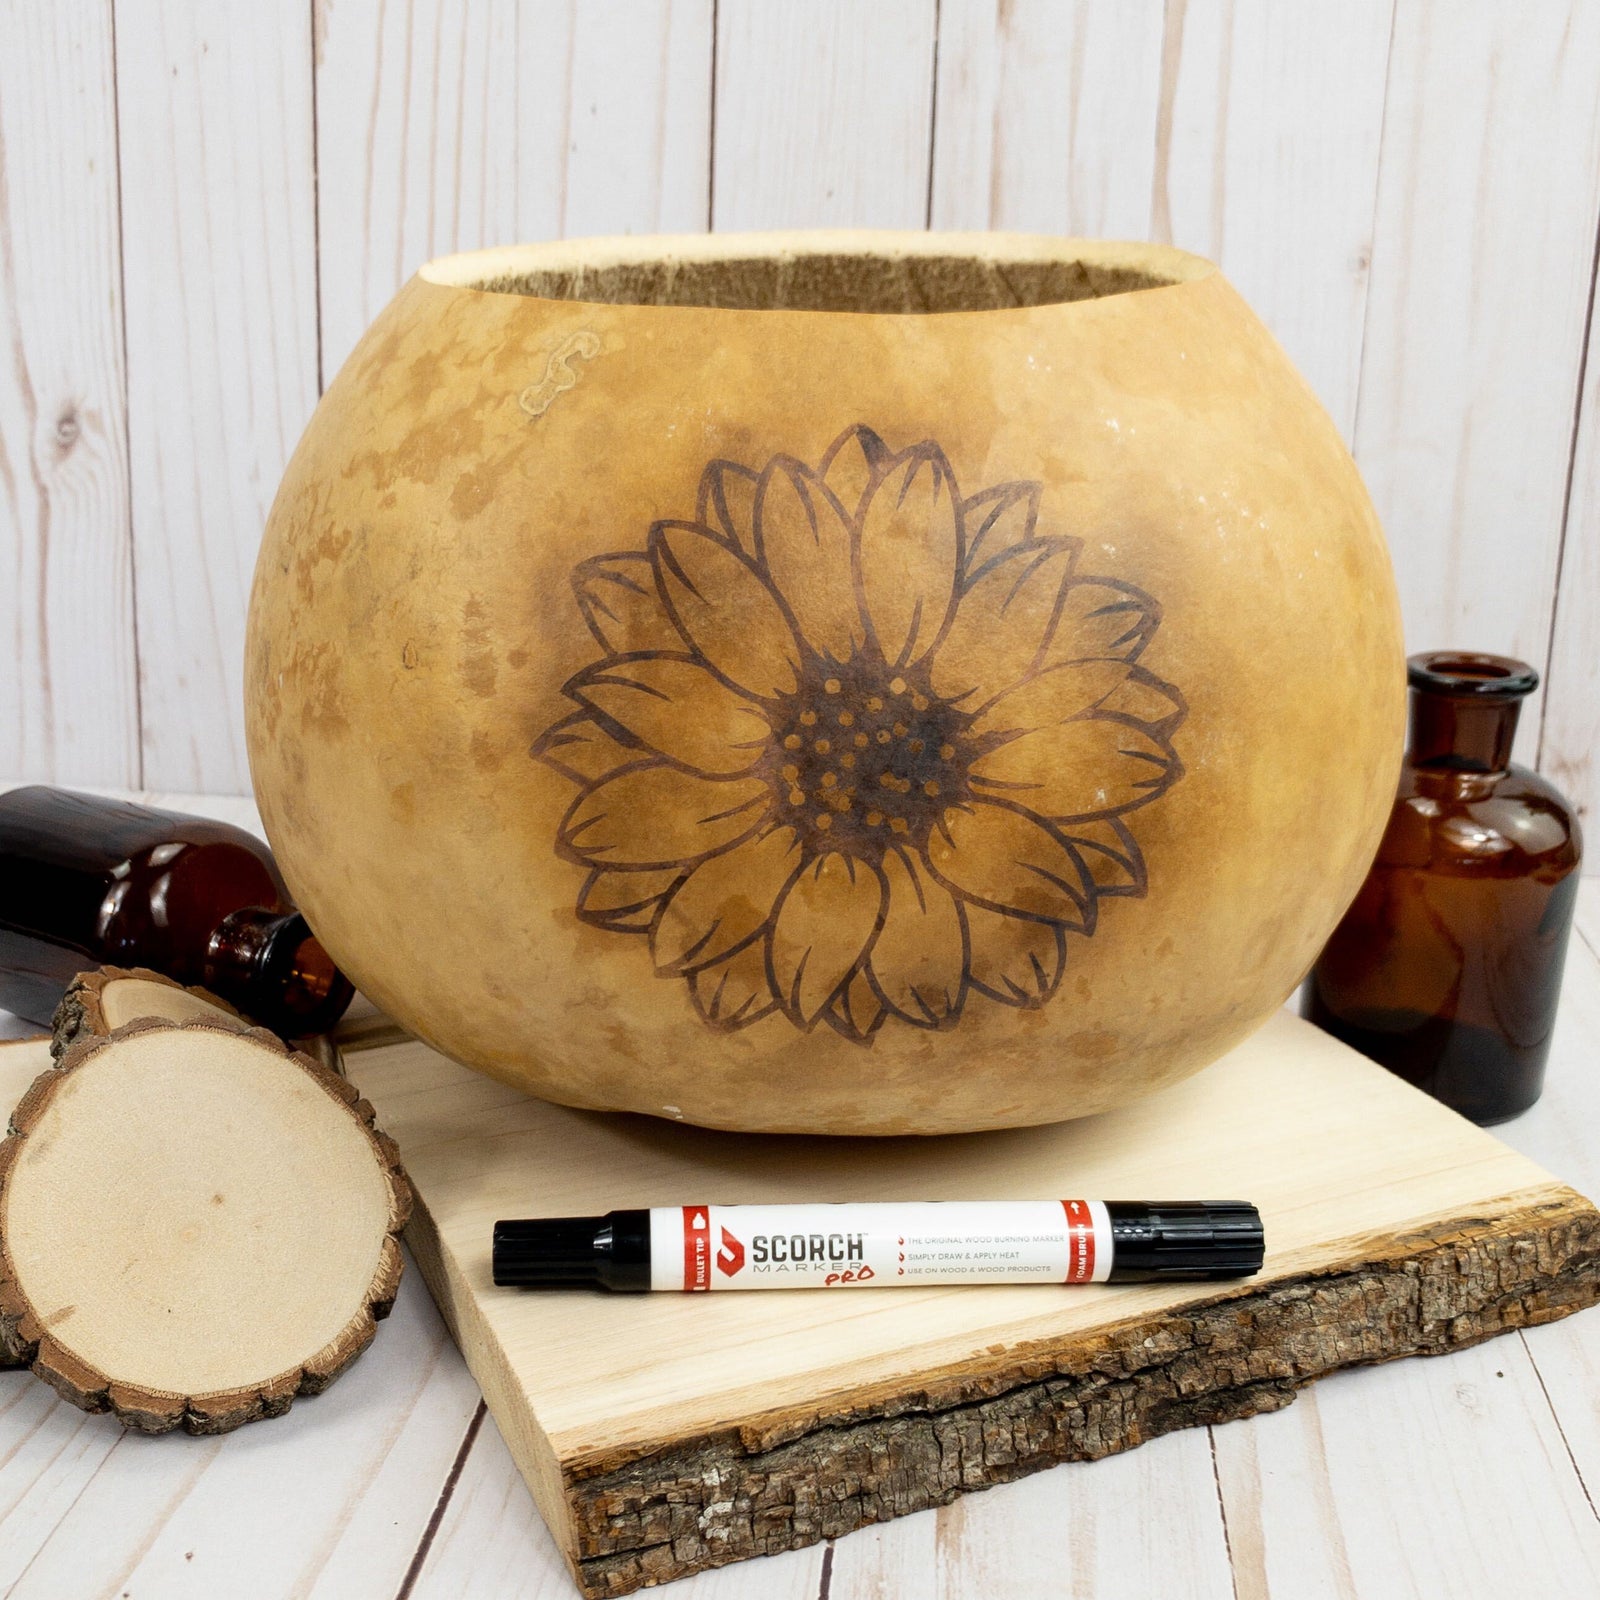
However, after some experimenting, it’s clear that dried gourds may be one of the best surfaces for wood burning with the Scorch Marker.
In this article, we’re showing you how we made a wood-burned gourd bowl just in time for spring.
A Wood-Burned Gourd Bowl is the Best-Smelling Craft
The most enjoyable part about combining a gourd with the Scorch Marker is the smell!
It smells absolutely wonderful and makes the entire crafting experience that much more fun.
Gourds also require no sanding or any other preparation prior to crafting, which makes for an awesome and quick afternoon project that anyone can do.

Materials Needed for This Project:
-
1 Gourd Bowl
-
1 Flower Stencil
-
Scorch Marker
-
Heat Gun
How to Wood Burn Your Gourd Bowl
Burning a gourd bowl is very similar to burning on wood, only easier!
Today, we’re going to be applying a flower stencil to our gourd bowl.
But you can use any stencil that you’d like.
If you’re really artistic, you can even freehand your project!
Whatever you decide to make, we’d love to see it on social media, so be sure to tag us.
You can also see the video of this gourd craft on TikTok.
1. Press Stencil Down Firmly - Adjust if Needed
Start by applying your stencil.
While it can be frustrating to apply a vinyl stencil to a round surface, just make sure to practice patience with yourself.
Some of the most helpful tips for applying a vinyl stencil to a rounded surface are to:
The most important thing is to make sure you’re getting a good seal between the stencil and your gourd.
This will prevent messy edges on your design.
2. Apply a Light Layer of the Scorch Marker
With your stencil applied, weeded, and secure, it’s time to draw!
A little goes a long way with the Scorch Marker, especially when it comes to a non-porous surface like a gourd.
3. Make Sure Ink Dries
Again, because the surface of a dried gourd is really not porous at all, it’s not going to soak up any of the liquid.
Make sure to give it some time to dry.
If it looks like you may have applied too much of the Scorch Marker, simply blot your design with a paper towel.
4. Remove Your Stencil
Once your design is dried, it’s time to begin preheating your heat gun.
While that’s heating up, you can remove your stencil completely from the surface of your gourd.
5. Add Heat
Now it’s time for the magic!
Make sure that your heat gun is at least 1500-watts and completely preheated.
Doing this reduces the time it takes for your design to burn, and lowers the risk of burning yourself or something else.
Then, apply your heat in a sweeping motion and watch chemistry take place before your eyes.
Share Your Projects with Us!
You did it! And we know it looks amazing.
That’s why we want to see all the projects you’ve created with the Scorch Marker.
Come find us on Facebook and Instagram and show us what you’ve made.


Iris Gach
May 24, 2023
Just looking for more information on the scorch pen