There’s a lot to think about when it comes to your wedding.
From choosing the food to sending the invitations, there is quite a bit of planning involved before the big day.
In all the hustle and bustle, the small details can quickly be forgotten and left out of the budget.
However, there’s no need to worry!
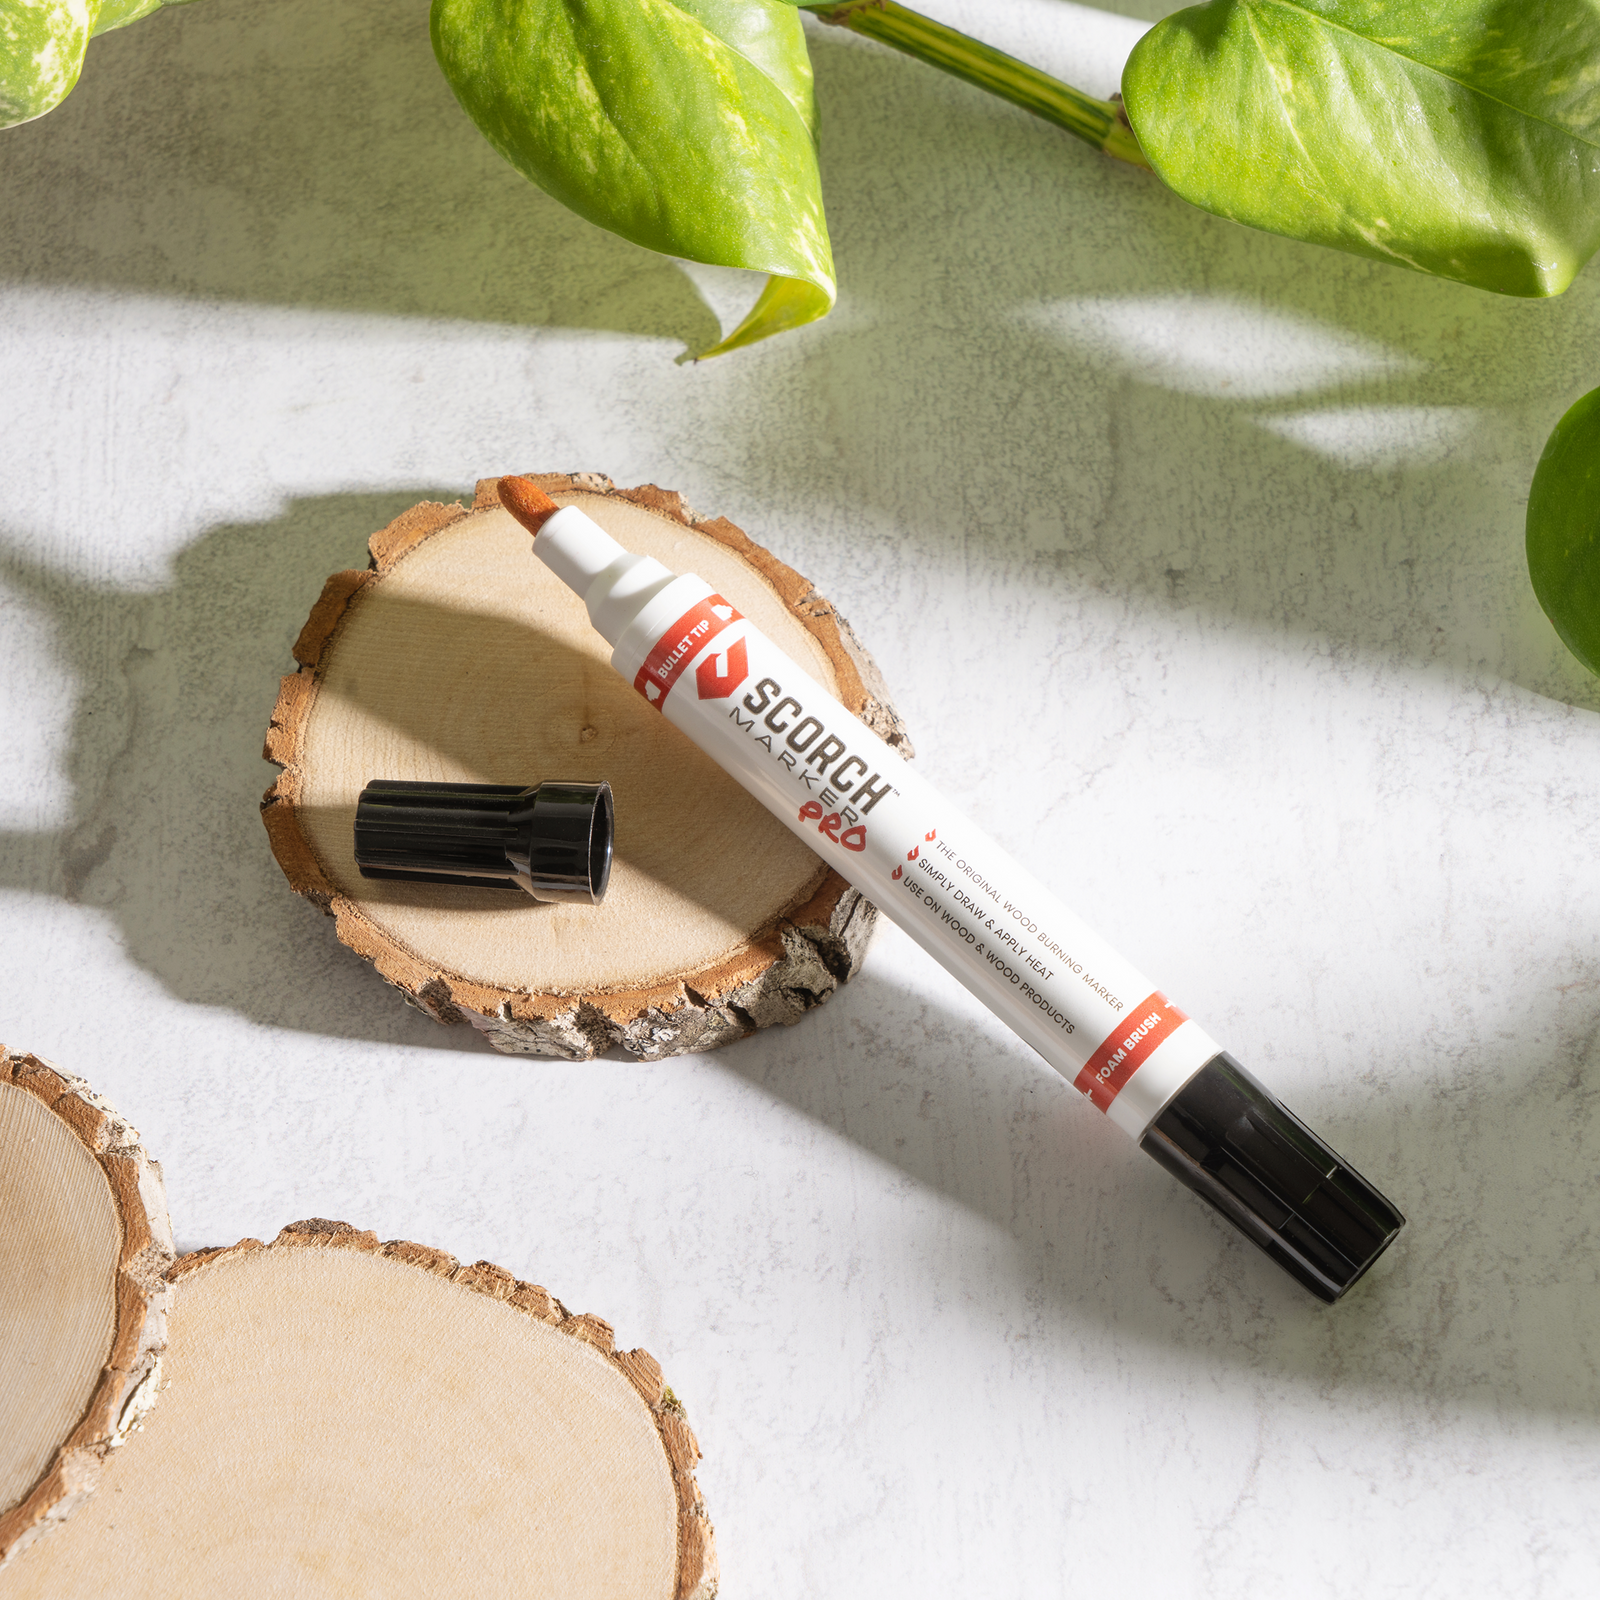
With some creativity and a Scorch Marker, you can whip up wedding decor your friends will never forget.
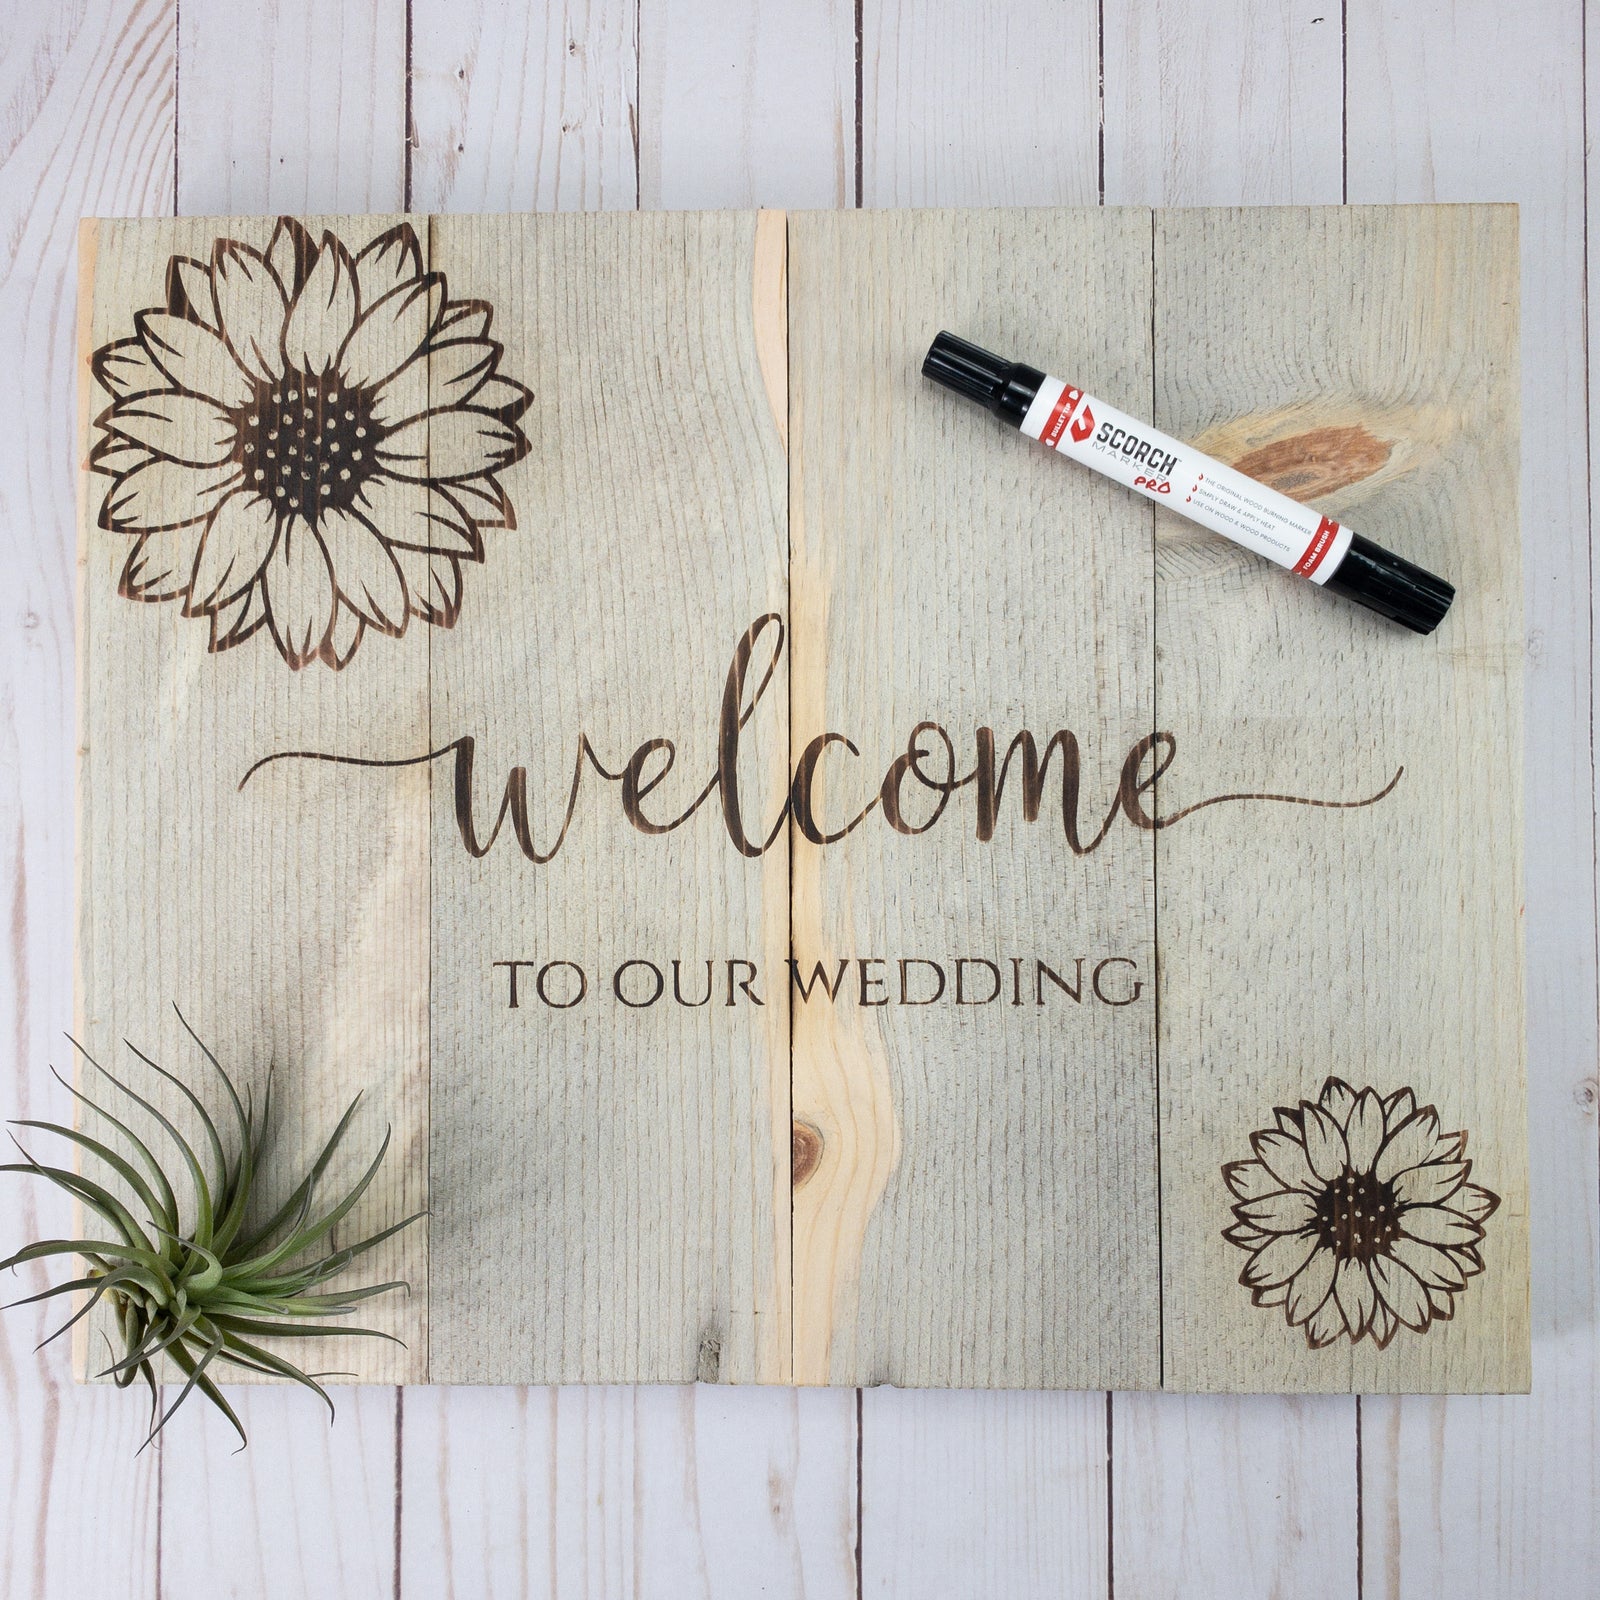
In this article, we’re taking you step-by-step through the process of burning this beautiful wedding sign.
You can also watch it happen on our TikTok channel.

6 Simple Steps for Crafting Your Wedding Sign
For our Scorch Marker craft, we decided to go with a wood pallet sign to provide a more rustic look.
But you can choose whatever material you’d like for your wedding sign!
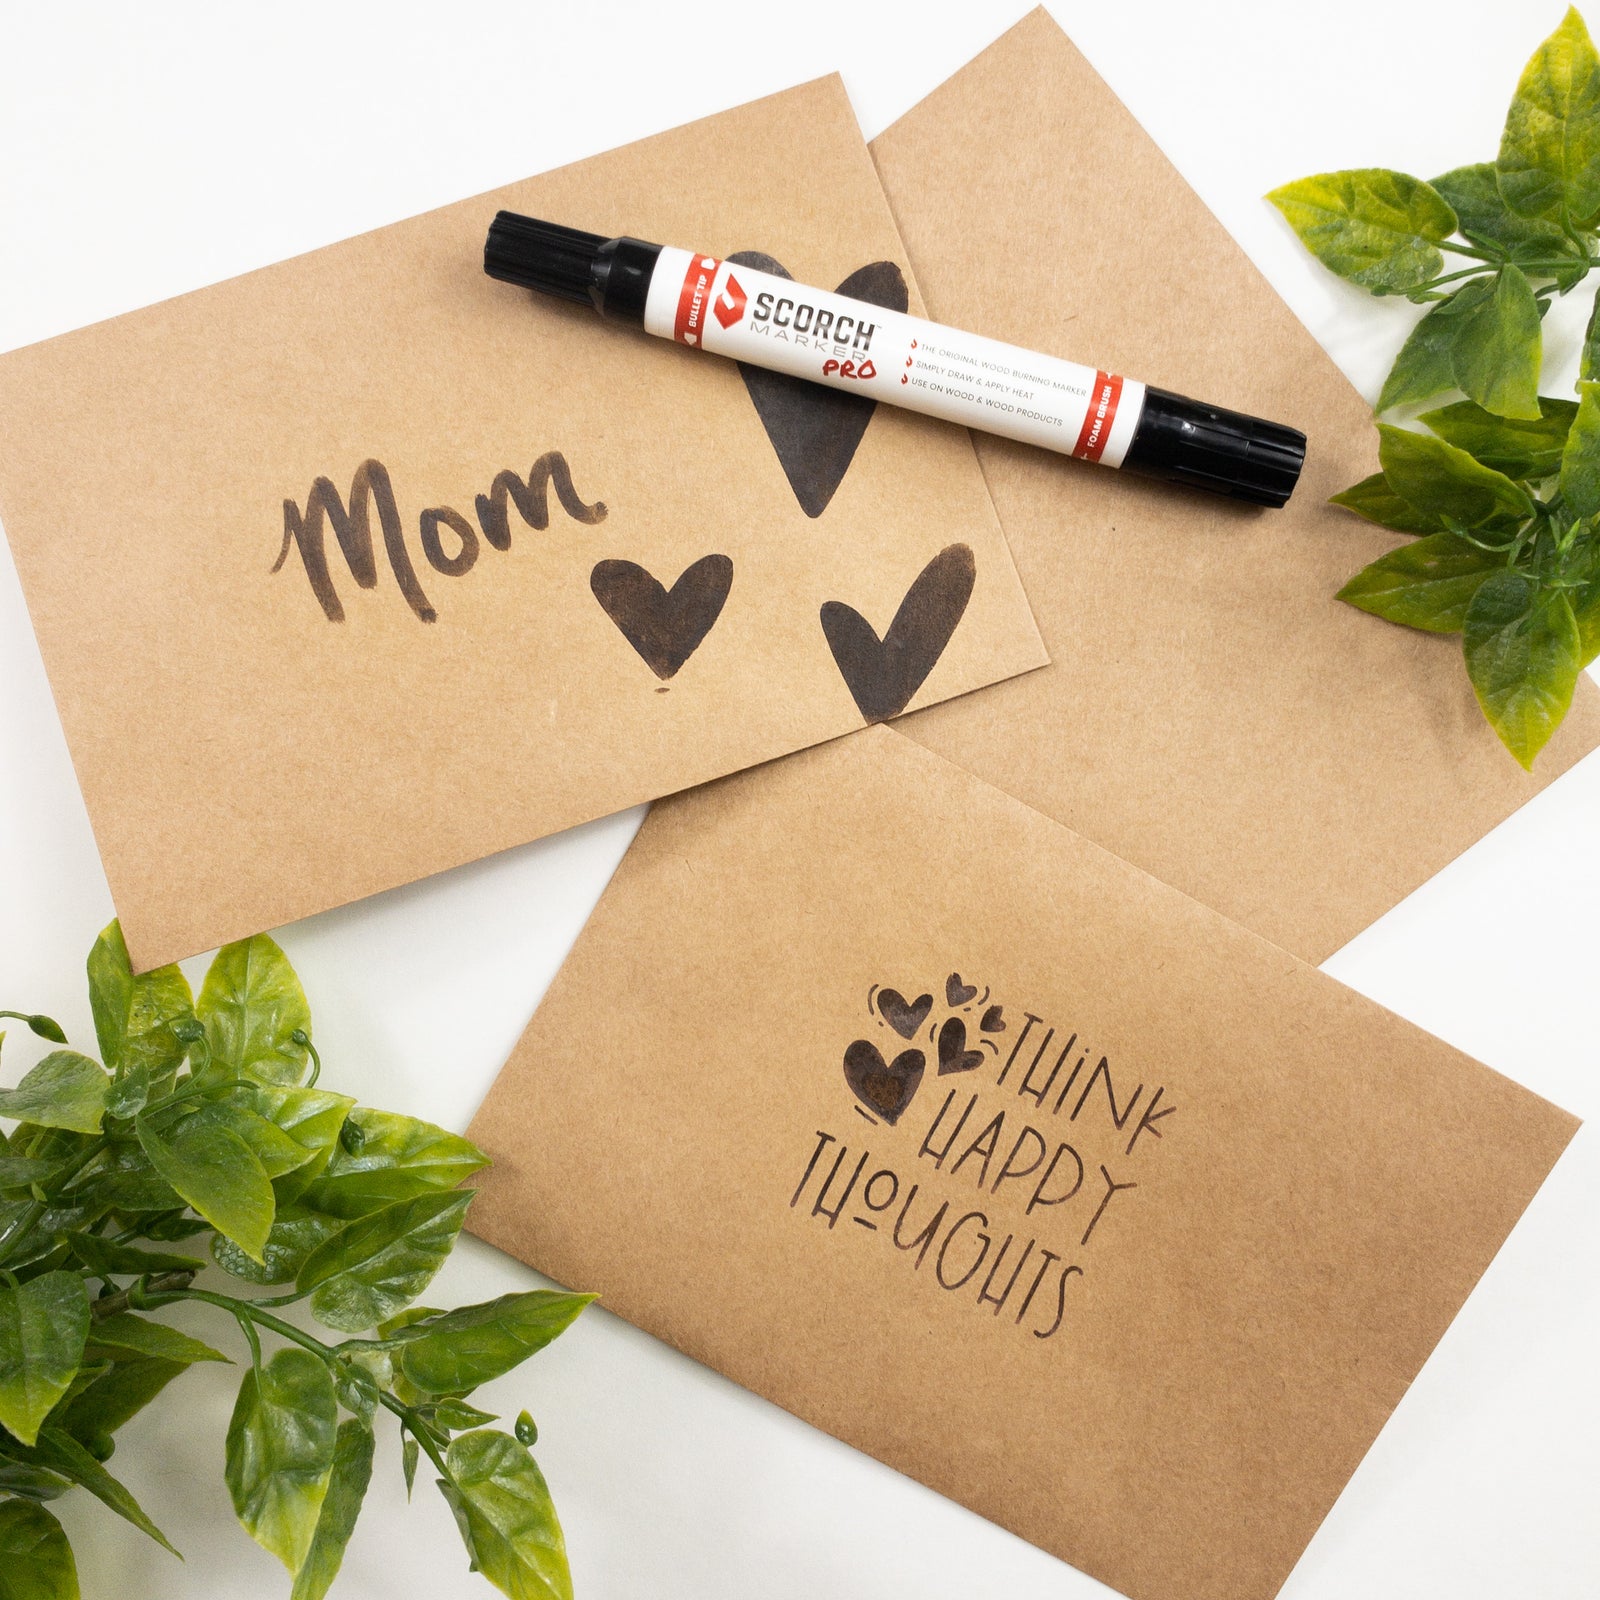
This wood-burning marker can be combined with most types of wood, cardboard, canvas, and even denim.
All-in-all, this simple craft took us under an hour, and we had a lot of fun doing it! Here are the six steps we followed.
1. Sand Your Wood to 500-grit
The first step for applying a Scorch Marker design that is crisp, clean, and long-lasting is the preparation.
You want to start by sanding your wood to at least 220-grit (but 500 is better).
This provides a clean surface for applying your stencil and a smooth area for drawing.
2. Arrange and Apply Your Stencils
We love using vinyl stencils with our Scorch Marker.
They work so well together and give us a final result that looks so professional.
Don’t forget to use a card scraper to apply your vinyl stencil.
This is another really important step for getting a clean design.
3. Use Your Scorch Marker
Now to get creative!
Prime your Scorch Marker, and dab any excess liquid off on a paper towel.
Then, use either end of the marker to apply a thin, but even layer of the liquid.
A little goes a long way - it doesn’t take much to saturate the wood fibers.
4. Remove Vinyl
Give your design a minute or two to fully dry and then remove your vinyl from the wood. It’s burn time!
5. Heat to 350F
It’s now time to heat your wood.
It’s necessary for your design to reach at least 350F in order for the chemical reaction to occur.
This can be done in a variety of different ways.
A 1500-watt heat gun is our preferred method, but we’ve also had success with a propane torch and a toaster oven.
6. Celebrate
Now celebrate. You did it!
A perfectly wood burned, totally professional wedding sign, and for a fraction of the price it would cost at the store.
This is also a piece that you can treasure for years since you made it.
Give yourself a pat on the back. You deserve it.
Scorch Marker has Stencils for Every Occasion
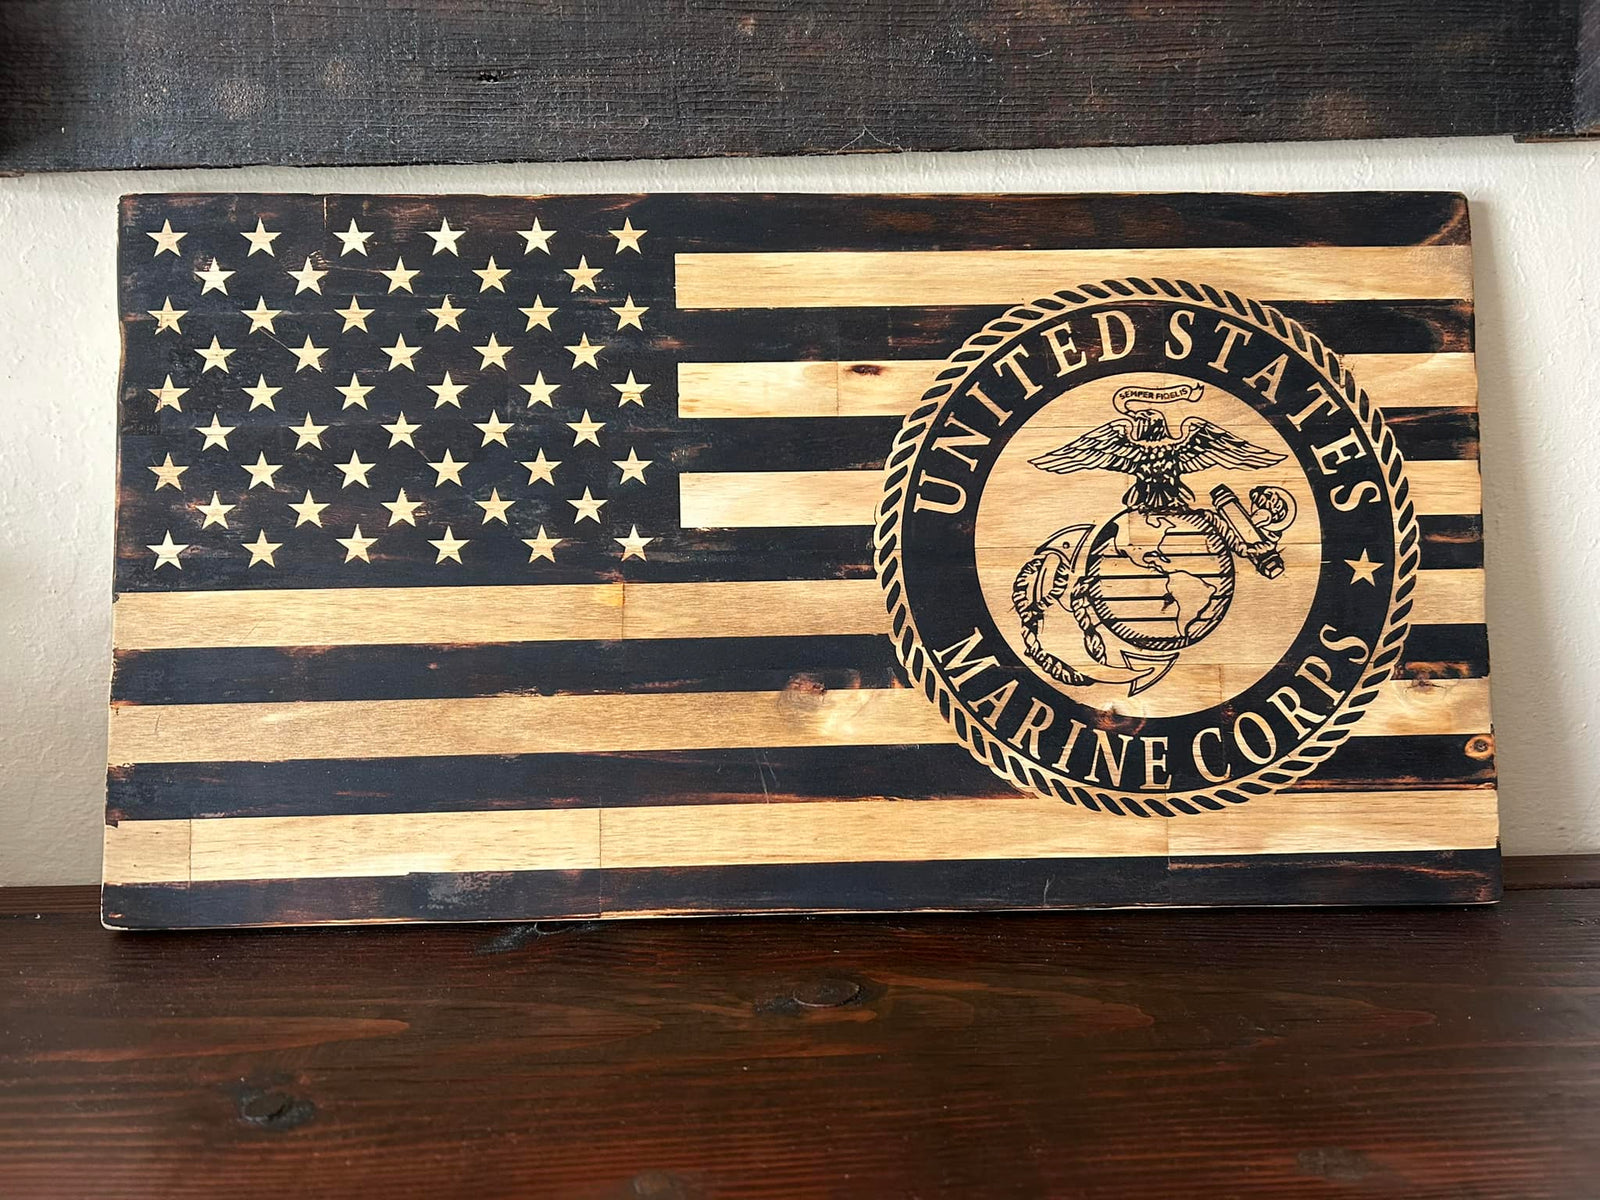
Flower and wedding stencils aren’t your only option with Scorch Marker.
In fact, we have stencils available for every holiday and occasion!
Check them out in our store - and don’t forget to use the code ‘ilovestencils’ at checkout to get them for free.


Leave a comment (all fields required)