The greatest thing about working with wood is that, no matter how you work with it, the final result always looks beautiful.
It doesn’t matter if you embellish with sparkles, colors, and ribbon. The beauty is actually in the wood itself.
That’s why these simple wooden coasters are constantly making an appearance on our website and social media pages!
Wood slice coasters can also be made quickly and easily.
It doesn’t take much work or equipment to make these babies shine.
In this article, we’re teaching you how to make a wood round coaster with a Scorch Marker, torch, and a really important message.

Create a Wood Burned Coaster in 5 Easy Steps
For our coaster craft, we decided to use a vinyl stencil.
This ensures that our lines come out as crisp as possible.
However, stencils are not required for the Scorch Marker at all!
In fact, with this product, you are granted full creative freedom down to the way you decide to apply it.
We make wood-burning easy and friendly for all!
1. Sand Your Wood Round
To get started with this “Prevent Forest Fires” wood coaster, you want to first make sure that it’s sanded.
The smoother the surface, the better.
220-grit is the bare minimum, but we took ours all the way up to 500-grit to make sure that our lines stayed clean.
Before moving onto the next step, make sure to wipe away any dust that may have gathered on your surface.
2. Firmly Apply Your Vinyl Stencil
With your coaster now smooth and clean, it’s time to apply your stencil.
We found this stencil on Cricut’s program Design Space, but you can use any stencil that you’d like.
Scorch Marker can be combined with stencils that are made of paper, plastic, and even silkscreen.
If you have a Cricut or similar machine, you can also download our stencils for free with the code ‘ilovestencils’ at checkout.
3. Shake Your Scorch Marker
Now for the fun part!
Shake and prime your Scorch Marker before using it to make sure that the liquid is fully read for application.
Then you can allow your creativity to flow.
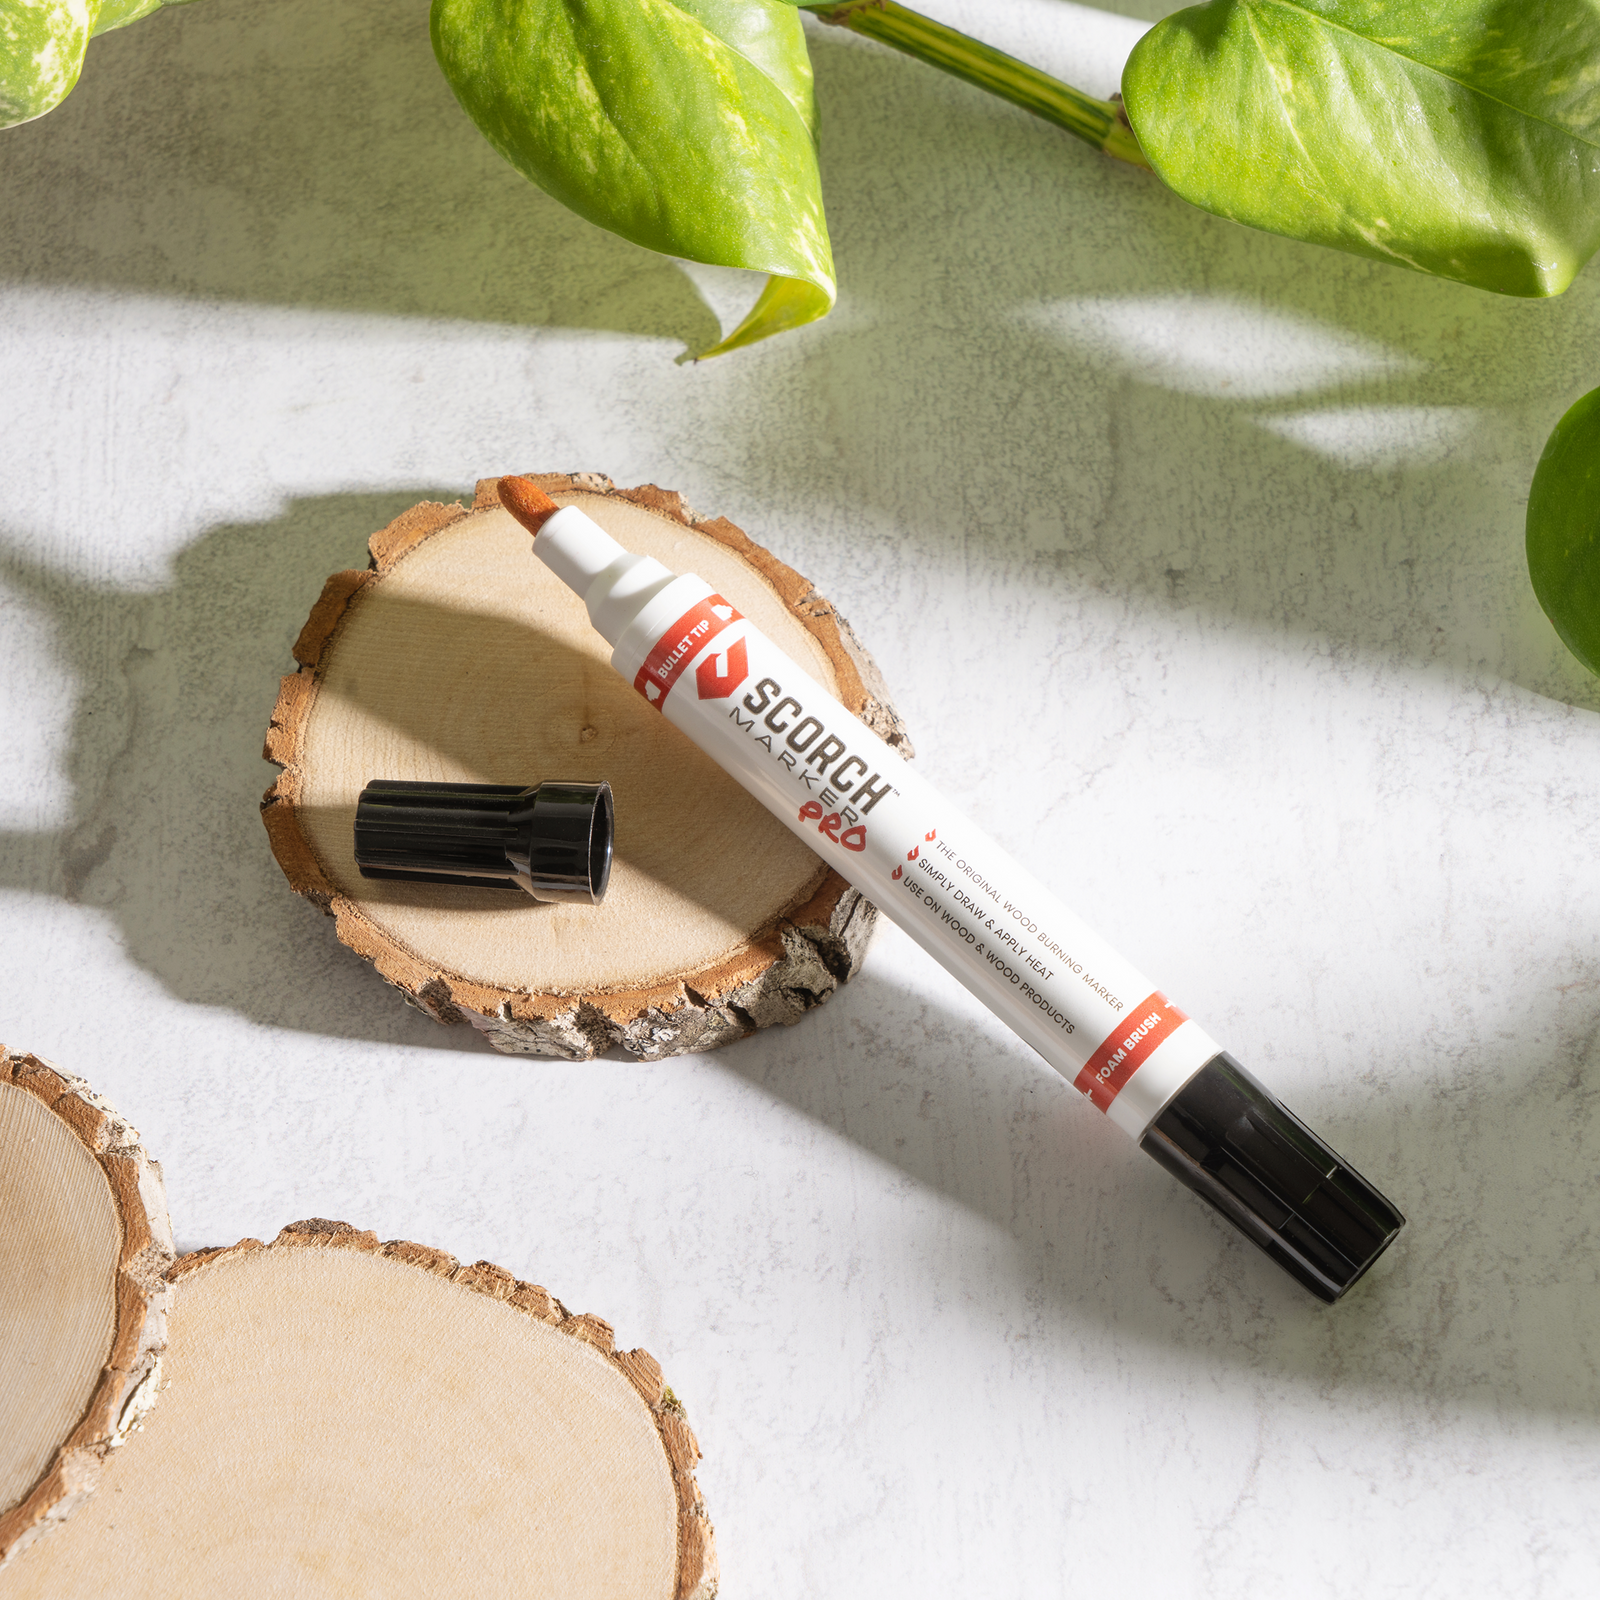
Use the marker nib, the foam brush, or even your own paintbrush dipped into the ink well to apply a thin, but even layer of the liquid to the areas of the coaster that you want to be burned.
4. Blot the Excess
Allow your liquid to set for a minute or two, and then to prevent the lines from smearing, blot your design with a paper towel.
This will remove any excess liquid that may have dripped from your brush.
Once you’ve removed any visible spots on the vinyl, remove it using your fingers or the weeding tool.
5. Burn Your Design with a Torch
Watching the Scorch Marker liquid burn is like watching magic before your eyes. It’s even more apparent when you burn your design with a torch!
We decided to use a torch for this coaster to add to the “fire” aesthetic and think it came out really great.
But, as always, you can use a heat gun that is at least 1500-watts.
It’s important to be very careful when working with an open flame, or any heat source.
It’s easy to accidentally burn yourself or something/someone else.
Always use the right protection equipment and common sense when working hot tools.

Scorch Marker Has Everything You Need for Crafting Fun
Scorch Marker crafts are perfect for decorating your house, giving as gifts, and just simply enjoying.
There is something so special about a homemade wooden craft, especially one with a rustic, burned appearance.
Make sure to watch us completing this craft on TikTok, and don’t forget to tag us in all your Scorch Marker projects.


Leave a comment (all fields required)