

Pyrography is such a wonderful way to make a piece of dried wood your own.
When you burn designs into it, you permanently bring personality and life into the wood.
However, in wood burning, there aren’t many color options to choose from.
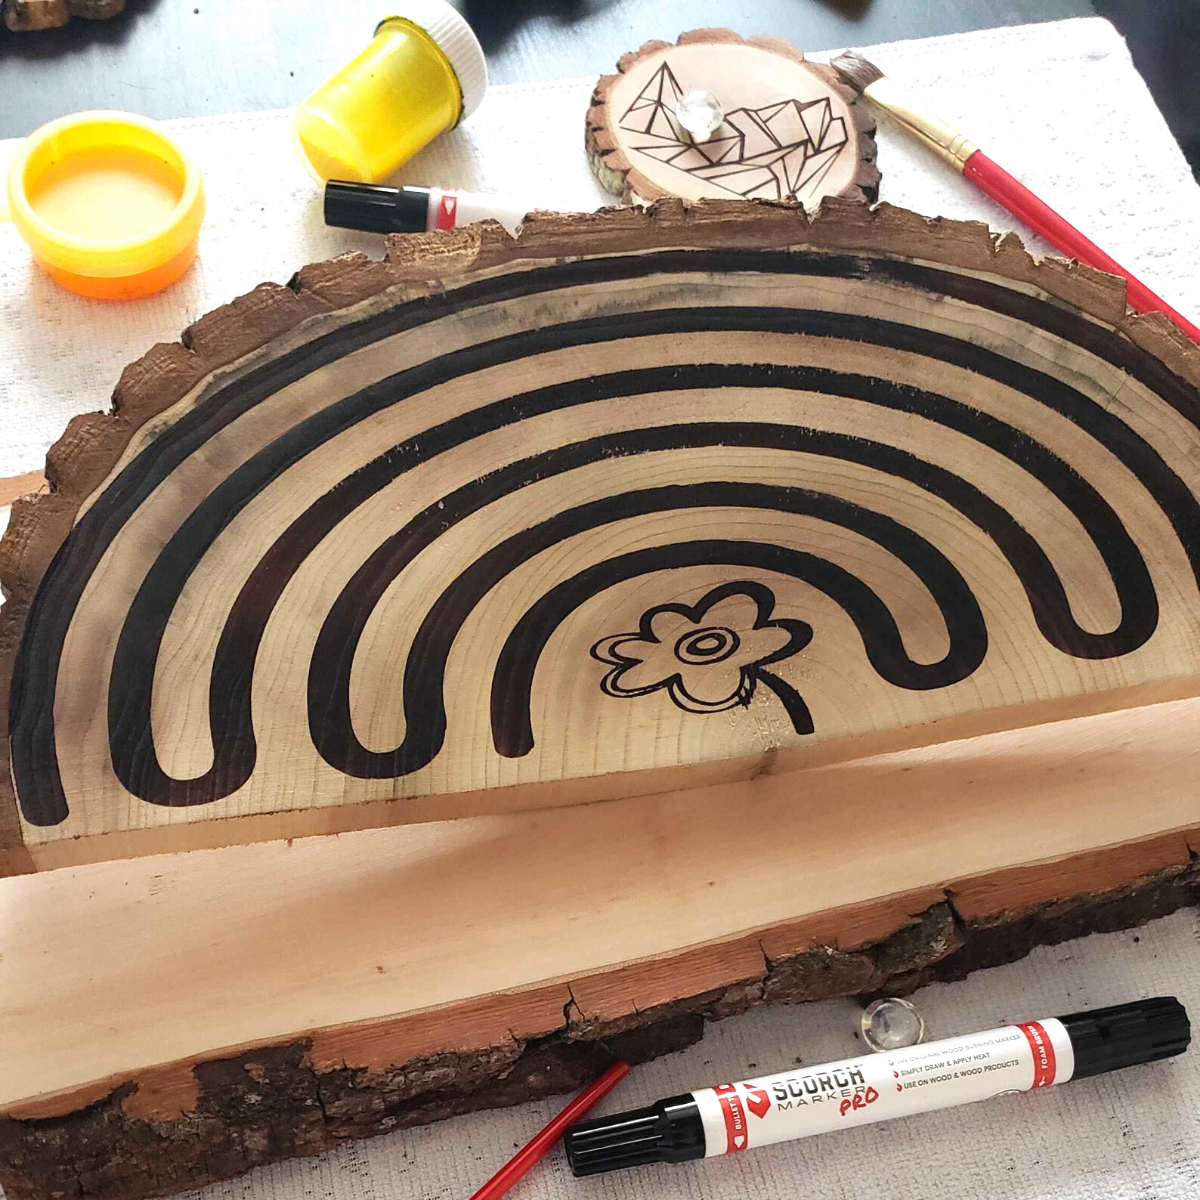
The great thing about the Scorch Marker is that it can be used in combination with other crafting materials.
In this article, we’re giving you four important tips for successfully using paint on a Scorch Marker craft.

4 Tips for Painting Your Wood-Burned Surface
It’s not uncommon to use several different crafting styles on one project but to be as safe and successful as possible, you should always research before doing so.
For your convenience, we’ve put all the most important tips for painting on a Scorch Marker craft in one blog post.
You can read them below.
1. Make Sure Your Wood is Smooth and Clean
It’s recommended to sand your surface to 220- or 500-grit before applying the Scorch Marker, so your wood should already be pretty smooth.
If not, it is critical that you do so before painting.
Doing this can help minimize the appearance of any damage that may exist in the wood, while also allowing the paint to stick to it more easily.
2. Never Paint Before Burning
This is probably the most important tip to keep in mind when planning to paint and burn the same piece of wood.
The heat required for the chemical reaction to take place within the Scorch Marker liquid is too hot for paint.
Applying high heat like this to paint can cause it to drip, crack, peel, and otherwise look unappealing.
You should always wait until you’re completely finished burning before moving on to adding color.
3. It May Take More Than One Coat
Depending on the type of wood and paint you choose, it will probably take more than one coat to get the vibrancy you’re looking for.
The general rule is at least two coats for good measure.
It’s much more important to do a number of thin coats rather than doing one or two really thick coats.
This will help prevent a messy finish and uneven drying.
4. Add a Sealer for Good Measure
The absolute best way to protect your painting (and burn) from unwanted scuffs and scratches is to add a finish over it.
This is especially true if your piece will be getting lots of use.
There are some really great options for sealing, depending on your needs.
Some of them are even safe to be used on food-related items.
You can find a guide of our favorite finishes to use in combination with the Scorch Marker here.

Kick Off Your Spring Crafts with Scorch Marker
Our favorite feature about the Scorch Marker is that it’s so versatile.
There are so many different projects and ideas for this awesome tool, and they don’t just have to be on wood.
Did you know that the Scorch Marker has successfully been used with dozens of different surfaces, including cork, paper mȃché, and even canvas.
What will you create with your Scorch Marker?
Tag us on social media so we can appreciate it with you.


Teresa Ashby
October 10, 2021
Do you have to use a heatgun or is a hair dryer hot enough ??