

The Scorch Marker was never invented to replace traditional pyrography.
Instead, it acts as an alternative to the popular hobby and comes with many different advantages of its own.
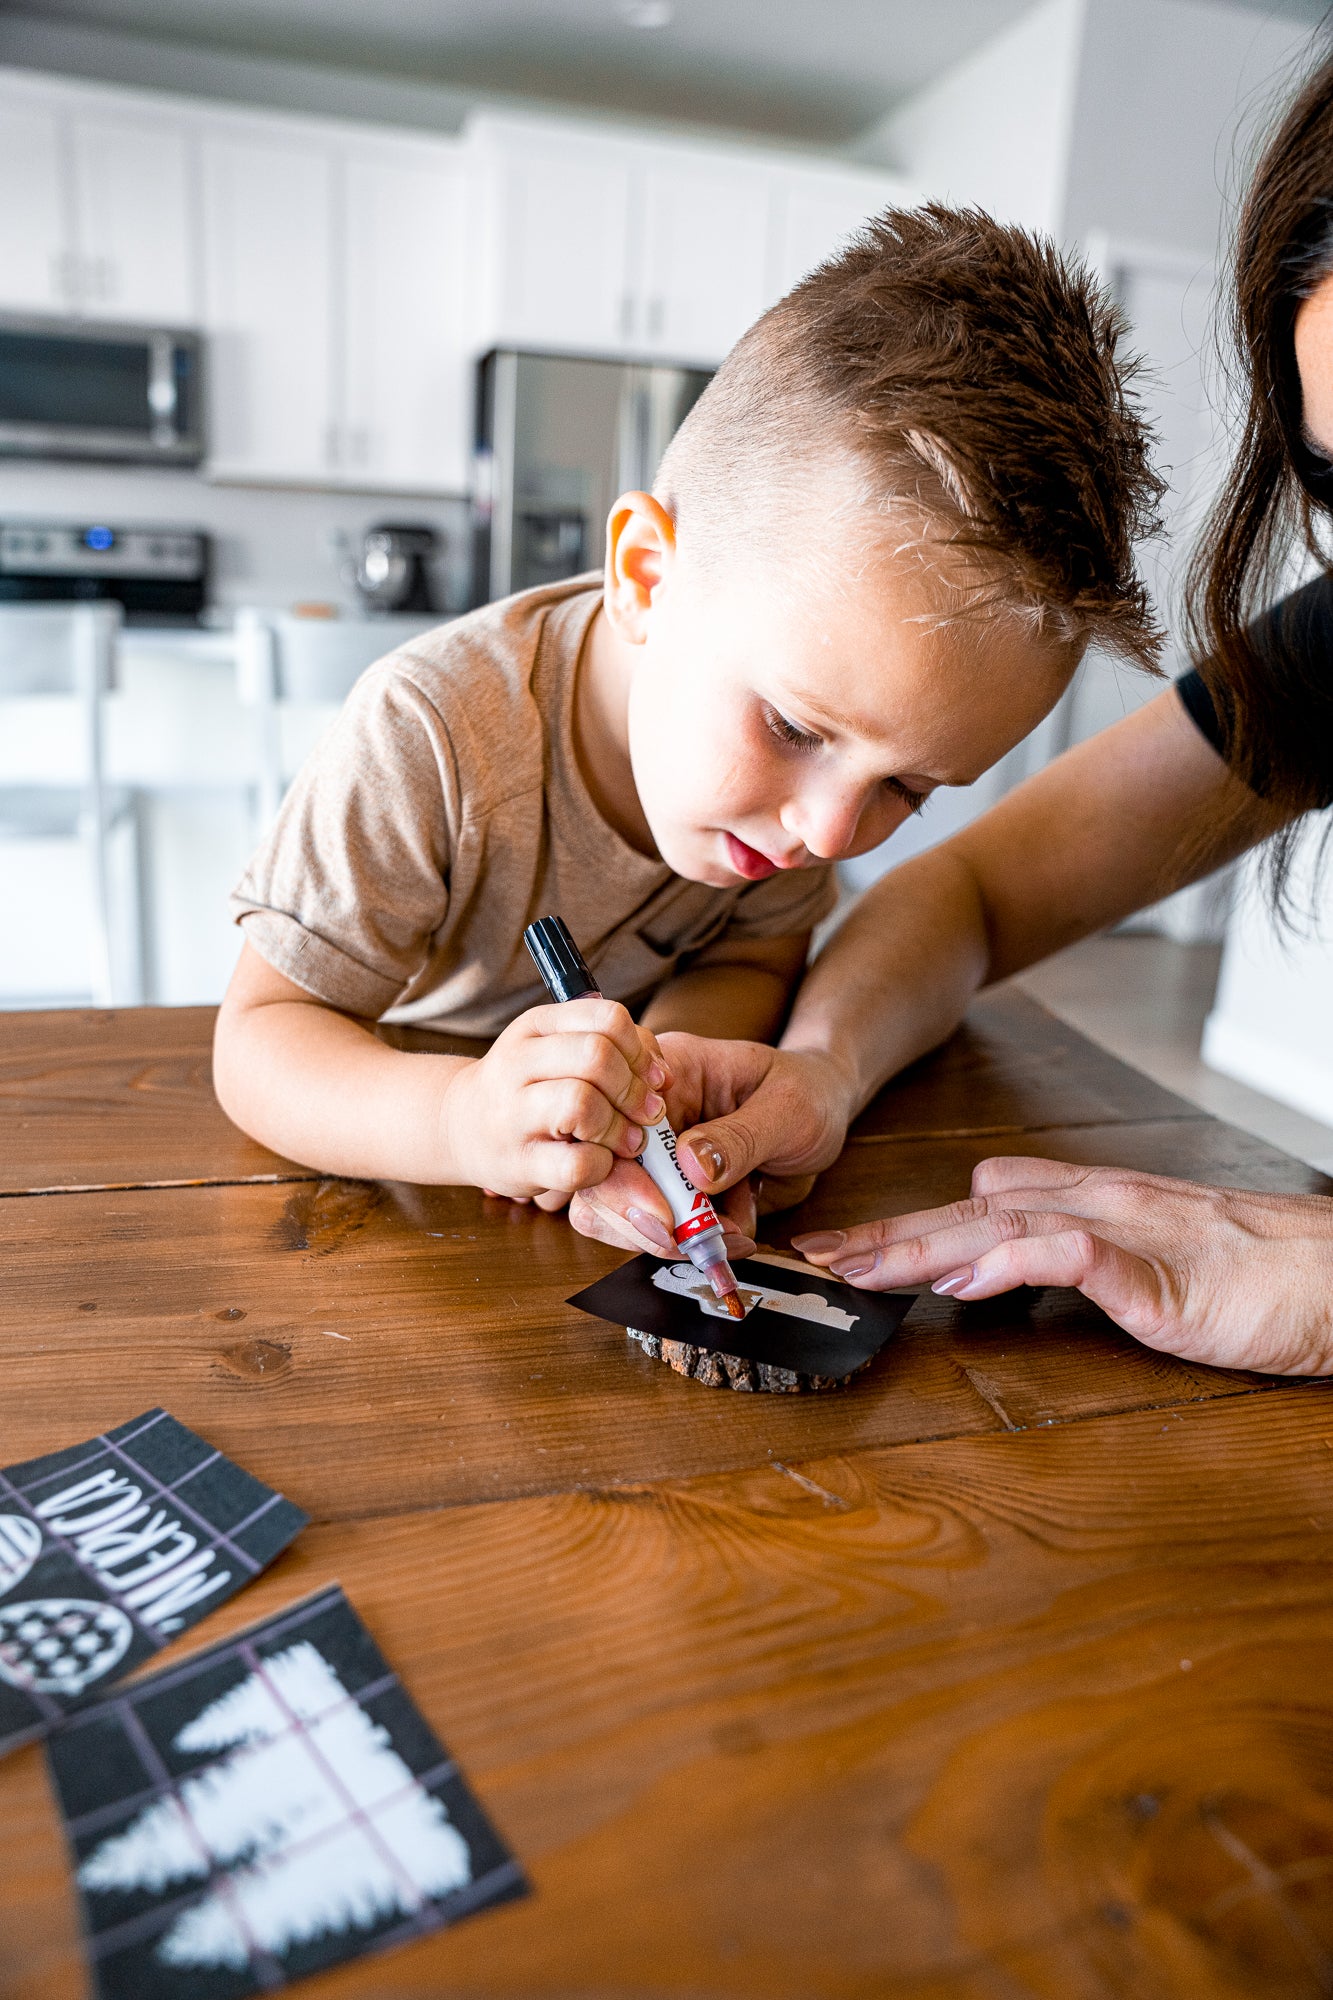
One of the most notable is its ability to be combined with stencils.
Unlike typical pyrography, there is no heat added to a Scorch Marker piece until the drawing is completely finished.
Not only does this help reduce the risk of burns, but it also makes it easy to use the tool with stencils made of vinyl, silkscreen, plastic, and more.
You Don’t Have to Be an Artist to Use the Scorch Marker
The great thing about stencils is that they don’t take away from the artistic process, but only enhance it.
Stencils eliminate any worry of making a mistake or drawing something improperly.
They allow you to focus your attention on imagining and creating your piece, making it the perfect tool for anyone, from a beginner and to a professional artist.

Tips for Using Vinyl Successfully
While stencils can be fun to work with and help take your Scorch Marker crafts to a whole new level, it’s necessary to use them properly.
Improper stencil usage can lead to bleeding edges and a messy finished product. And no one wants that!
That’s why it’s so important to practice and learn from others.
We have lots of tricks and suggestions for successfully using vinyl stencils on our Instagram account, but here are our top tips.
1. Make Sure the Stencil is Secure
Perhaps one of the most important steps in the process is to make sure that your stencil totally adheres to your surface.
You don’t want to see any air bubbles or creases in your stencils.
These just provide an opportunity for the liquid to bleed.
We typically use a card scraper or something similar to get a nice, firm connection between the stencil and wood.
When it comes to stencils without a sticky backing, it’s important to hold these in place firmly to prevent mistakes.
However, any that do occur can easily be sanded away with some sandpaper.
2. Avoid Oversaturation
Not much Scorch Marker liquid is required to make a beautiful wood burned craft.
In fact, one of the most common causes of bleeding designs is oversaturation.
Try dabbing your marker onto a paper towel once or twice before applying it to your wood.
Doing this can help prevent oversaturation, allowing you to achieve clean, crisp lines on every design.

Scorch Marker Makes Crafting Fun for Everyone
Whether you’re 5 or 95, the Scorch Marker offers a little fun for everyone!
And, because it can be combined with stencils, paint, and other ways to have fun, the crafting possibilities are endless.
Make sure to follow us on TikTok for new ideas and tutorials every week, and share your works of art with us too.


Di
October 27, 2022