

You might know about the wood burning hobby, but have you ever heard of wood burning with a marker?
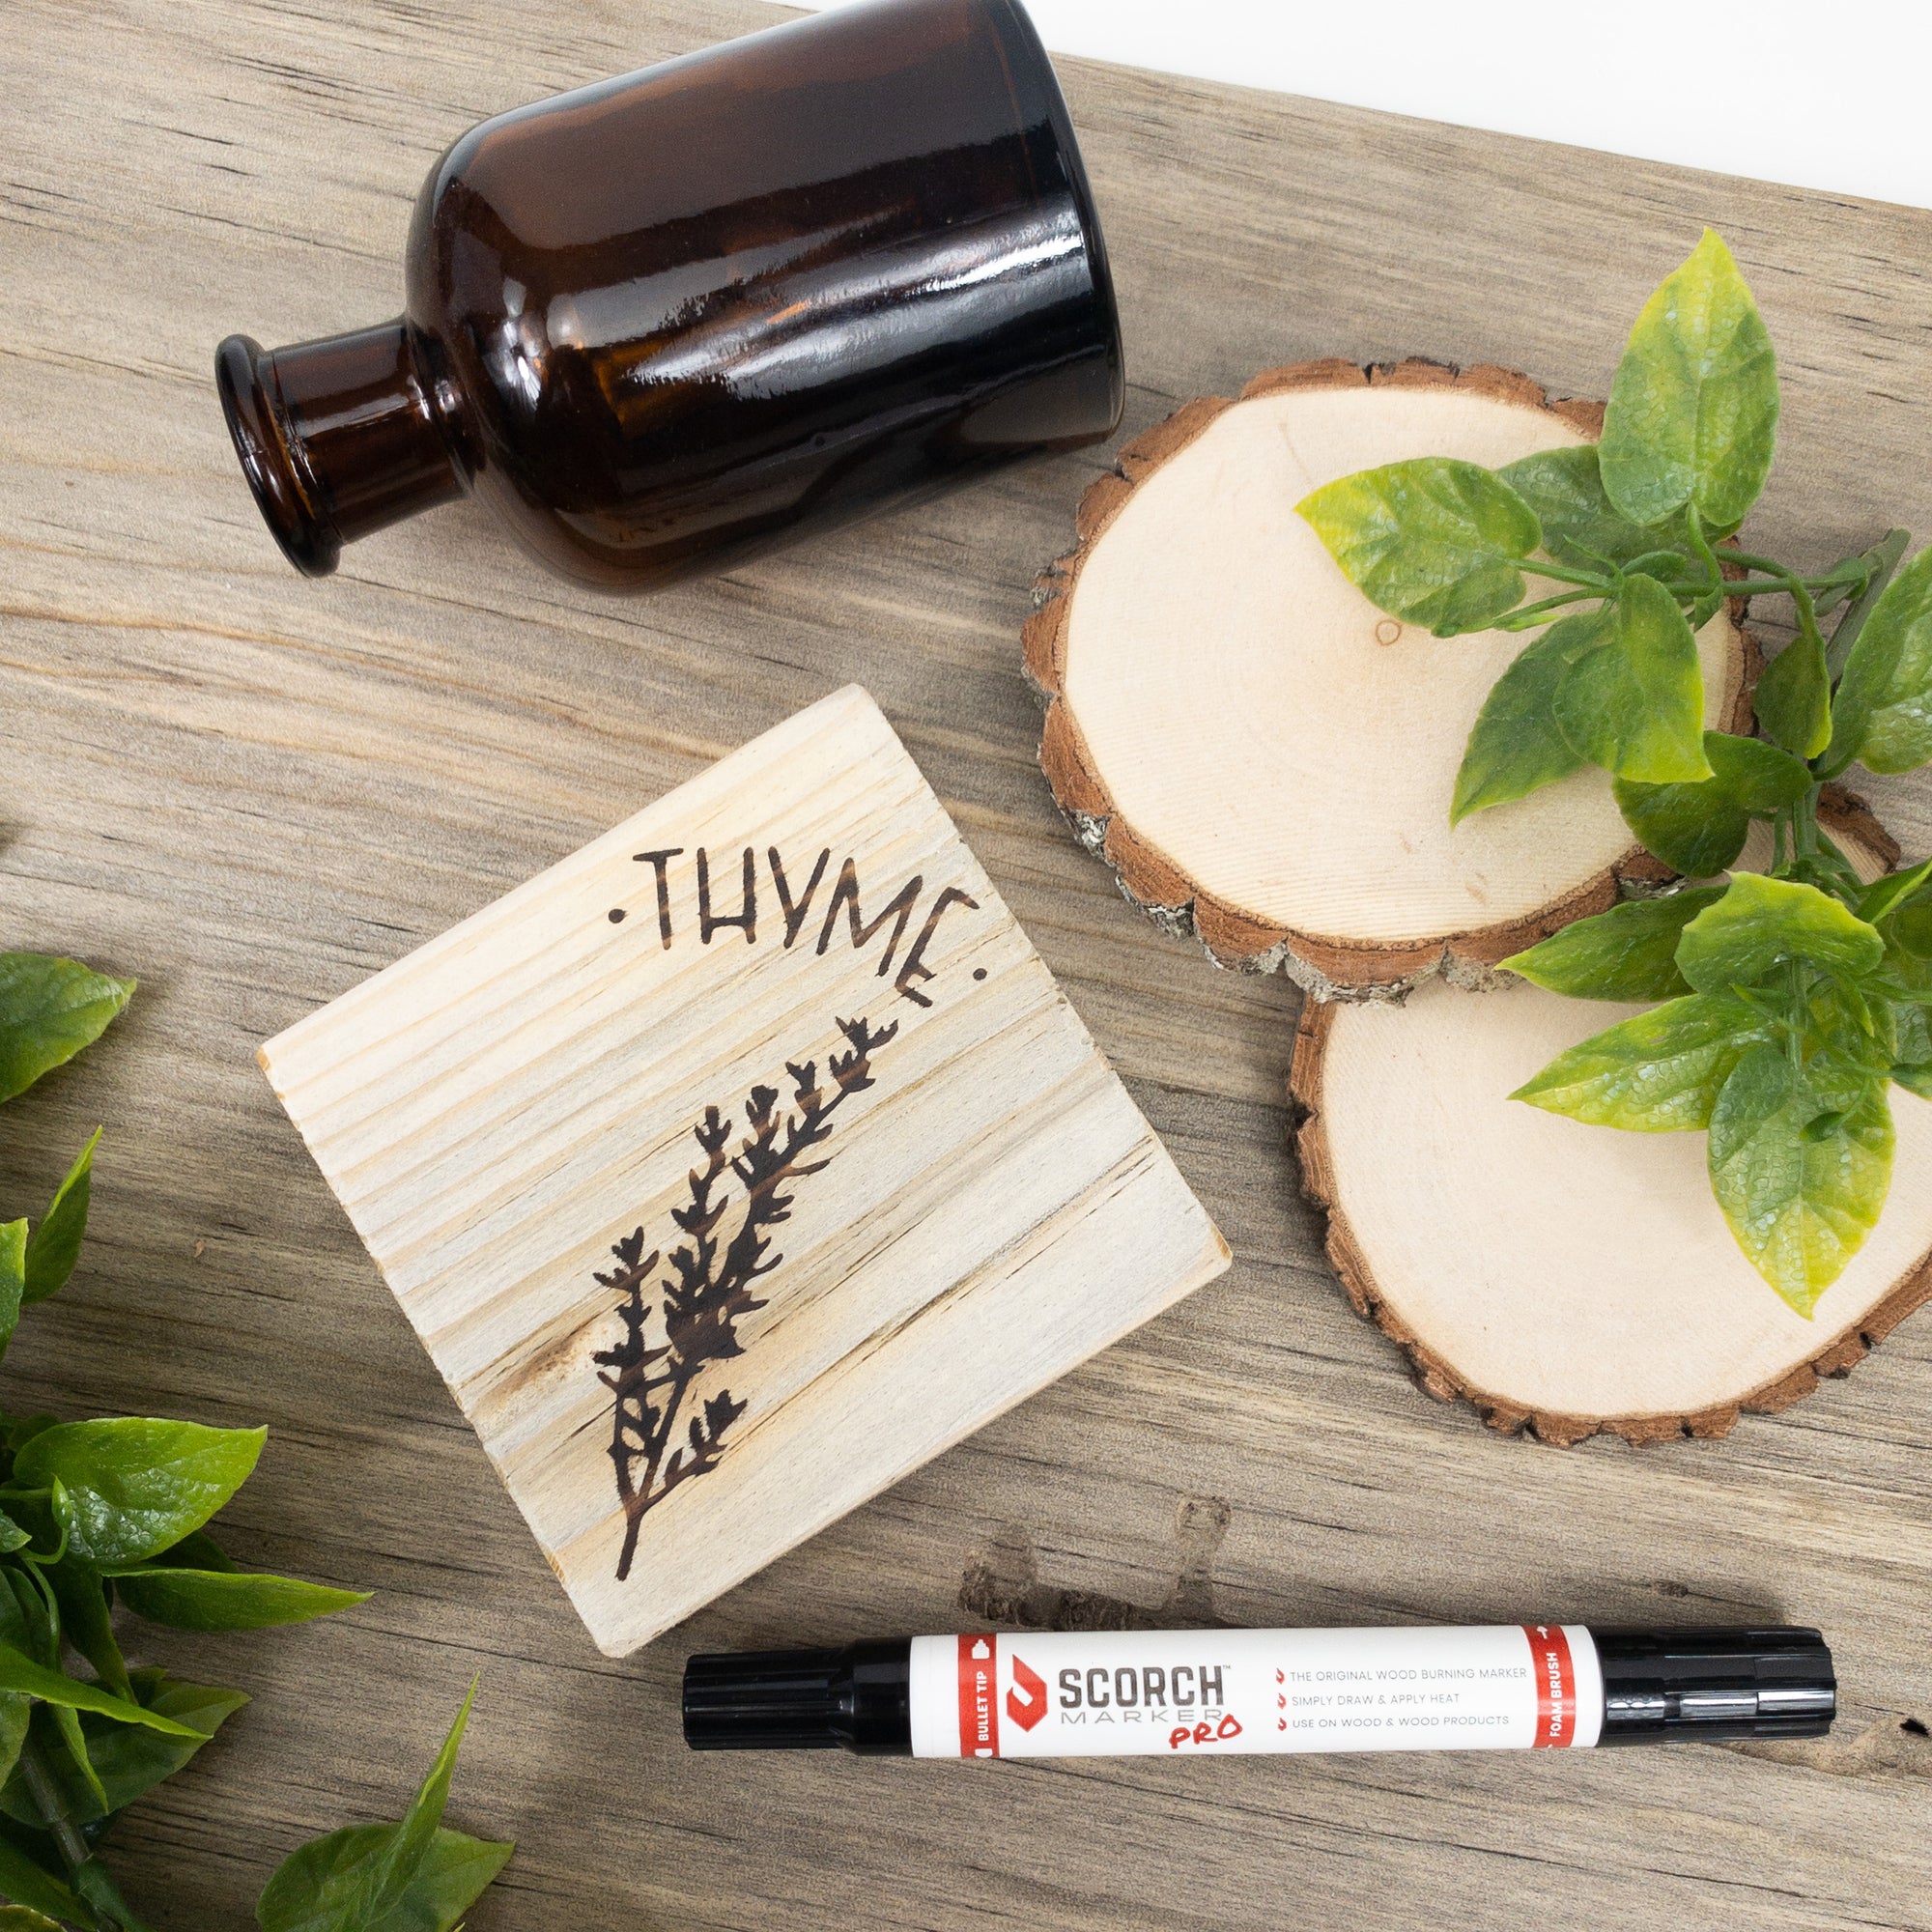
The Scorch Marker is the world’s first wood-burning marker, which makes pyrography easy for anyone to get into.
With the Scorch Marker, all you need is some wood and a heat gun, and you’re ready to start burning some of the best designs of your life.
In this article, we’re sharing our top 5 Scorch Marker tips to help you craft like a total pro the moment your marker arrives. Let’s do it!
5 Tips for Using the Scorch Marker Like a Pro

1. Experiment with Different Surfaces
It might be called a “wood”-burning marker, but did you know that the Scorch Marker can be used to burn so much more?
We have had success when using this marker over paper, cardboard, canvas, paper mâché, gourd, and even denim!
And, the great thing about burning surfaces that are not wood is that most of them don’t require any sanding at all.
Try experimenting with your marker to figure out your favorite medium, as well as to help identify other surfaces you might have success burning into.

2. Always Sand Before Crafting
As mentioned above, sanding is a critical step when burning wood.
That’s because sanding helps create a smooth surface, which allows your stencil to stick more easily and also prevents the marker from bleeding into the grain.
Put simply, sanding your wood to at least 500-grit can help you achieve crisp, clean lines in every craft that you create.
Some softer wood types, like pine or bamboo, require sanding all the way up to 1000-grit, so make sure to try different sanding techniques, depending on the wood you’re using.

3. Have Fun with Stencils
One of the greatest things about a wood burning marker is the fact that it can be combined with vinyl stencils.
This is the first time you’ve ever been able to easily cut stencils from home and use them with your pyrography crafts!
And, it’s definitely worth it.
We’re always experimenting with new looks, designs, and creations.
And, thanks to the convenience of stencils, we don’t have to be extremely artistic to do it.
Try grabbing a few of our free stencils from the website (use code: ilovestencils at checkout) and amaze yourself at all that you can create with the Scorch Marker.

4. Apply a Finish to Protect Your Design
Did you know?
The Scorch Marker is totally non-toxic.
This makes it the perfect crafting tool to use on your cutting boards, wooden spoons, and other kitchen utensils.
However, the issue is that these wooden pieces typically see a lot of water and experience quite a bit of wear and tear.
This can result in a damaged design or one that washes away completely.
To prevent this, we recommend applying a wood finish to all of your Scorch Marker projects (but especially those intended to be used in the kitchen) to help keep them protected.
Some of our favorite food-safe finishes include Shellac and Odie’s Oil.
Or, you can try creating your own by using mineral oil and beeswax.

5. Include Some Embellishments
While wood burning is great, it’s not the only way to get crafty with a piece of wood.
We love getting creative with our Scorch Marker projects and adding embellishments, like bows, ribbons, paints, and other cute and crafty components.
These help take your crafts to the next level, and can even add functionality to specific projects - like with the cactus hooks that you can see in the craft above.
Creating professional work with the Scorch marker is not difficult.
In fact, this is one of the best tools for your crafting room to help impress your friends and create gifts that last.
What do you do to get the most from your Scorch Marker?


Leave a comment (all fields required)