

When holidays, birthdays, and other special occasions come rolling around, there’s nothing that says “I’m thinking about you” quite like a card in the mail.
And, while it’s always wonderful to receive a beautiful, personal store-bought card, one made with your own two hands is even more special.
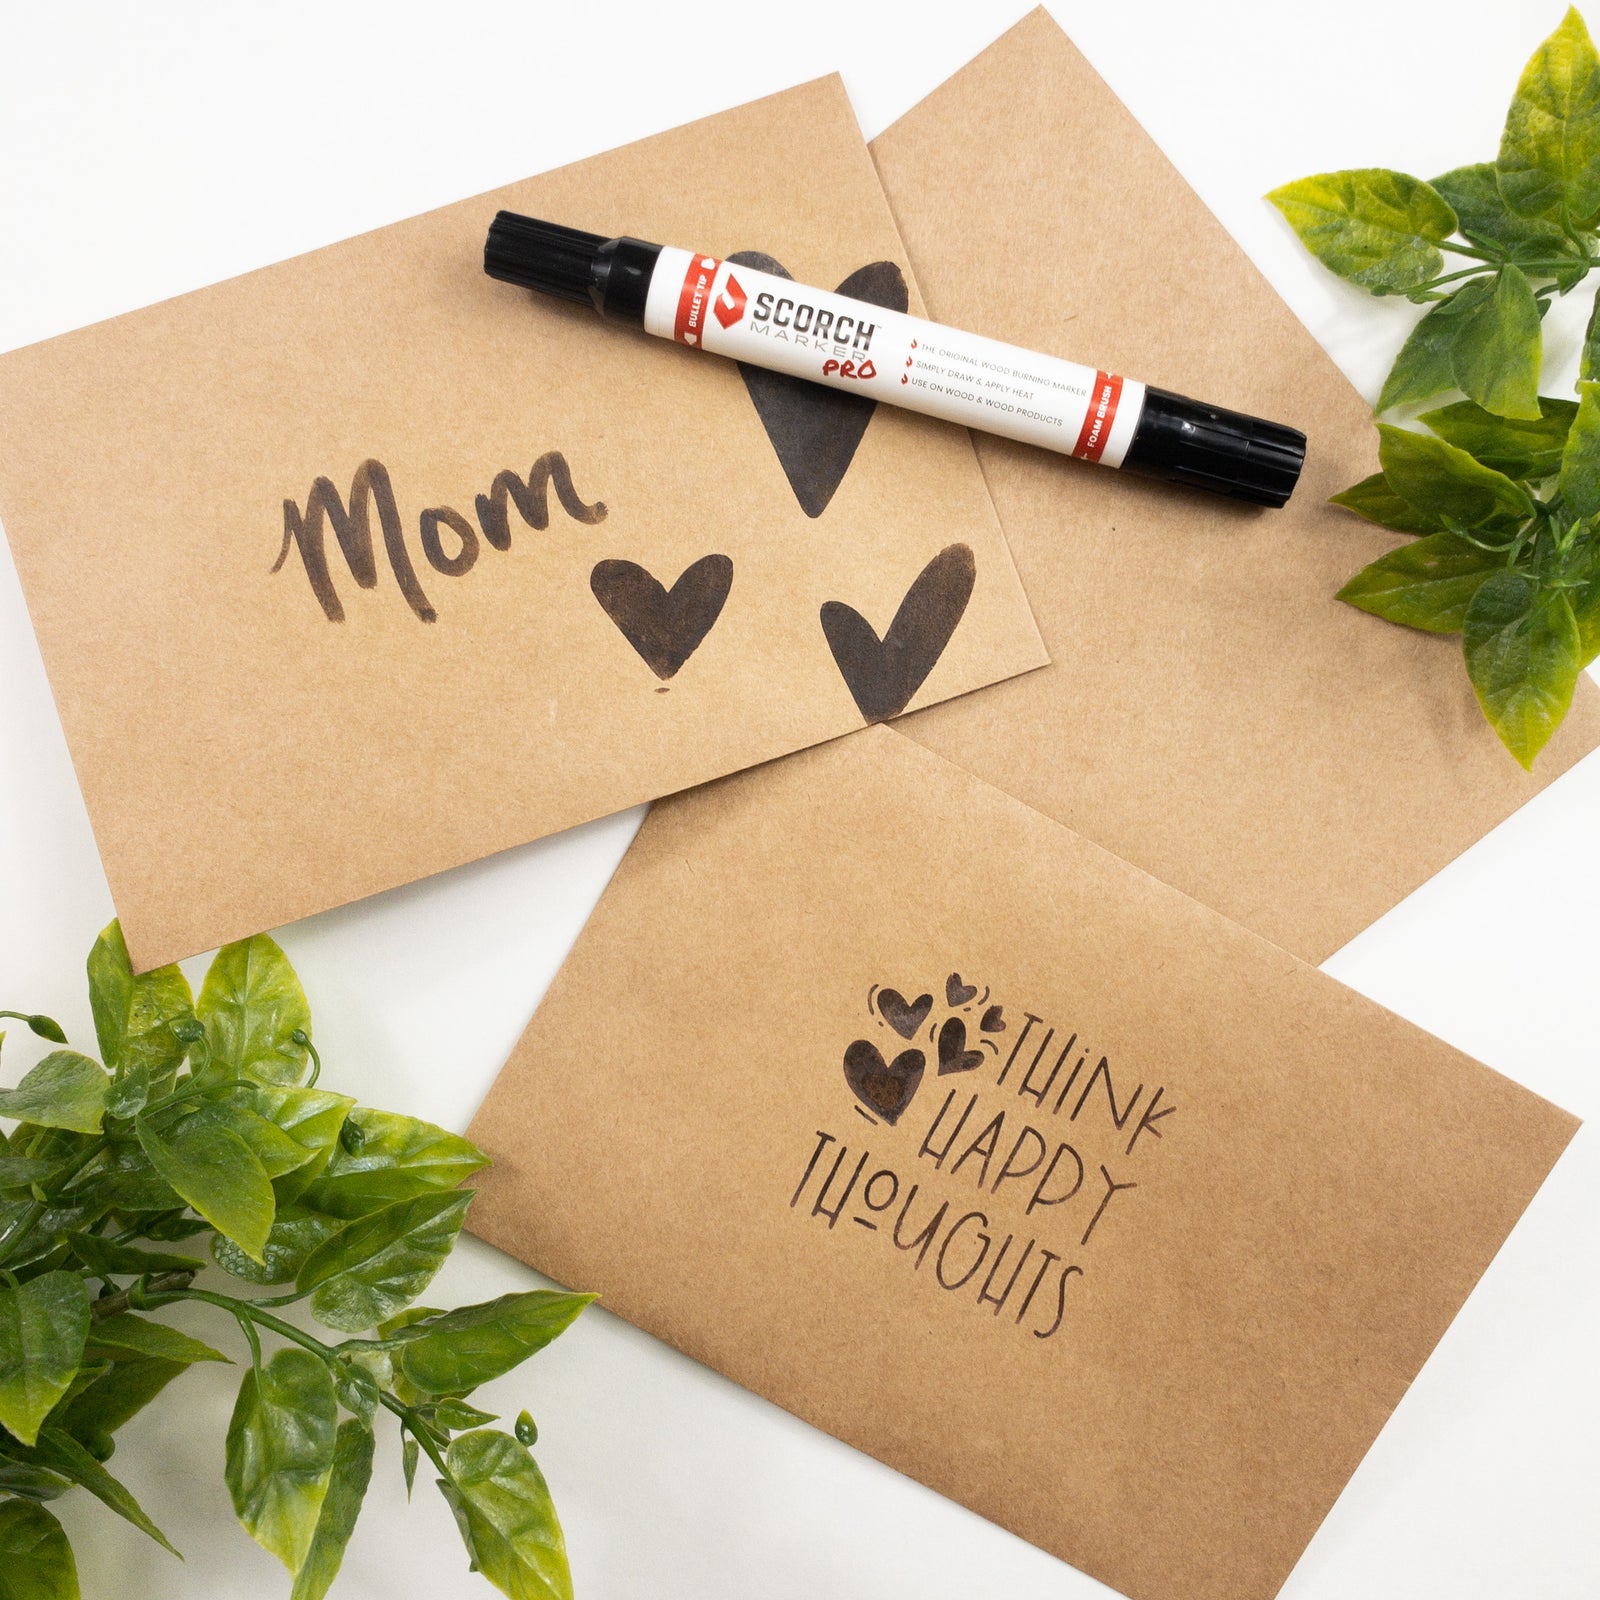
In this article, we’re teaching you ways to customize paper cards and envelopes with the Scorch Marker.
Scorch Marker Doesn’t Only Work on Wood
It may be called the “original wood-burning marker”, but the Scorch Marker doesn’t only work on wood.
In fact, there is a long list of surfaces that this unique marker can burn, including cardboard, kraft paper, and cardstock.
And each design is permanent.
The great thing about paper is that it's much easier to work with than wood!

There is No Sanding Required When Burning on Paper
Not only is paper a wonderful surface for letters, cards, and pictures, but it’s also an affordable way to experiment with your Scorch Marker.
Those having trouble with bleeding designs can take their stencils to the paper to practice knowing how much pressure and liquid to apply to each design.
Another reason paper is great for practice is because there is no sanding required!
Paper is already smooth and ready for drawing, minimizing the time it takes you to prepare each project.
As always, combining stencils with your Scorch Marker crafts can help you achieve cleaner lines and more complicated designs with ease.
3 Simple Steps for a Burned Paper Design
No matter what surface you’re working with, crafting with the Scorch Marker typically follows the same general steps.
This is the same for paper.
The most important tip to keep in mind is to always remember that paper is much thinner than wood.
Therefore, not nearly as much heat or liquid will be required.
Besides that, the process can be broken down into three simple steps.
1. Stick a Vinyl Stencil to Your Paper
As mentioned above, we really love using vinyl stencils with our Scorch Marker crafts.
They help us achieve cleaner lines and more complicated designs successfully.
However, a stencil of any kind is not required for using your wood-burning marker.
For those who are using a stencil, we recommend pressing it firmly onto the paper with your fingers.
Avoid sticking it too tightly (with a card scraper or something similar) to prevent the vinyl from ripping your paper.
2. Apply a Thin Layer of Scorch Marker Liquid
As with any craft, the Scorch Marker liquid goes a long way.
It doesn’t take much to soak into the paper and leave a lasting design.
You may need to keep a paper towel in your workspace for dabbing excess liquid onto.
Going over your entire design just once with the Scorch Marker is typically all that you need.
3. Burn with Heat
Now, bring your design to life!
Using a heat gun (that is at least 1500-watts), mindfully apply heat to your paper.
The fan inside the heat gun could cause your papercraft to fly away, so placing a wooden pebble (or something similar) on top will help a lot.
Make sure to apply your heat in a sweeping motion to prevent your paper from getting too hot and burning in other areas.
And, once your desired darkness is achieved, you’re done!
Scorch Marker is the Best Crafting Tool of 2021
You did it!
You’ve just successfully used one of the hottest crafting tools of the year to create your own customized paper crafts.
You should be proud! I know we are.
We would be delighted to see the beautiful project that you’ve created.
Post a photo of your craft on Instagram or Facebook and be sure to tag us so we can admire your hard work.
Happy crafting!


marcos Henrique l
January 23, 2022
onde comprar o mar adora?