It’s the season of love, and Scorch Marker is here for it!
We decided to get extra crafty in celebration of this Valentine’s holiday by building our very own wood burned wreath.
@scorchmarker Coupon code for stencil downloads in comments. #scorchmarker #craftymoms #valentinesday #craftersoftiktok #5minutecrafts #craftingeek #craftyaf ♬ Summer - Instrumental - Devinney
Wood Burned Wreaths are a Wonderful Way to Celebrate Any Holiday
Who says wreaths are just for Christmas?
This Valentine’s wreath is such a great way to greet everyone with a little love this month.
And the world can always use a little more love.

Materials You Need:
- Metal Wreath Ring
- Hot Glue
- Sourwood Rounds
- Wooden Place Holders
- Cardstock
- Valentine’s Stencils
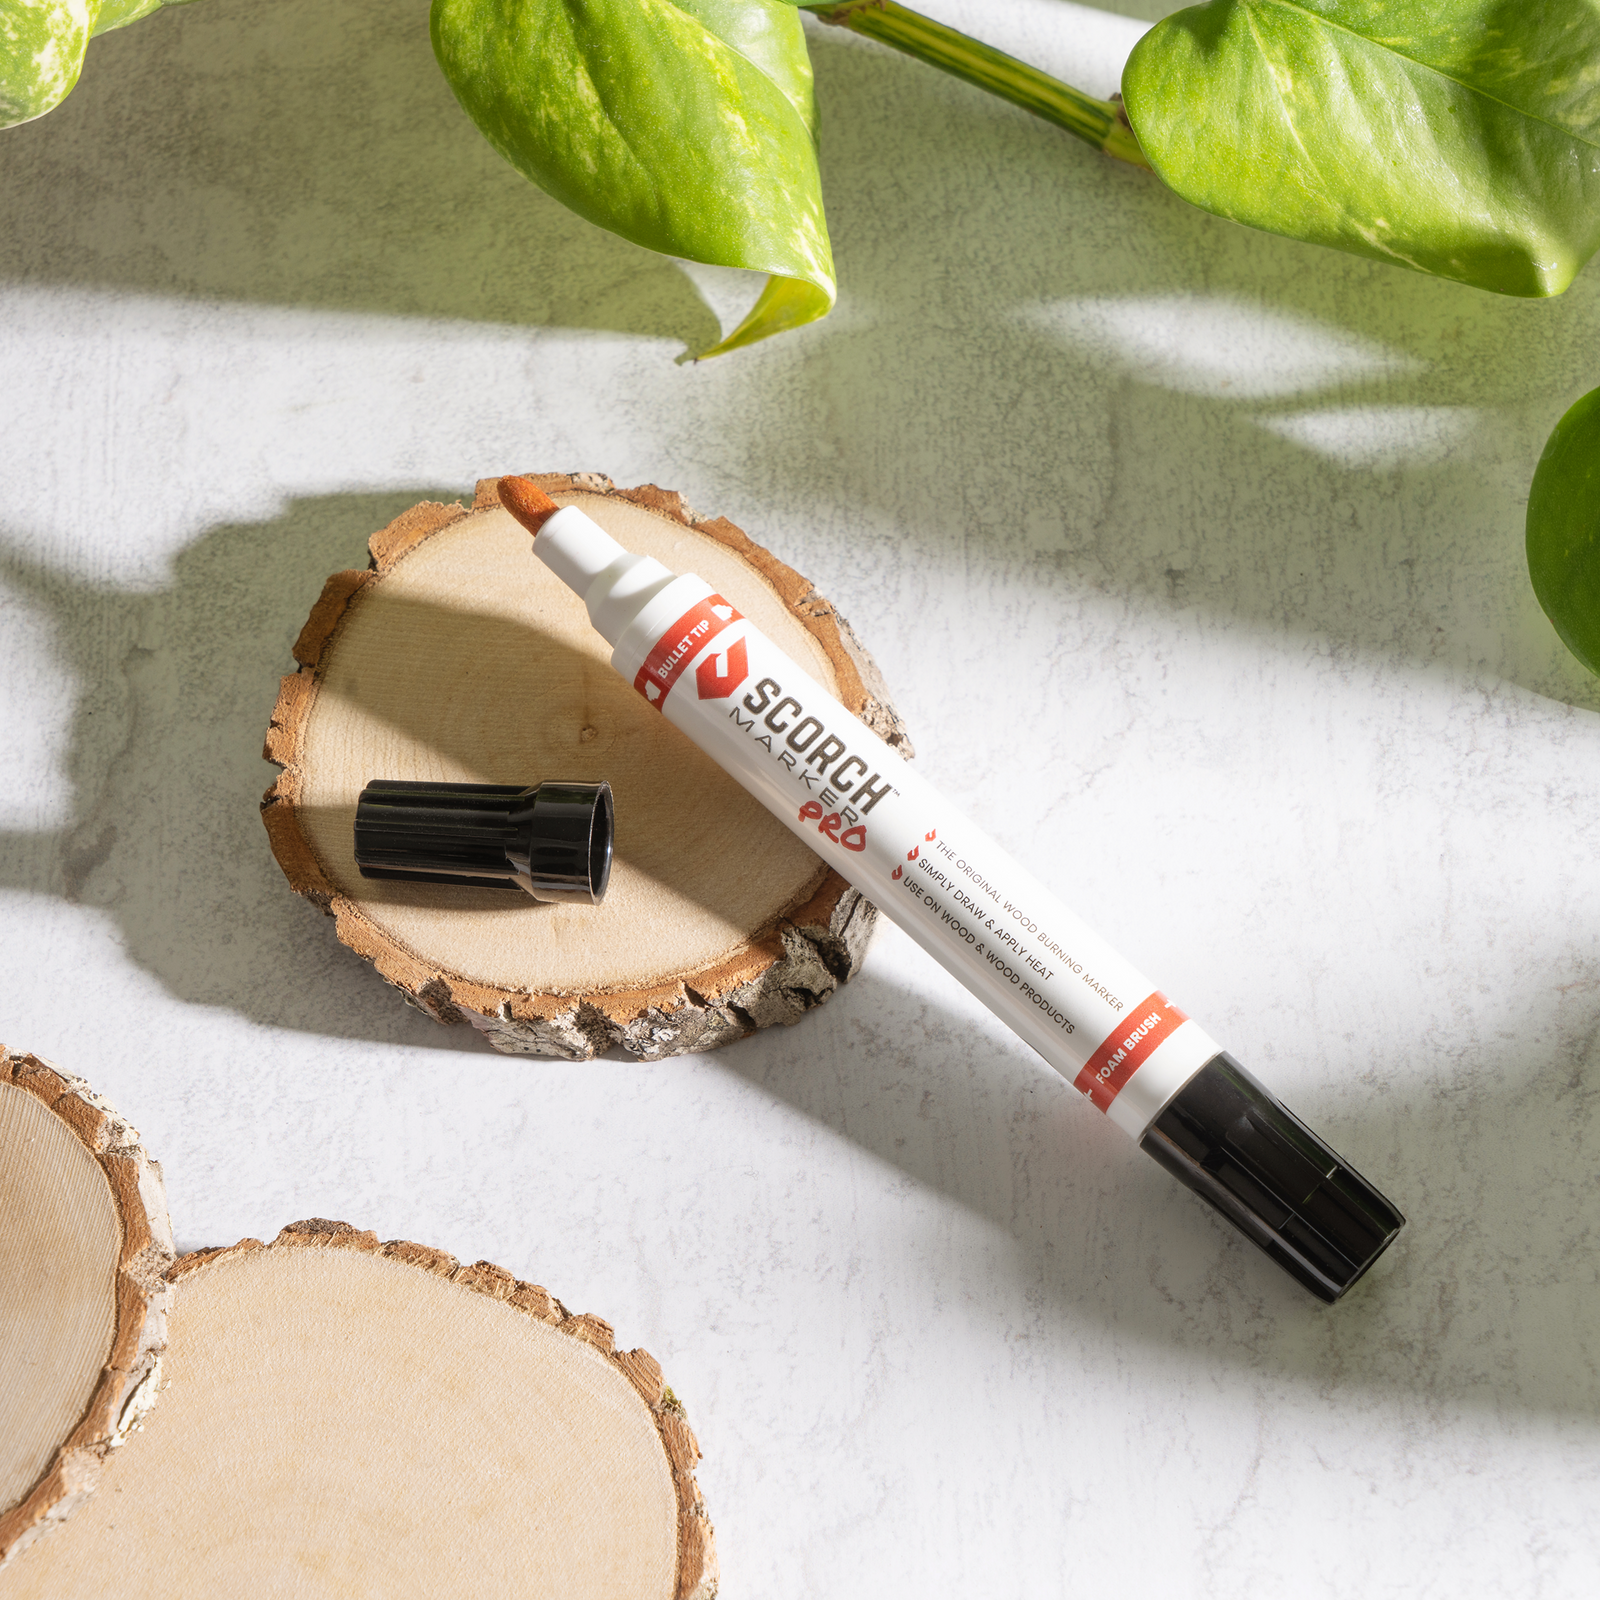
- Scorch Marker
10 Steps for Building Your Valentine’s Day Wreath
Start by gathering your materials in one location.
This will prevent frustrations later on when you’re deep in your wreath-making craft.
Make sure to already have your Valentine’s stencils cut and ready to go.
Now let’s get started!
Prep Your Wood by Sanding
You want to start by preparing all of your wood rounds.
We used 20 in our wreath, but the number you use will depend on the size of your wreath and the size of your rounds.
Regardless of the number you use, it’s important to make sure they are sanded down to 220-grit sandpaper.
This will guarantee a nice finished product, while also preventing the Scorch Marker from bleeding underneath your stencils.
Apply Stencils Firmly
Now, go through and apply all of your stencils to their designated wood round.
We used the “LOVE” stencil with the two hearts, two arrow stencils, and a “Happy Valentine’s Day” stencil to wrap it all up.
Make sure to use a card scraper to press all the air bubbles out.
This is necessary for preventing the liquid from bleeding underneath.
Prime Your Scorch Marker and Apply the Liquid
Now it’s time for the Scorch Marker!
Prime it on a paper towel, and apply a very thin layer of the liquid to your wood rounds.
Remember, a little goes a long way!
One of the main causes of a bleeding design is using too much liquid.
Preheat Your Heat Gun
Allow your designs to set for a minute or two.
Doing this allows the fibers of your wood rounds to soak up the Scorch Marker liquid fully.
While you wait, begin preheating your heat gun.
For best results, we recommend a heat gun that is at least 1500-watts.
Remove the Stencils and Watch the Magic Happen
Now it’s time to remove your stencils and get to burning!
Use a weeding tool to help you get the vinyl off of your wood.
Then, in a sweeping motion, begin applying heat to your design.
It may take a minute or two, depending on the strength of your heat gun, but watch the magic take place before your eyes as the wood begins to burn.
Glue Sourwood Rounds on the Wreath Ring
With your wood rounds burned and ready, it’s time to assemble your wreath.
Start by building one layer of wood directly onto your wreath wire with hot glue.
For a stronger bond, glue each wood round to the one beside it.
Each one should be touching.
We used 11 wood rounds for the bottom layer.
Then, glue the second layer of wood rounds directly onto the first, with ½”-1” between each one.
This step is completely customizable.
Apply Vinyl Stencils to Card Stock
Now, it’s time to use your leftover stencils to add a little spice to your wreath.
We used the hearts, the triple heart, and the “love” vinyls in a red color, and applied them to small pieces of card
stock designed to fit into the wooden place holders.
Sprinkle Wreath with Wooden Place Holders
Use the sides of the wreath and the space between the wood rounds to sprinkle your wooden place holders.
We used 9-10 of them, but again, you can customize this as you feel.
Decorate with Card Stock
Pop each piece of card stock into its designated placeholder, and reinforce with glue, especially if the wreath is going outside.
Admire Your Design
You did it! Your very own wood burned Valentine’s wreath.
It looks perfect!
Admire your design, and share it with your family.
We would also love to see it!
Post pictures on social media and tag us so that we can admire your work with you.
We can’t wait to see you there!


Leave a comment (all fields required)